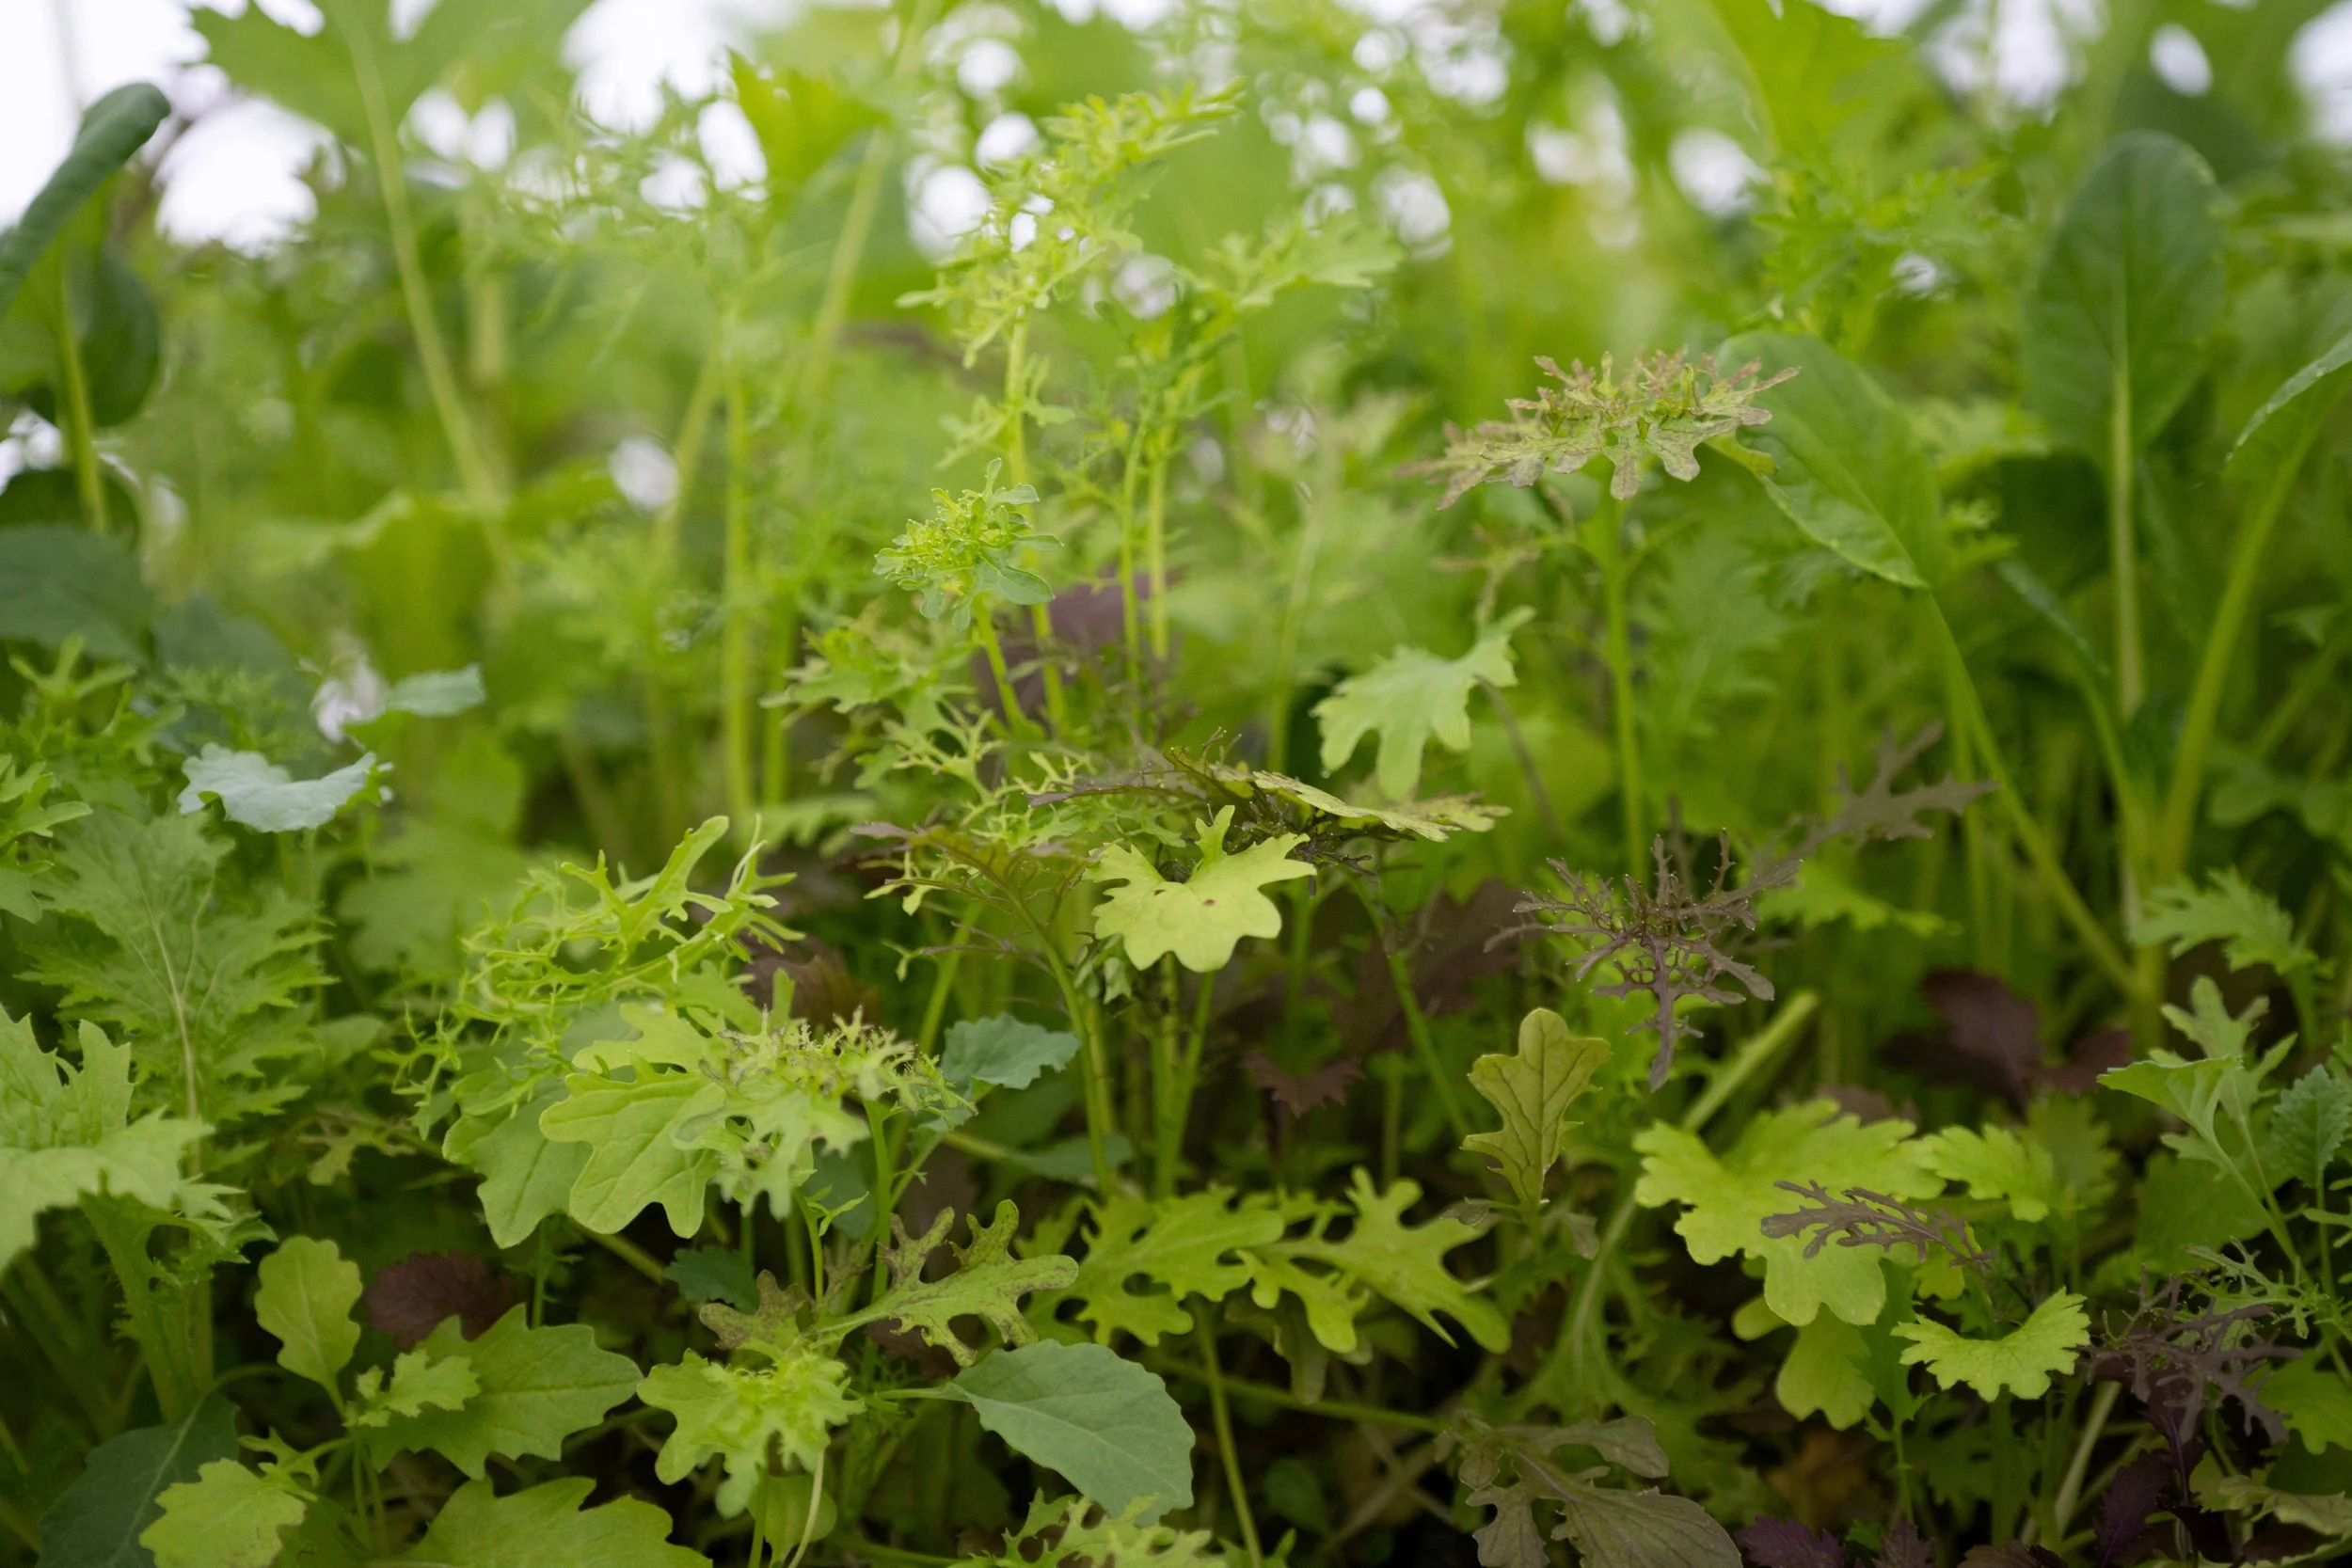
Early season mustard greens add vitamins to your meals.
Mid TO LATE April
In April, when the soil is workable and there is no snow in your garden, you can sow peas outdoors. If your garden isn’t ready yet, seed them indoors in a tray of soil and eat the shoots once they’re a few inches tall. You can even try transplanting them outdoors once your garden beds are prepared. Peas, like all legumes, don’t like their roots disturbed, so don’t try to separate them out individually but instead plant them as a mat and harvest them for shoots. Some people successfully start their snow, snap and shelling peas indoors in fiber pots and transplant them outside when they’re a couple inches tall without taking them out of the pot. We recommend you put up a trellis for the peas right away before the garden tempo picks up and you are too busy to do it.
Hardy mustard greens such as the Zesty Mix we grow in little pots are a great way to get a jump on the season. They can be planted in little clumps in garden soil that is dry and thawed (a raised bed for example) and protected with row cover. They can be eaten small as leaves in a salad, or they can be planted in separate clumps that get large for steaming or braising. Those little pots of Zesty Mix are the best value because they are so versatile and mulit-purpose.
Onions and leeks don’t mind the cold, and it is important to get them in as early as possible. We have a whole blog post dedicated to growing onions, take a look at it here.
While you’re waiting for the temperatures to warm up, a good way to satisfy our gardening itch - instead of planting out tender crops too early and watching them perish in a late frost - is to set up our garden instead: Pull out any overwintered weeds, clean up last season’s debris, build a raised bed, put up a trellis, spread a layer of compost, make a succession planting plan, or start some seeds indoors.
May
This is the time to plant all cold season crops: radicchio, lettuce, broccoli, cabbages, beets, fennel, lettuce, kohlrabi, chard…
Potatoes can be planted 2-4 weeks before the last expected frost, when the soil has warmed up to at least 50F. Here in the Northeast this is typically in the month of May. Find our varieties for 2025 here.
late may / early june
After the last chance of a frost has passed (in Vermont, traditionally this is around Memorial Day), it is safe to plant all heat loving vegetables, what we call hot crops: tomatoes, eggplants, peppers, tomatillos, husk cherries. Cucumbers, zucchini, and all types of squashes can be planted as well.
Make sure you harden them off properly before putting them in the ground. Especially if you kept starts under grow lights, they will need to adjust to the outdoor world over the course of several days. Place them outdoors in the shade, protected from wind, during the day time and take them back inside for the night. Repeat this for several days, gradually increasing their exposure to sunlight and the elements, before planting them in the ground.

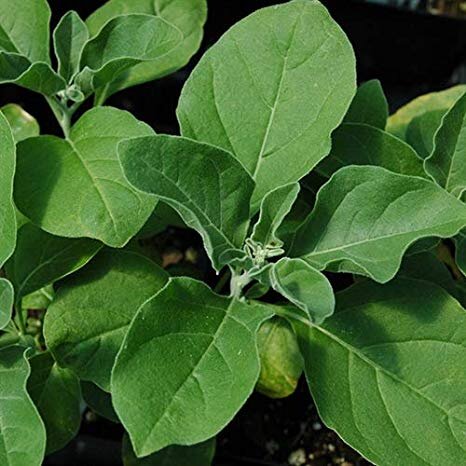
Peppers come in so many different flavors, heat levels, and colors.
June
Weed your onions and leeks. Remember to fertilize them every 2-3 weeks with a handful of Compost Plus or a balanced liquid fertilizer like fish emulsion.
After your first round is harvested, you can replant more radicchio, lettuce, arugula, and beets.
Late June is not too late to get your garden going: Plant a tomato, plant a zucchini, sow green beans, put some cut flowers in the ground! If you’re working with a patio garden, you can always add more pots: Mediterranean herbs like rosemary, thyme and lavender are especially well suited for sunny locations.
Here are some plants you can direct sow outdoors this time of year:
cilantro, dill
green beans
edamame
heat tolerant mustard greens like Yukina Savoy, Mizuna, Wasabina and Ruby Streaks
carrots, beets and radishes
bolt resistant lettuce varieties like ‘Purple Fusion’
cukes and summer squashes
Vegetables and herbs that you can plant as starts in the summertime:
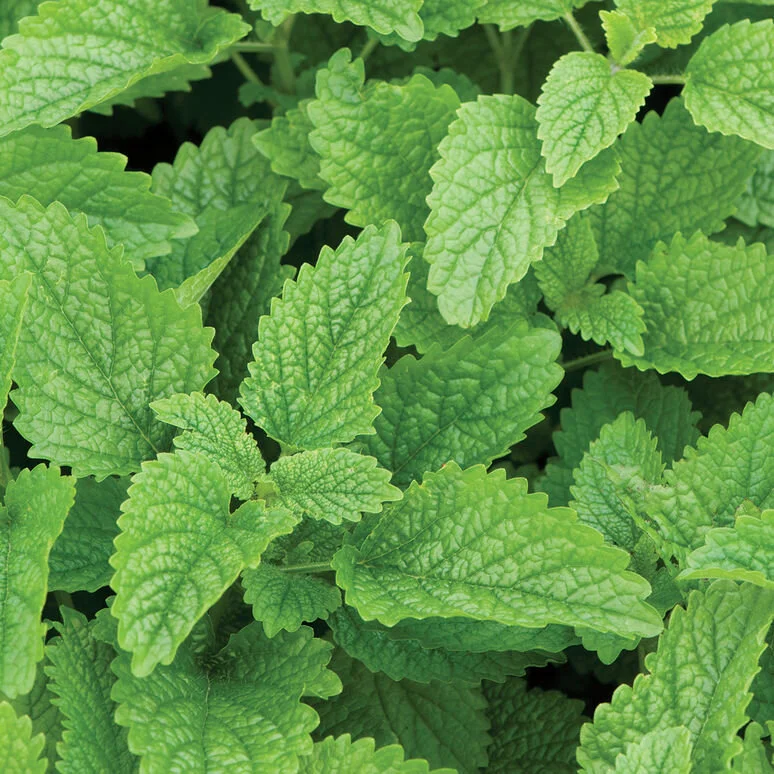
All the herbs. For example basil, oregano, parsley and anise hyssop.
cukes and summer squashes
lettuce
fennel
chicories
kohlrabi
chard and kale
beets
Early Summer
Any spots in your veggie garden that have freed up from harvested lettuce, garlic, spinach or peas can be replanted with chicories, herbs or annual flowers.
To still get a good harvest, now is your best chance to direct seed the following vegetables:
summer squash like Patty Pan or zucchini
carrots
green beans
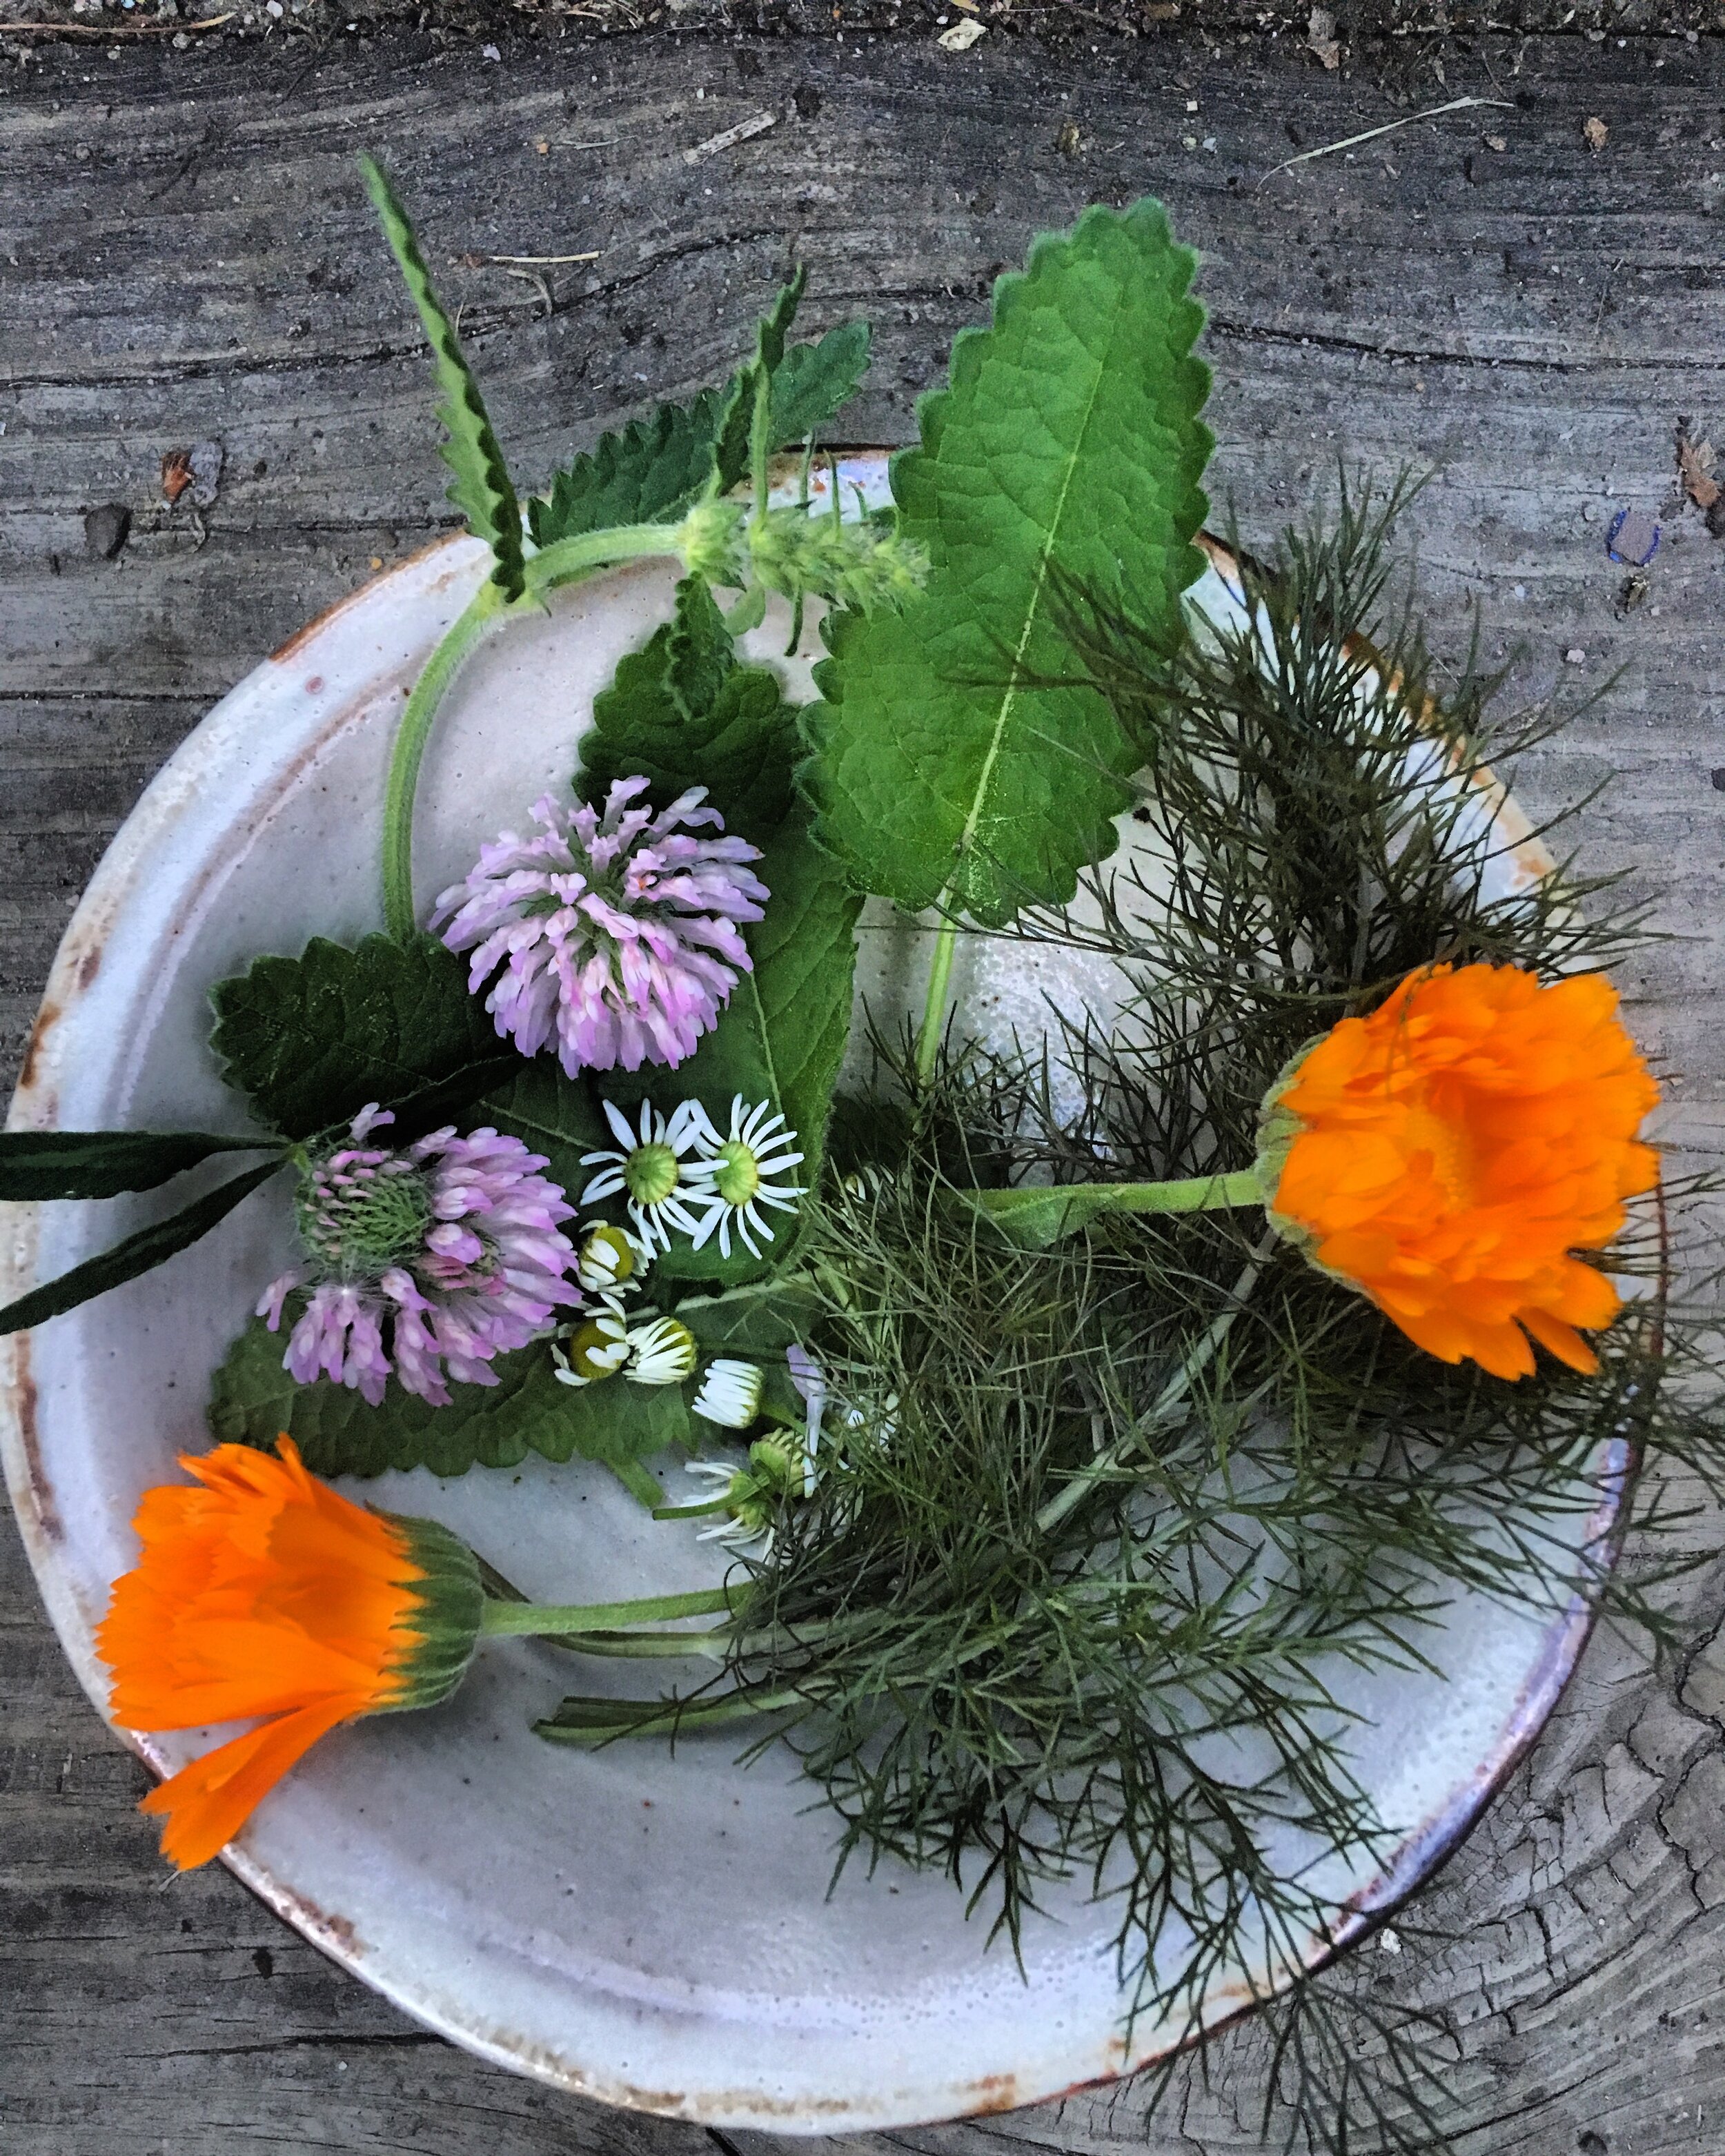
flowering herbs like calendula and borage
If you would like cilantro at the same time as tomatoes for salsa, now is the time to either transplant it or direct seed it. Scallions too.
It is likely time to harvest onions, and the best way to check is to see if the plants have flopped over and the skins have started to form on the bulbs. Onions need to cure before going into storage, and this is usually best accomplished by laying them out in a dark, dry, and airy space for a couple of weeks so that the green tops can dry and the skins can fully form. Sweet onions such as Ailsa Craig, Walla Walla, and Sierra Blanca should go in the fridge. They don’t store well.
If you would like peppers to ripen from green to red (or orange / yellow if that is the variety you have), it is recommended to pick one or two at the green stage. This will help the others ripen to their mature color.

A tomato trellis in Red Wagon’s display veggie garden.
Mid TO LATE Summer
During the heat of summer, here are some ways to take the stress off your plants:
water early in the day.
if you are planting some new plants, do after 4 pm so that they have the cooler night ahead of them as they adjust to life in the ground. Water well when planting.
fertilize with Compost Plus or with a liquid fish / seaweed fertilizer. It will help plants cope with the heat stress.
most importantly, we hope you keep yourself cool with dips in the lake or river.
If you are growing leeks, mid summer is a good time to hill soil around their base so that they form more of a tender white part.
It might be tempting to stop weeding as summer winds down, but this is when weeds are setting seed, so you should probably focus a little extra on taking out the weeds that are flowering. Otherwise, they’ll have plenty of time to leave you with thousands of weed seeds for years to come. Preventing weeds from flowering and setting seeds will save countless hours in the future.
If you are going away for a long weekend or vacation in summer: In just a few minutes, you can get your garden vacation ready by harvesting a few things, watering all the containers and putting the most delicate potted plants in the shade while you are away. All smaller pots can go on a tray partially filled with water so they look not so dead when you get back.
Is it time to rip out the old zucchini plants and cucumbers? Maybe you have a generation of beans that have gone by? Don’t let empty garden space go to waste, and take time to pop in radicchio, escarole, broccoli, or other fall greens. Turnips and rutabagas can be seeded directly outdoors in mid summer for a late fall harvest.

Late summer veggie garden: We love to add flowers to attract pollinators, beneficials, and to satisfy our sense of beauty.
FALL
Once the temperatures cool down, most hot crops will slow or stall their production and ripening process. You can clip the tips off of tomato plants in late summer to encourage them to send energy into ripening fruit instead of growing taller, or you can simply harvest your green tomatoes. Either turn them into a delicious green tomato salsa or let them ripen on the kitchen counter and use them for sauce.
Any plants that are diseased or otherwise unhappy should be pulled and added to your compost pile. Don’t let veggie plant debris - especially tomatoes - overwinter in your garden, you could accidentally be harboring unwanted pests and diseases that will flourish next spring.
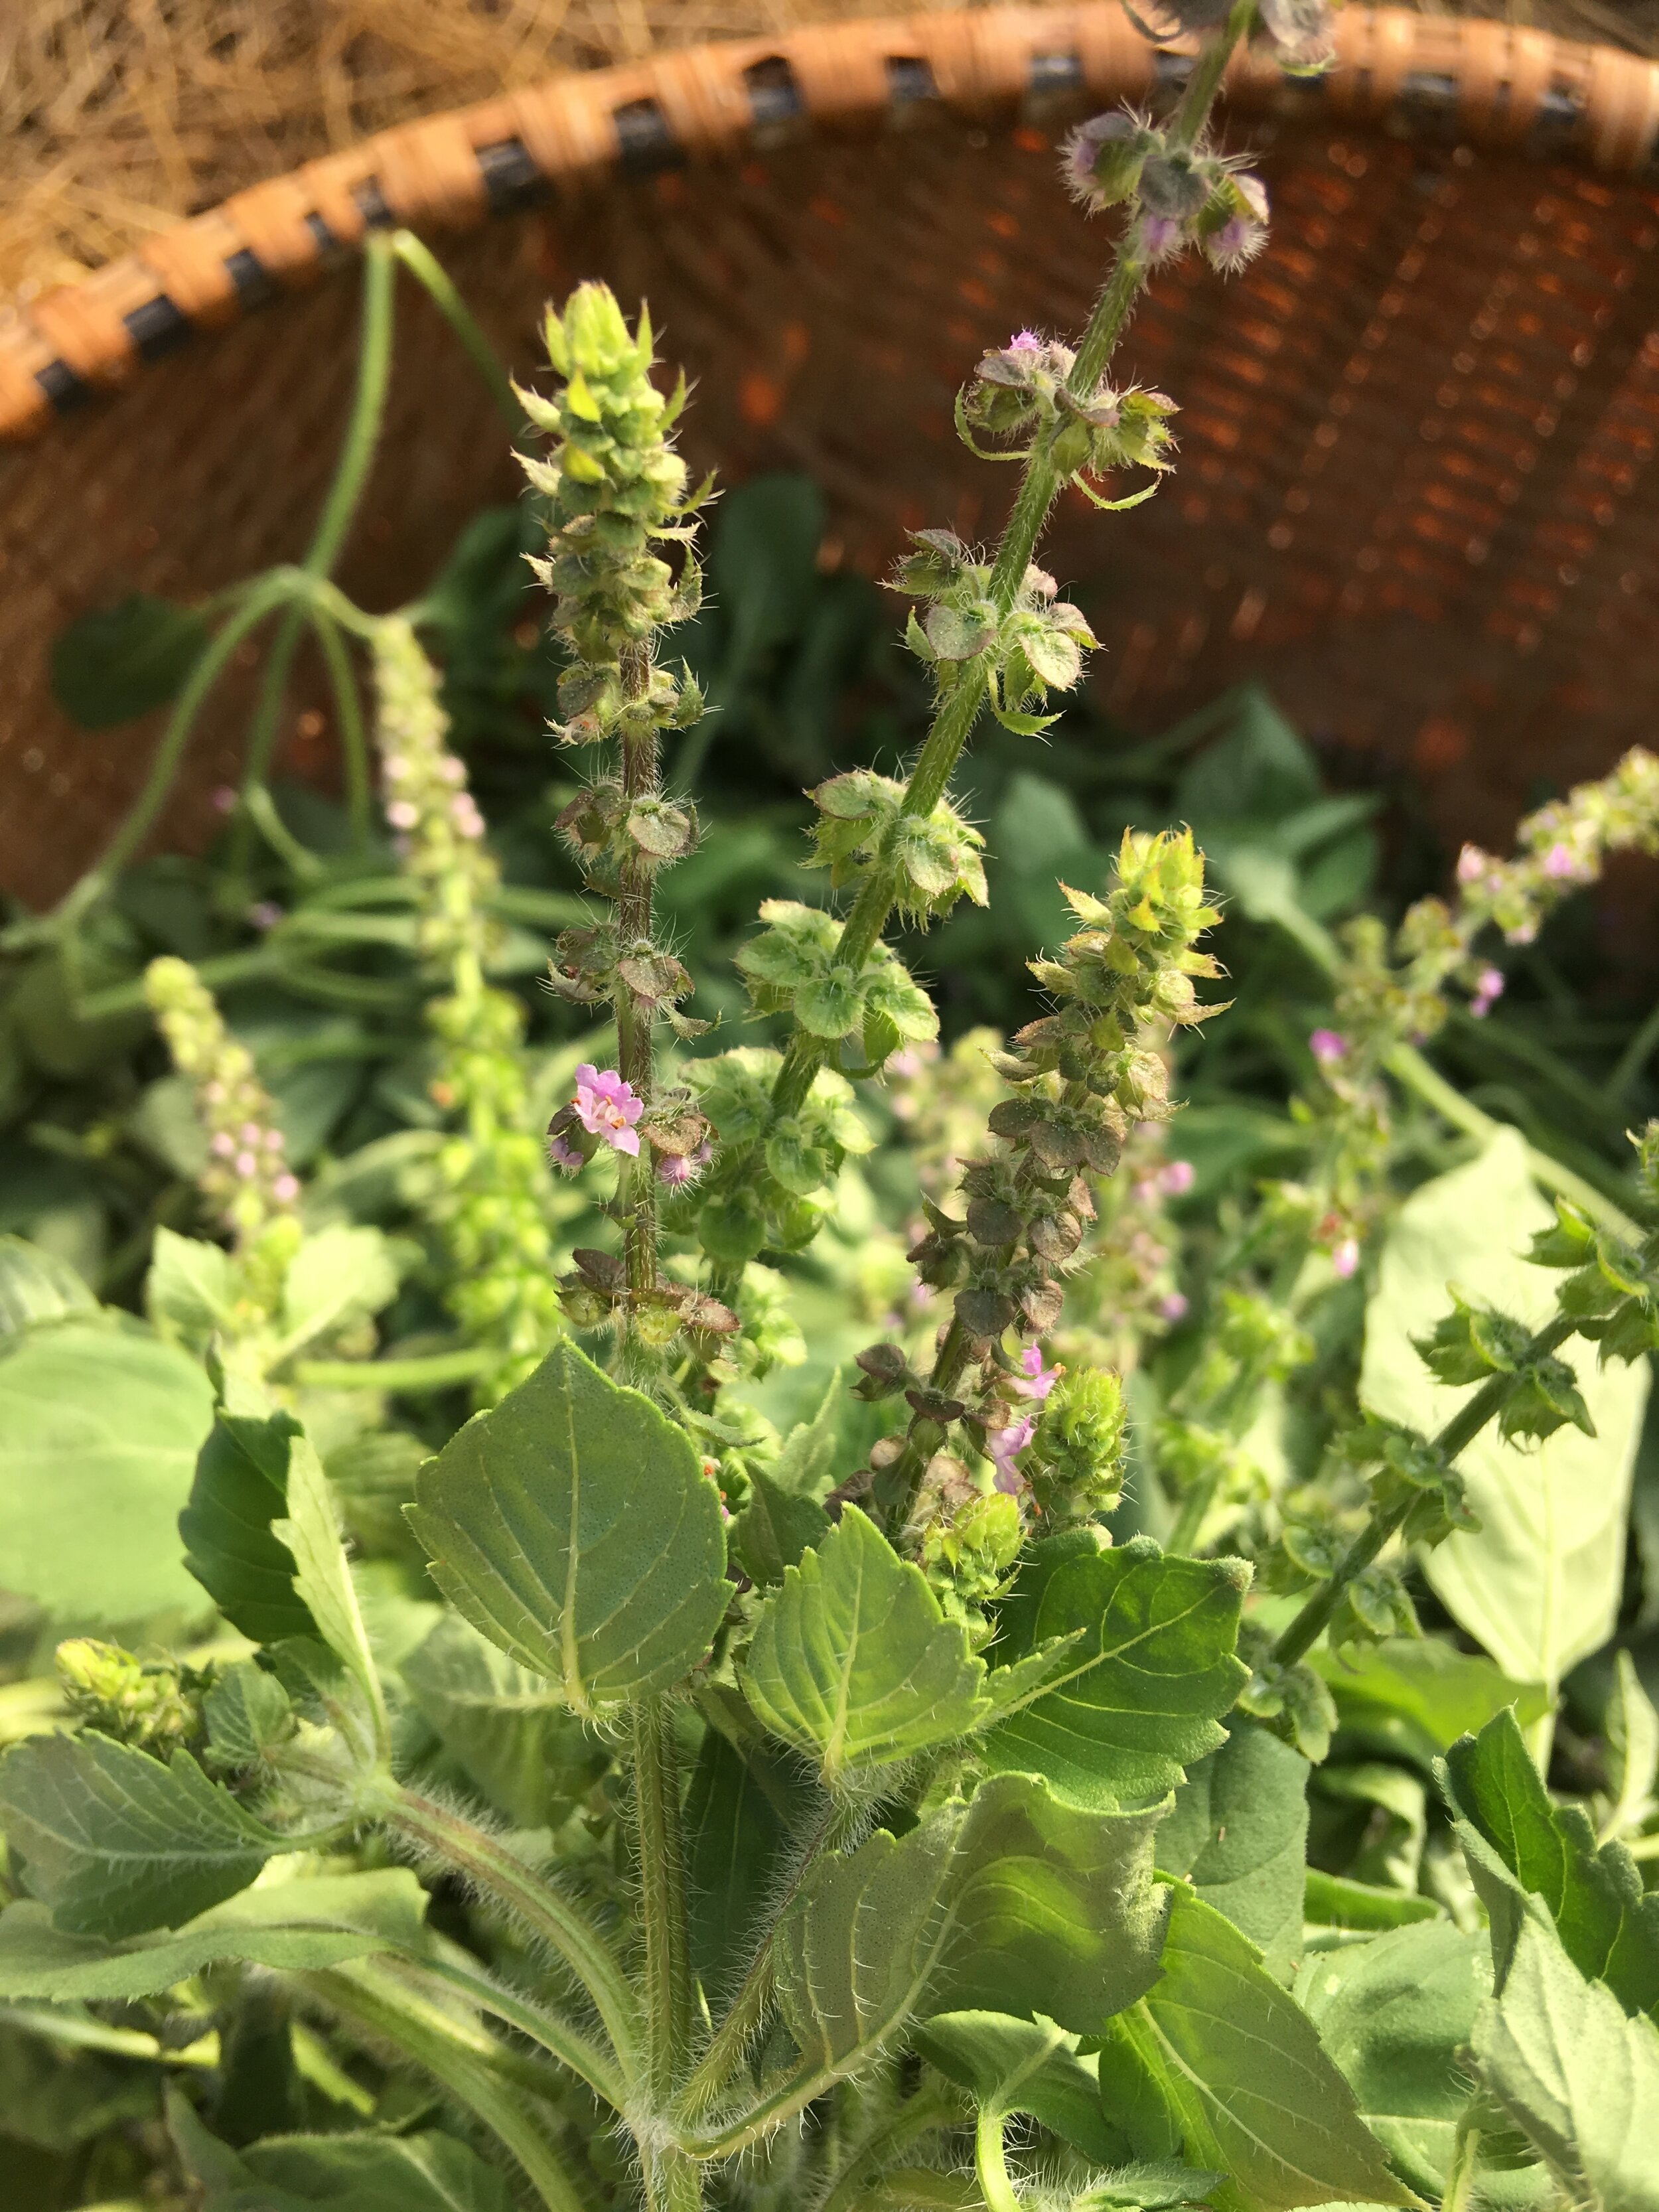
Some plants can be left standing though, if you want them to reseed or offer the seeds as food to the birds. Examples include dill, cilantro, or tulsi seed heads and any perennial plants you might have in your veggie garden, like asparagus, anise hyssop, lovage or rhubarb.
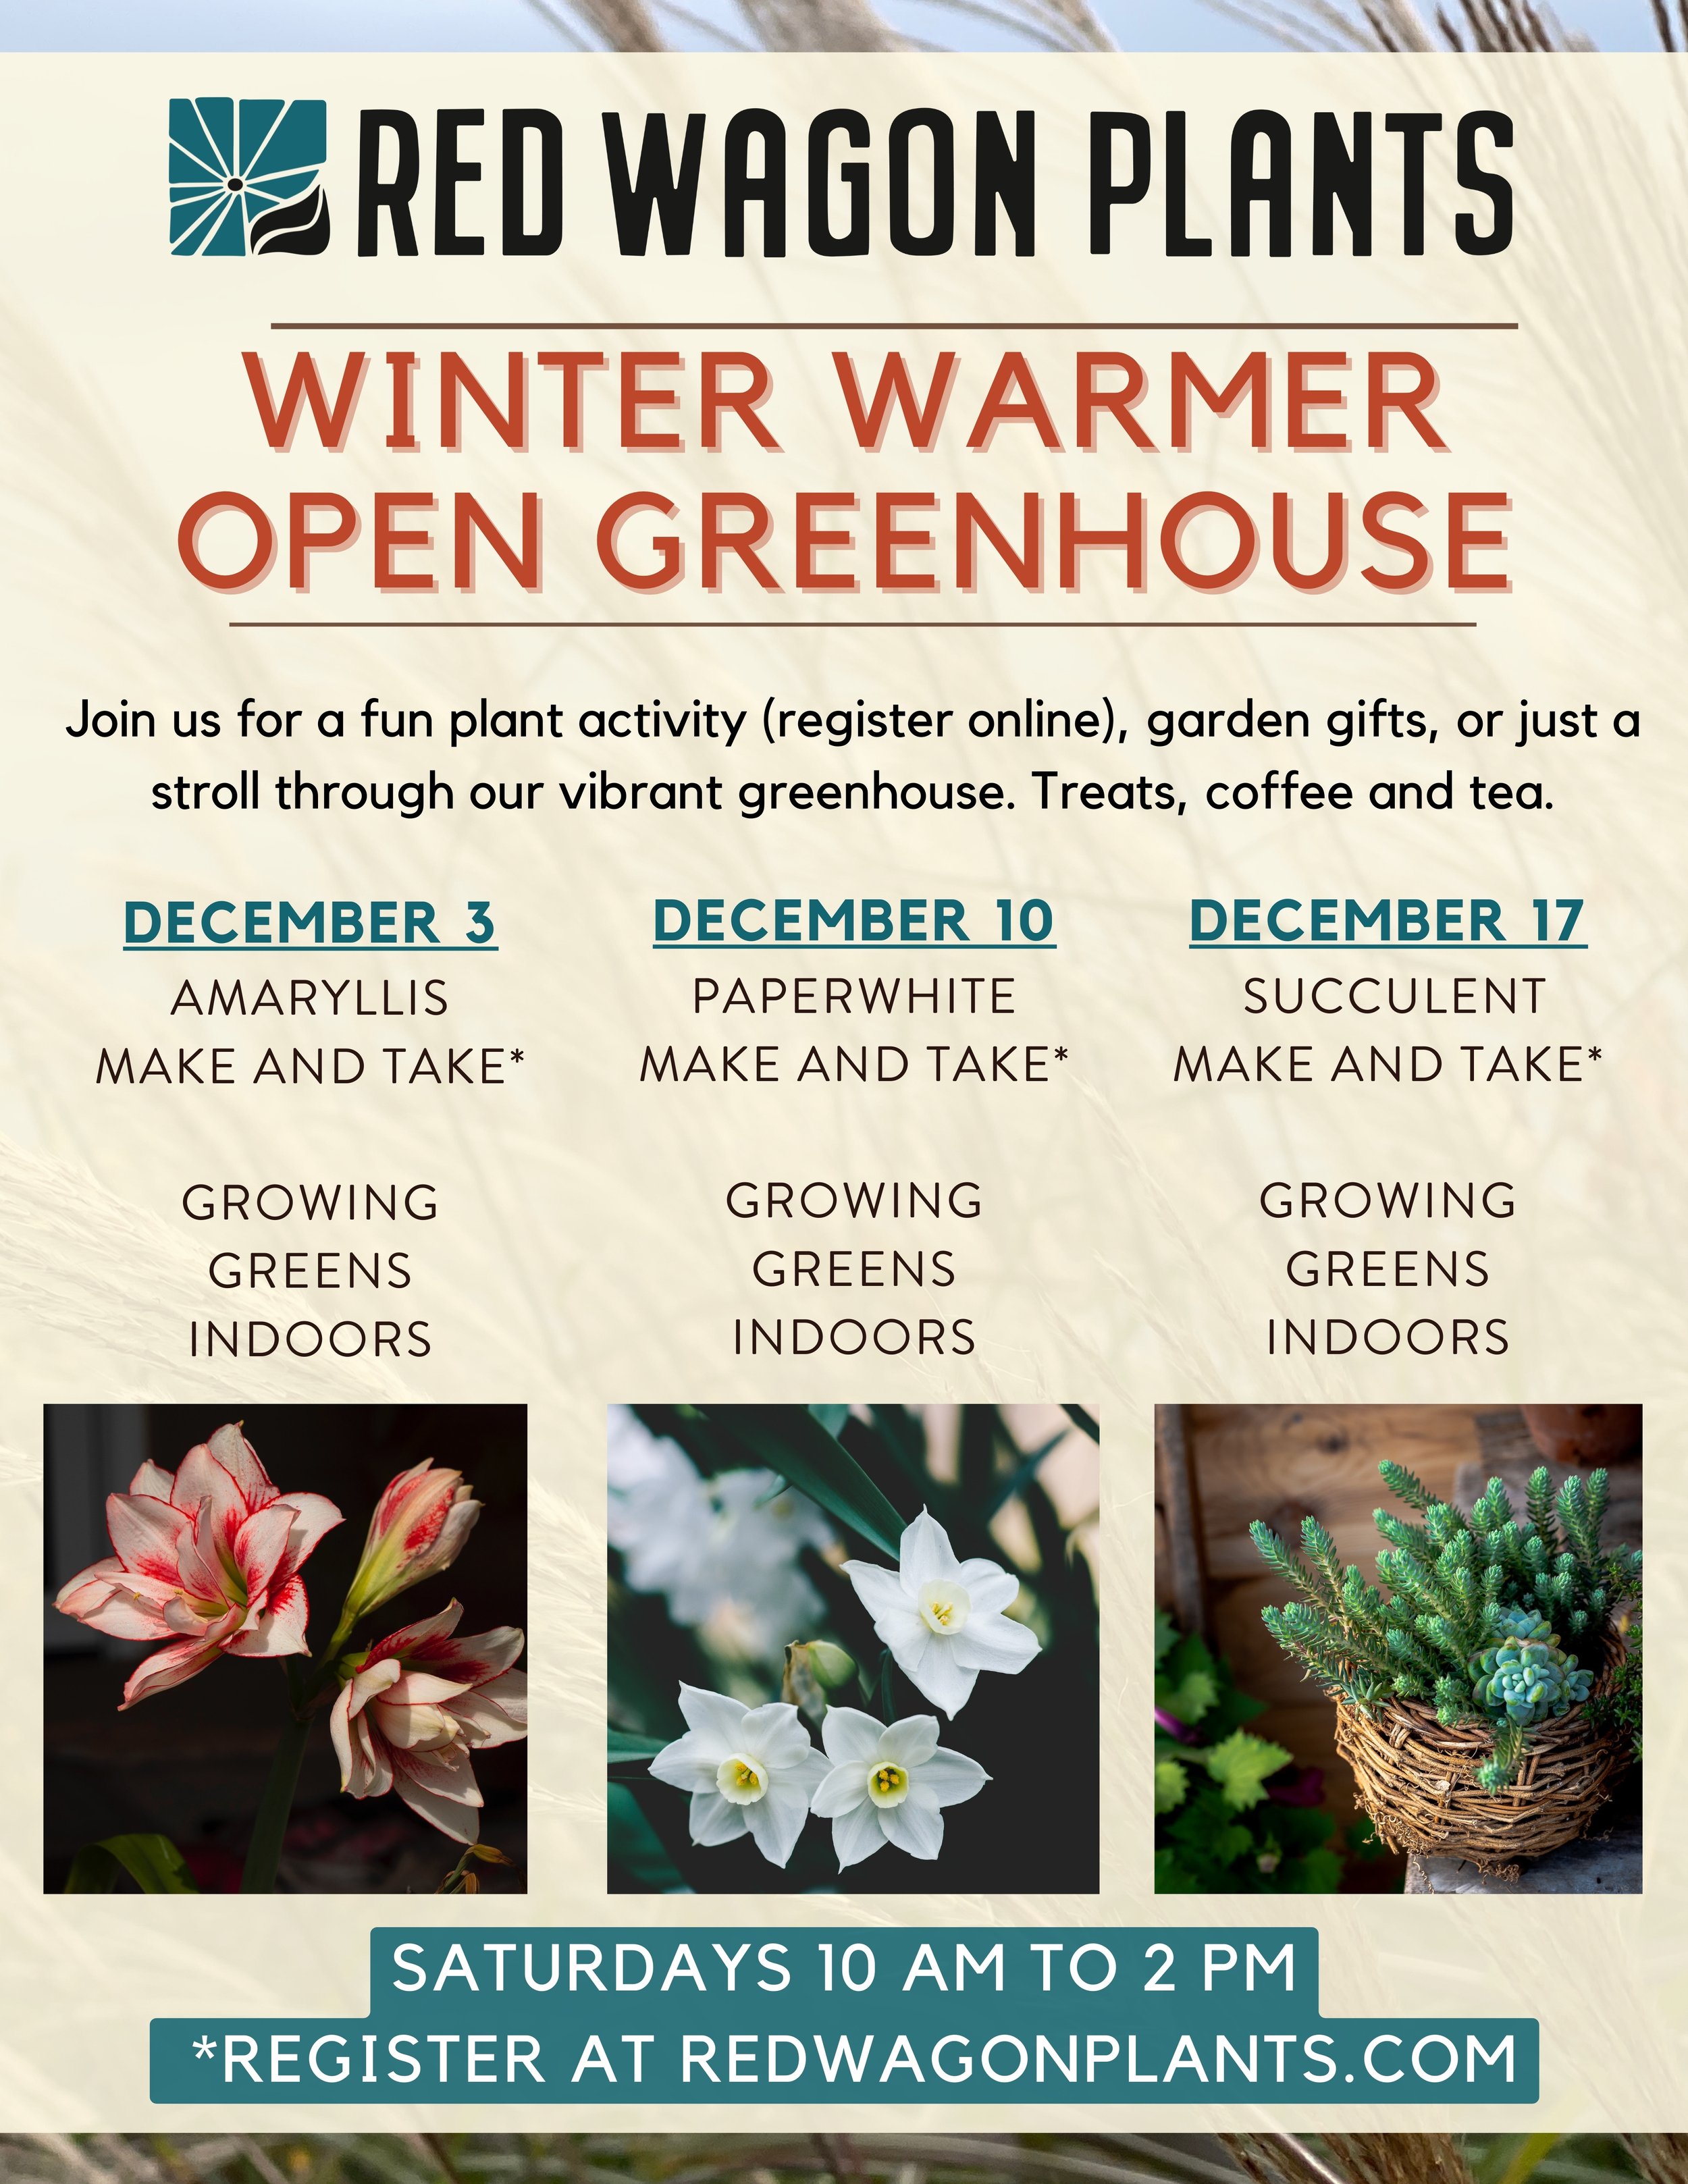
WINTER
This is the time for us and our gardens to rest, but there is never a season when we can’t be gardening. We can plan and dream, make plant lists and order seeds. It is also a wonderful practice to review our garden notes and re-evaluate what went well, what we’d like to improve, and where we feel like experimenting. And then there are houseplants…

Red Wagon’s cold frames and greenhouses at rest.
Happy gardening!
This blog post was written by Kat Consler and Julie Rubaud.