gardening

Growing Gourmet Greens

We are growing some truly gourmet greens this year for you to try out in your garden. In addition to adding new flavors to your plate, many of these vegetables have better pest, disease and heat tolerance than some of the more commonly grown vegetables like spinach or arugula. If you love growing your own salad, you should pick a few of these to try this year!

Mache- Mache is the best cold-season salad green, and woefully underutilized given our long, cold spring climate. Sweet, thickly textured glossy green leaves add depth and nutty flavor to your salads, and are best eaten as a whole plant, cut right above the roots. Wash well and dress lightly with olive oil, hazelnut oil, or walnut oil, a squeeze of lemon and some good sea salt.

Radicchio- This spring we have a few radicchio varieties available: Leonardo, Virtus, and Bel Fiore, and you should try growing them all. These chicory family members develop small, cabbage-like heads that are mildly bitter, with a delicious crunch that make them ideal for raw salads, dressed with a creamy vinaigrette. They are also delicious grilled or broiled. All radicchios prefer cooler growing temperatures and are mildly frost-tolerant, so they’re a great option for the early spring garden. Plant again in the late summer for fresh greens that will last well into the fall.

Frisée- Another member of the chicory family with frilly, finely cut leaves that mature into a giant head. Use the young leaves in salad, or allow the head to fully mature, when the center will blanch and become extra tender.

Escarole in the garden

Merveille des Quatres Saisons

Escarole- A staple of Italian cooking, escarole shines as a cooked green alongside brothy white beans. When growing, patience is an asset, as the flavor improves and the inner leaves become more tender when allowed to fully mature. Pale inner leaves are great raw in salads.

If you’d prefer to stick with the more familiar head lettuce, you can still experiment with some new varieties! Two of our favorites are Merveille des Quatres Saisons and Forellenschluss. Merveille de Quatres Saisons is a French heritage variety that translates to “Marvel of Four Seasons”, and it lives up to the name with sweet, red-tipped bibb leaves that produce in all types of weather. Forellenschluss, AKA Speckled Trout Back, is an Austrian heirloom romaine that boasts speckled leaves and grows well through the summer heat.

Mache, Frisée, lettuces and chicories ready for the garden

Many Marigolds

Giant African Marigolds in the garden of RWP friend Bob Furrer

Marigold: even the common name evokes a sense of radiance and joy, which is exactly what these plants bring to the garden. But not all members of the Tagetes genus are the same, and it can be confusing for the new gardener to know which type is best suited to which part of their planting plan. Read on to learn about some commonly confused species and a few other marigolds you’ll want to include in your garden. All marigold petals can be dried and used as a seasoning in winter time.

French Marigold

Tagetes patula, French Marigold. This cute, compact species is often planted as a companion in vegetable gardens, as it attracts beneficial insects and produces alpha-terthienyl, which helps deter nematodes and other pests. T. patula only reaches about a foot tall at most, and doesn’t have a spreading habit, so it’s easy to tuck in between tomato plants or around the edges of the garden bed. They come in a rich display of saturated sunset colors on 2” blooms, with many cultivars boasting variegation on the petals and a crested, double bloom.

Tagetes erecta, African Marigold, American Marigold, Mexican Marigold. Also known as Giant Marigold, which is a helpful reminder that this species can grow well above 3’ tall depending on the cultivar. T. erecta has large 3” blooms with dozens of petals packed tightly together, and come in single colors of vivid yellow and orange. Strategically placed, these tall flowers can provide afternoon shade for greens like arugula and cilantro, which tend to bolt in the hot summer sun. They provide the same beneficial insect and pest protection as T. patula in a larger, showy package. They also work beautifully in a cut flower garden alongside Benary’s Giant zinnias and tall snapdragons. Pick off flowers regularly to encourage blooming all summer. Giant marigolds are especially useful as dye plants and make gorgeous flower garlands, which are important elements in marriage and death rituals around the world. 

African Marigold, ‘Crackerjack’

Both of these species are technically edible, though not particularly delicious. The aromatic petals should be removed from the base of the flower, which tends to be quite bitter. Add to a pot of rice for a saffron-like effect, or include in baked goods for a splash of edible color. Read on for two more less common Tagetes species that are definitely must-haves for the edible flower garden.

Lemon Gem Marigold

Tagetes tenuifolia, Gem Marigold. These plants are a favorite at Red Wagon for their feathery foliage, compact clumping habit, and profuse blooms. Their petite flowers attract insects and keep blooming even without consistent harvest. Plant gem marigolds in their own containers or include in the herb and vegetable garden. Your imagination is the limit with how to include these flowers in your kitchen: top salads, pizzas or pastas with the bright petals, or decorate cupcakes for summer birthday celebrations. The green sepals and stems can be bitter, so remove those before eating.

Mexican Mint Marigold

Tagetes lucida, Mexican Mint Marigold, Mexican Tarragon. Easily the most delicious of all of the Tagetes species, Mexican Mint Marigold has small, yellow flowers that are primarily employed for their sweet licorice flavor, which can be added to beverages and salads. The Aztecs considered T. lucida sacred and used the plant in the preparation of their famous drinking chocolate. True to its native habitat, this compact plant thrives in heat and full sun, and will bloom from late summer through fall.

Calendula officinalis ‘Alpha’

An honorable mention goes to Calendula officinalis, often referred to as Pot Marigold. Although Calendula is not in the Tagetes genus, it does, like marigold, share a place in the Asteraceae or Daisy family. Calendula has oblong, waxy leaves and a flower that looks more similar to a tiny sunflower than a true marigold. Calendula has been similarly bred to display single and double blooms in a wide array of yellows, oranges and reds, and is held in high esteem as an herbal remedy (see our post about it here). Use the whole flower heads in fresh or dry tea blends, pluck the petals from the bitter center and sprinkle them on salads and cookies, or use as medieval folk did and throw a handful of the dried flowers into broths and stocks, where it lends rich color, flavor and medicinal benefit to soups all winter long. 

Whether planted for their beauty, defensive strategies, or edible petals, marigolds will provide a dash of sunshine well after the garden has been put to bed. With a variety of cultivars in each species, you could be forgiven for filling up your entire garden in Tagetes (and Calendula) flowers this year. You can find a list of all the marigolds we grow here.

Calendula

calendula sophie.JPG

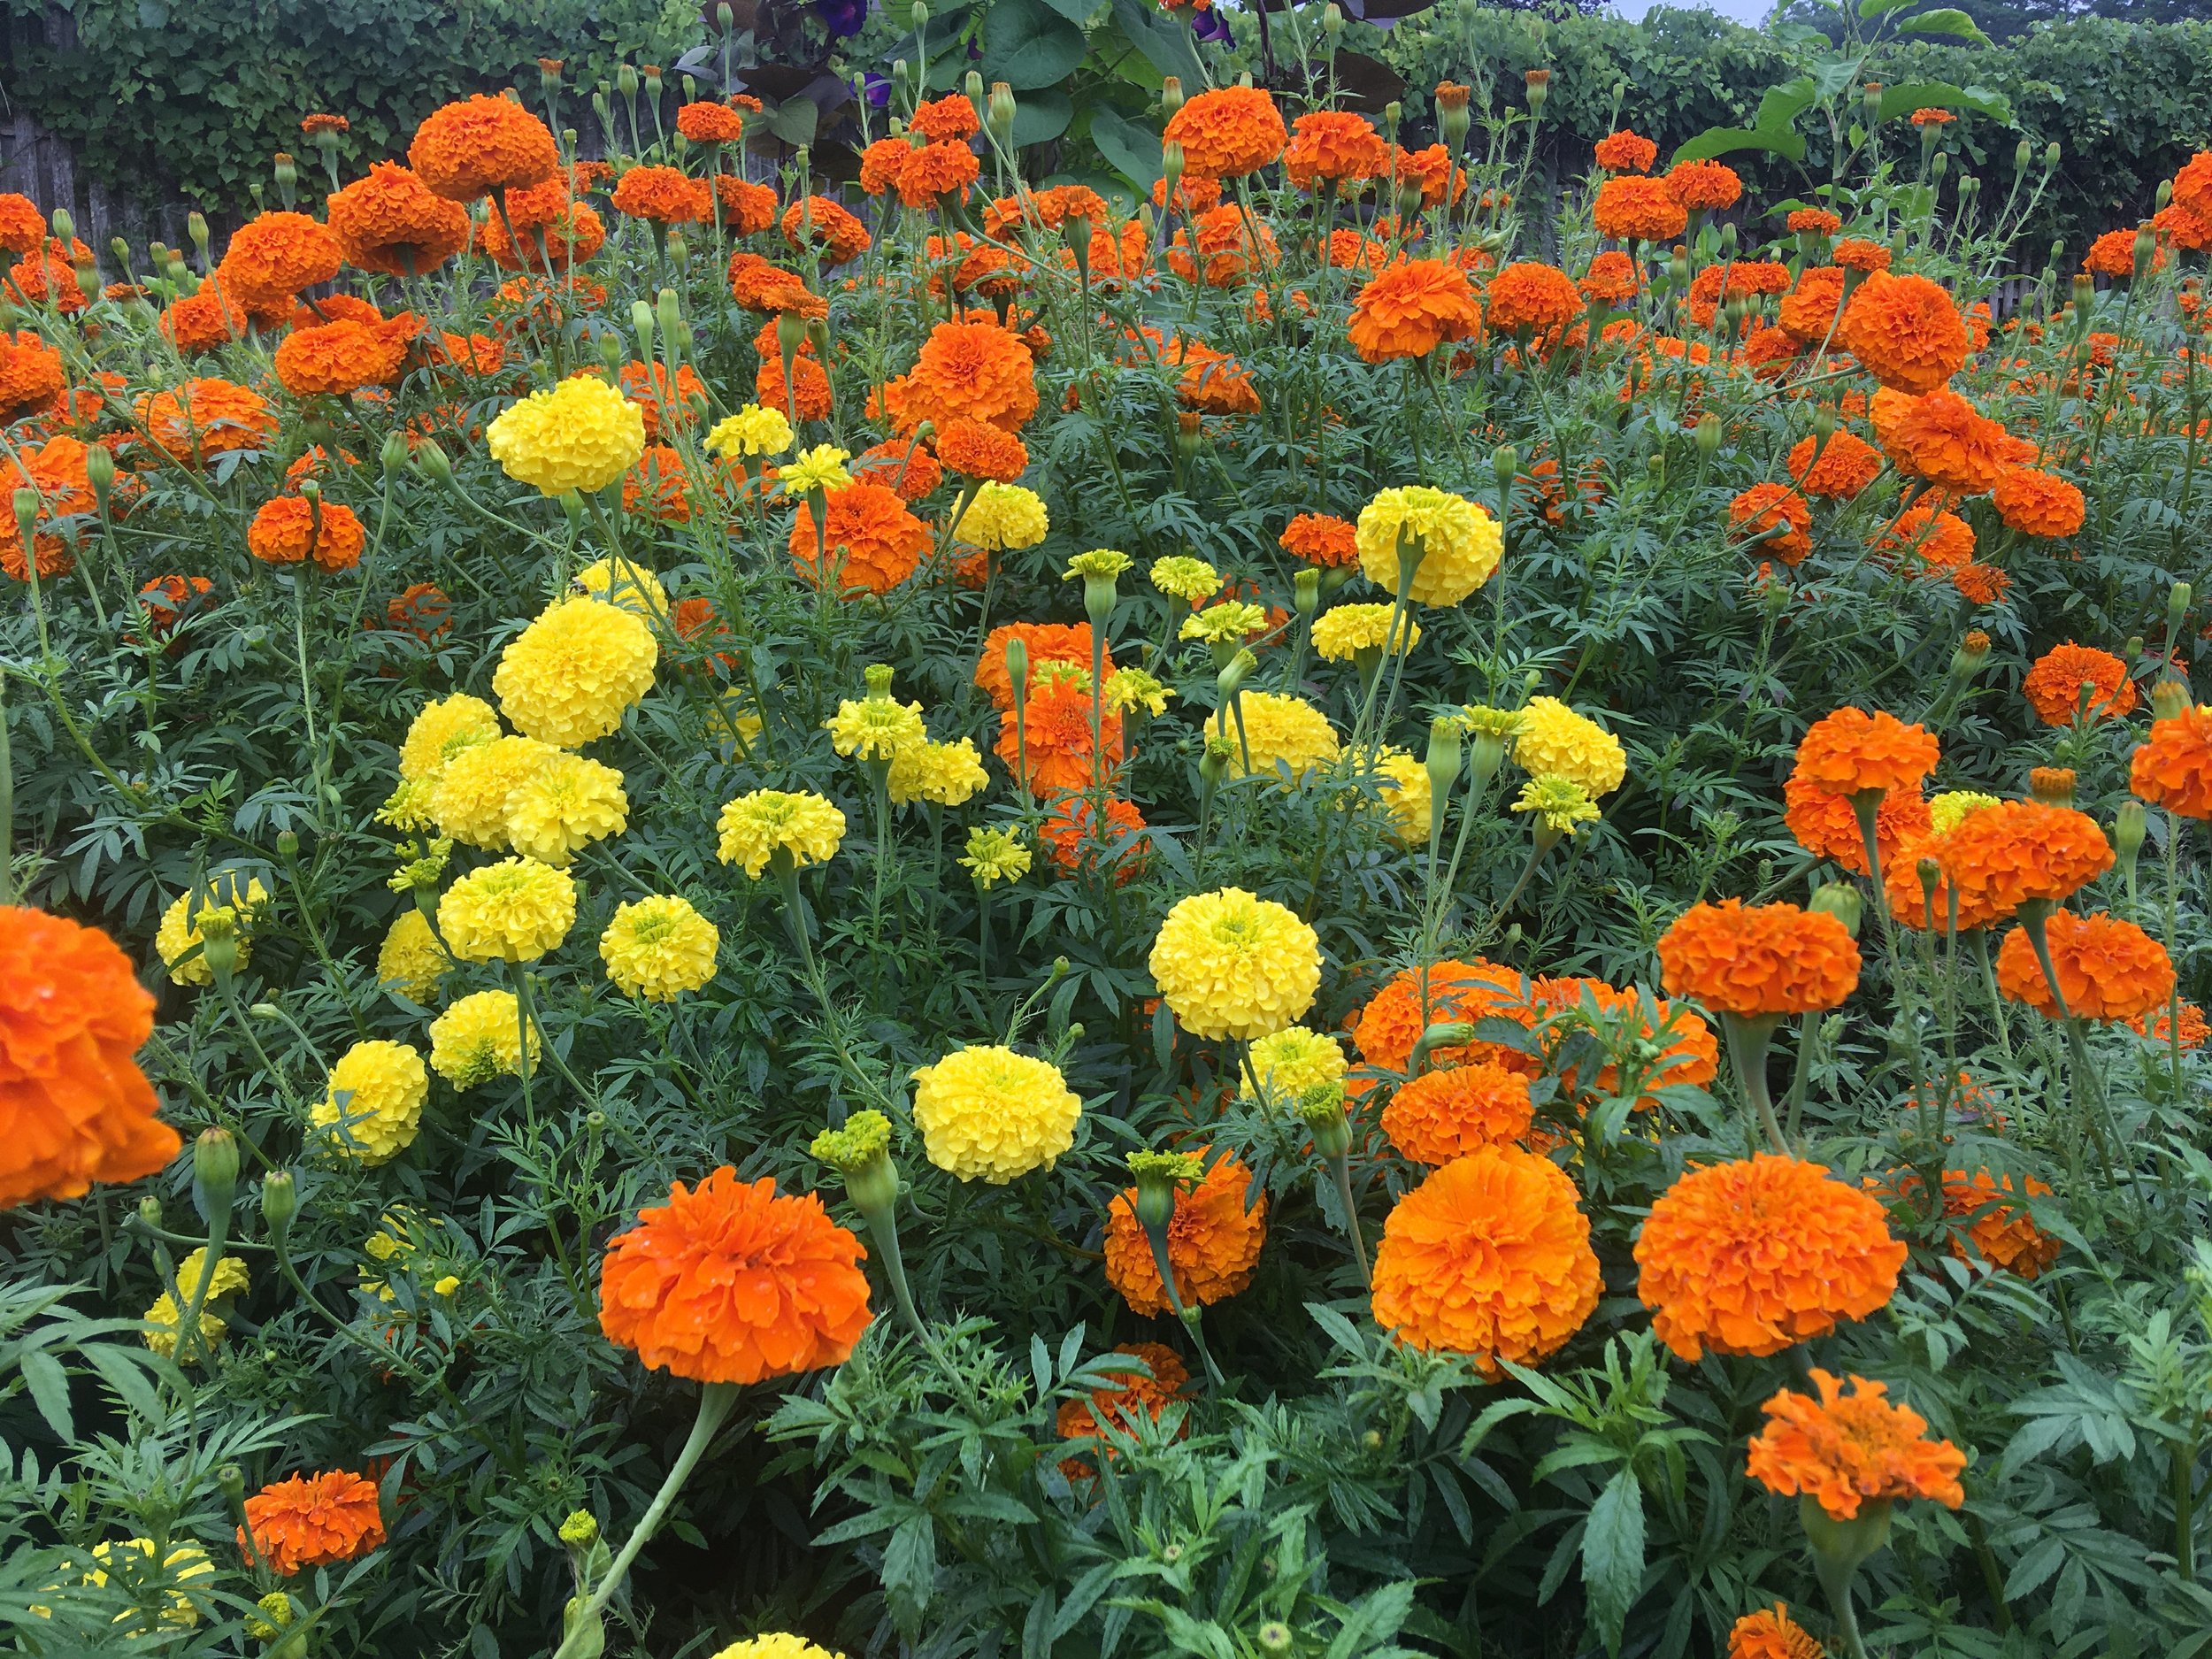
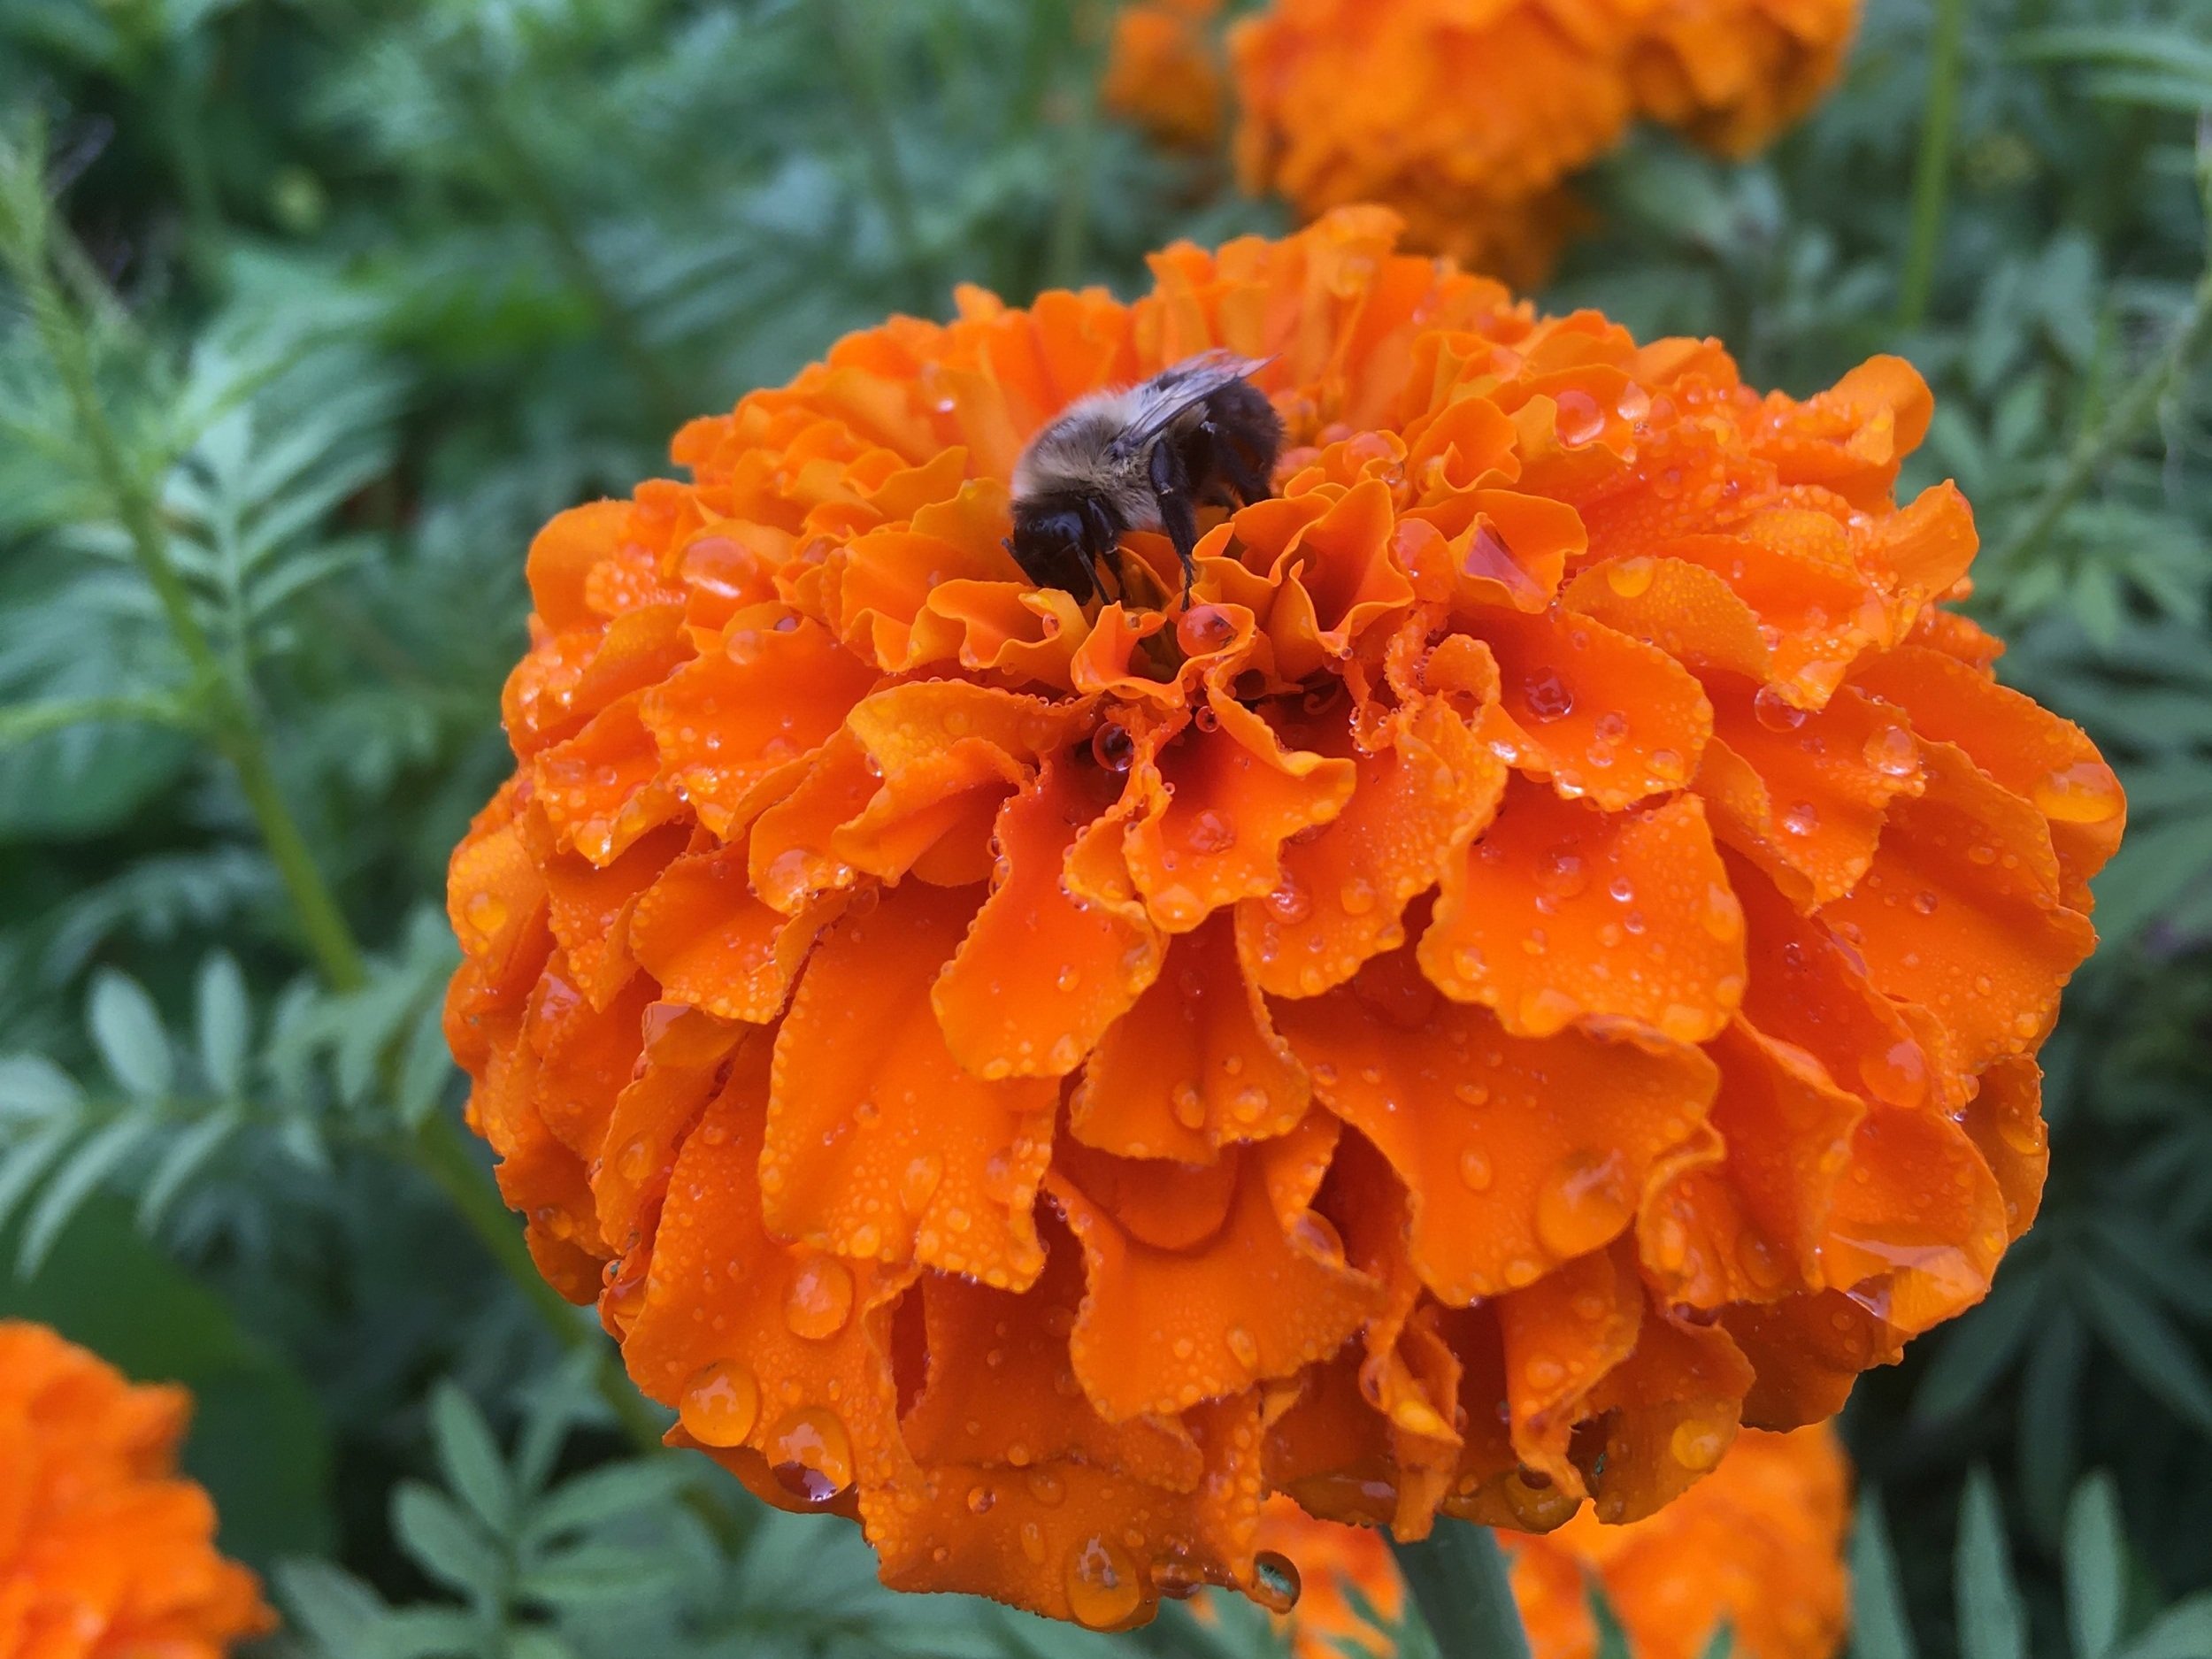
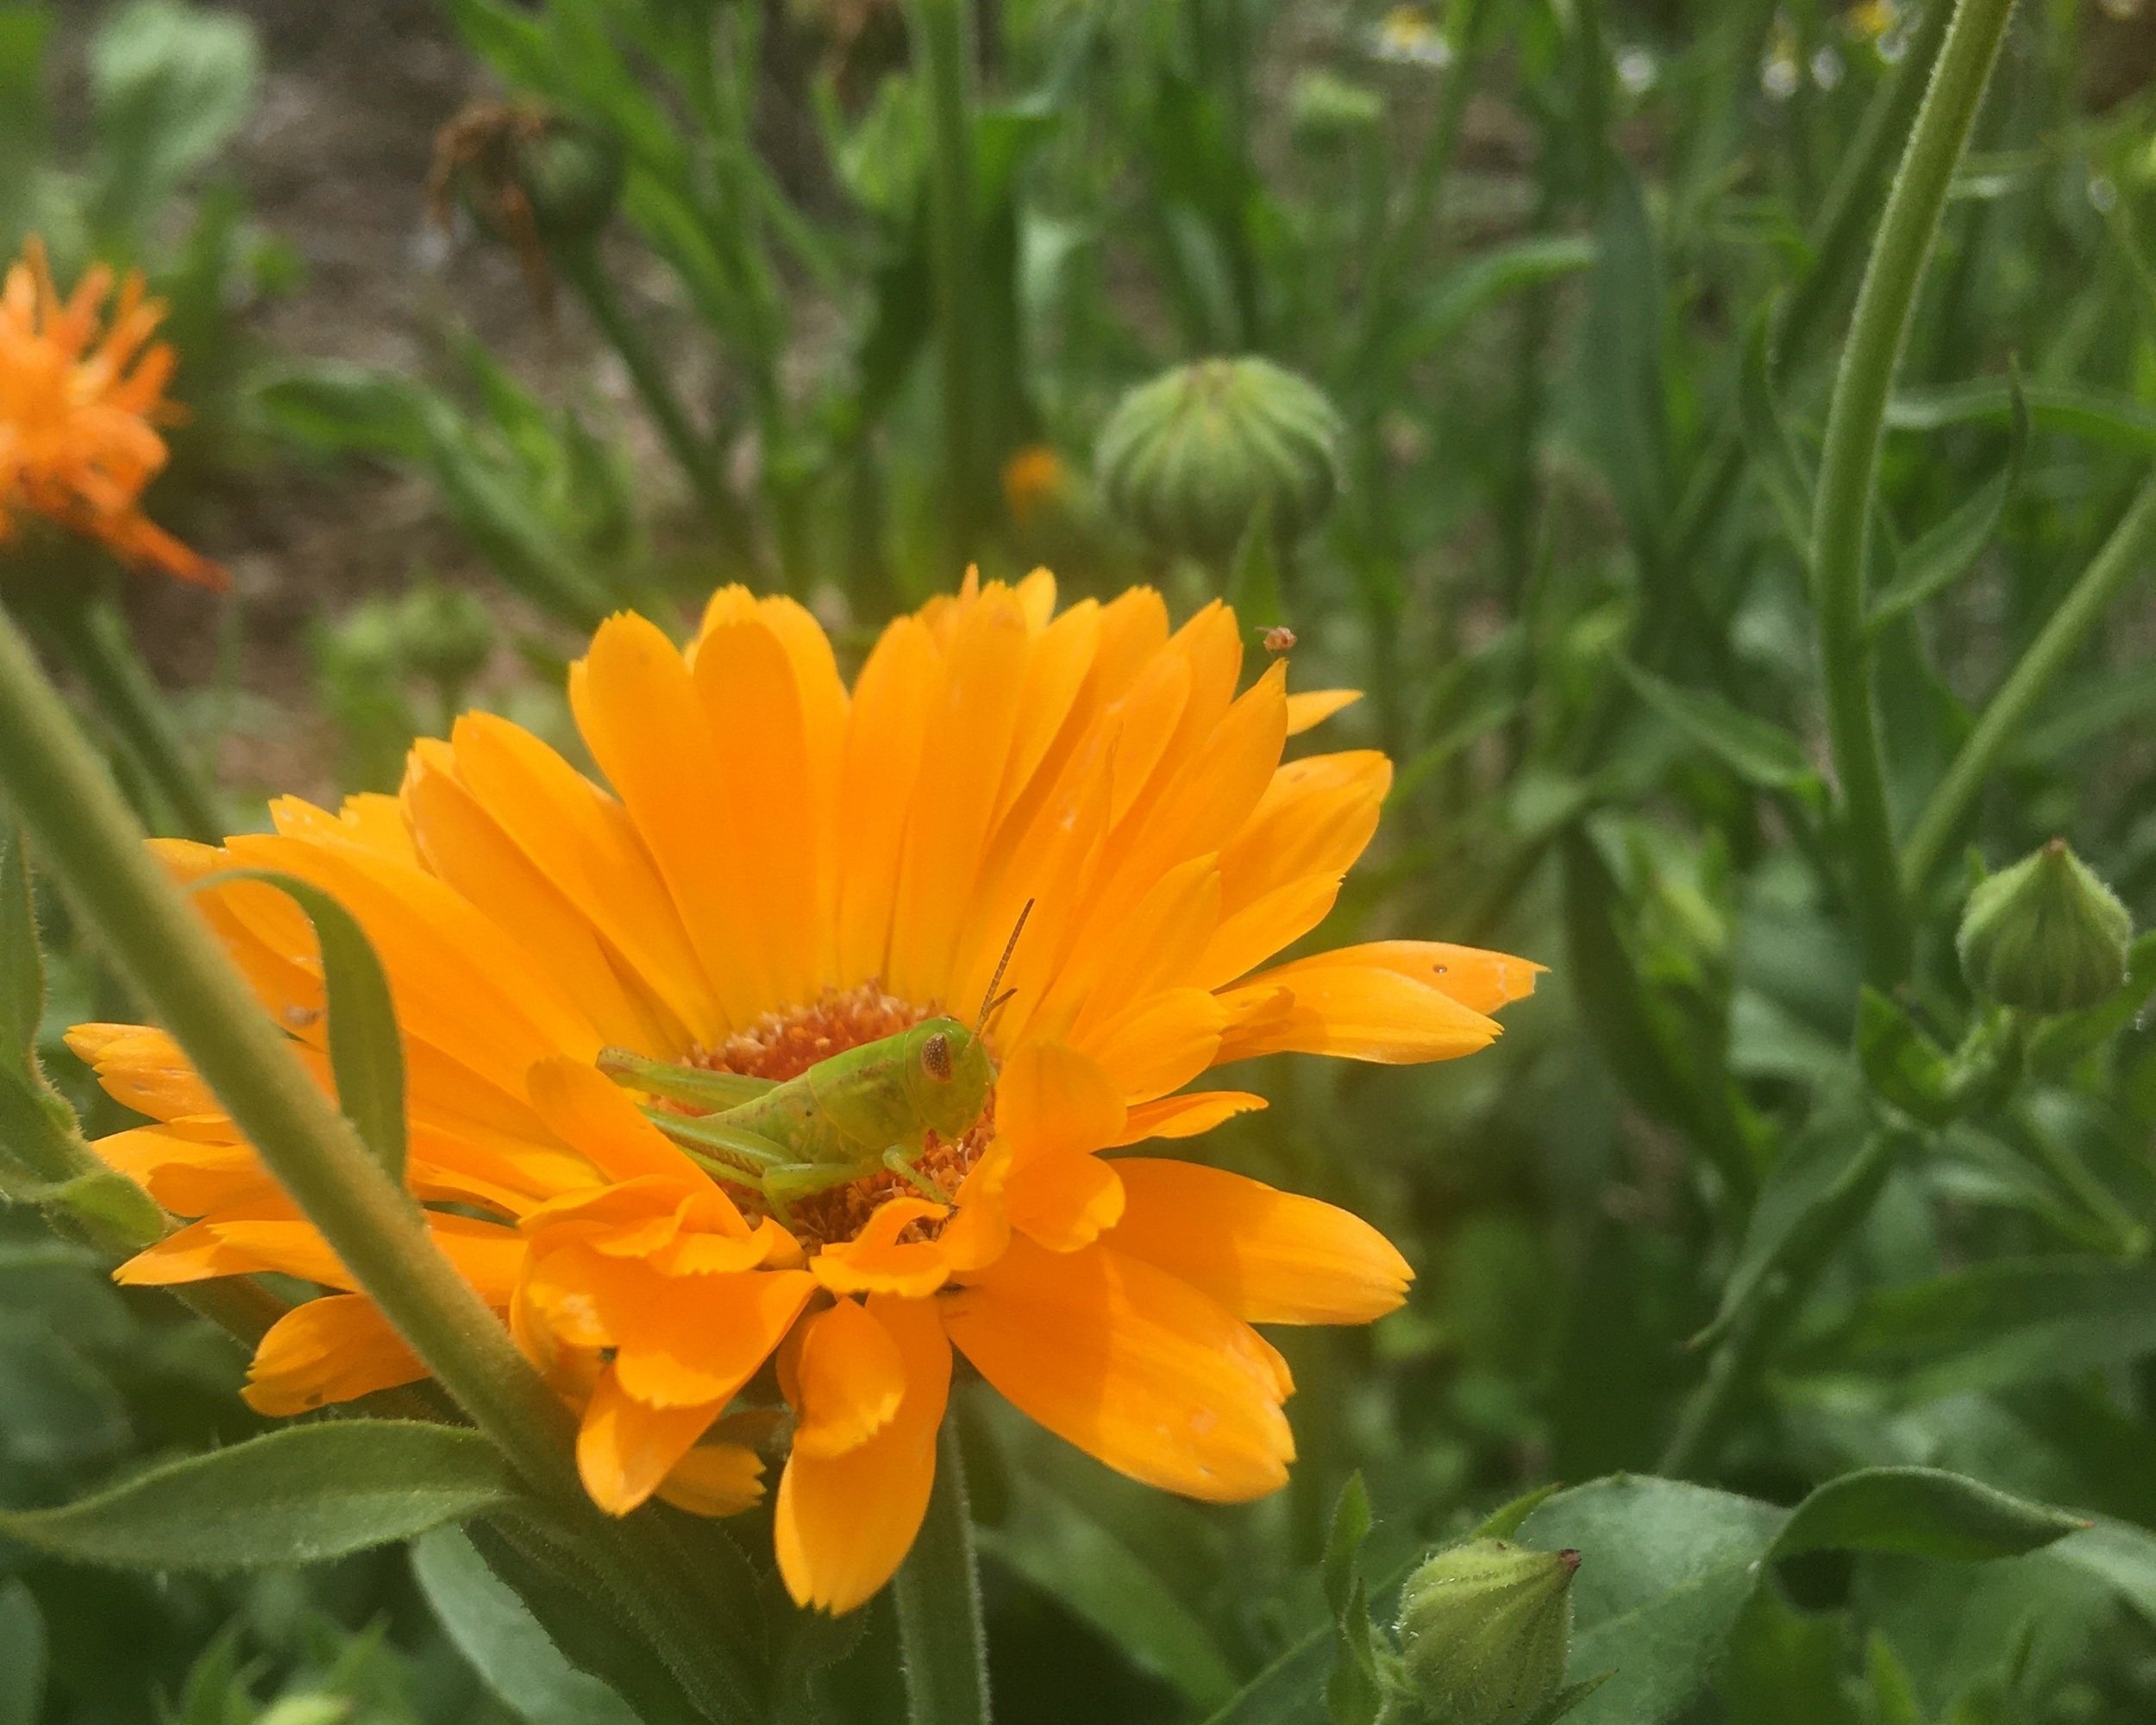
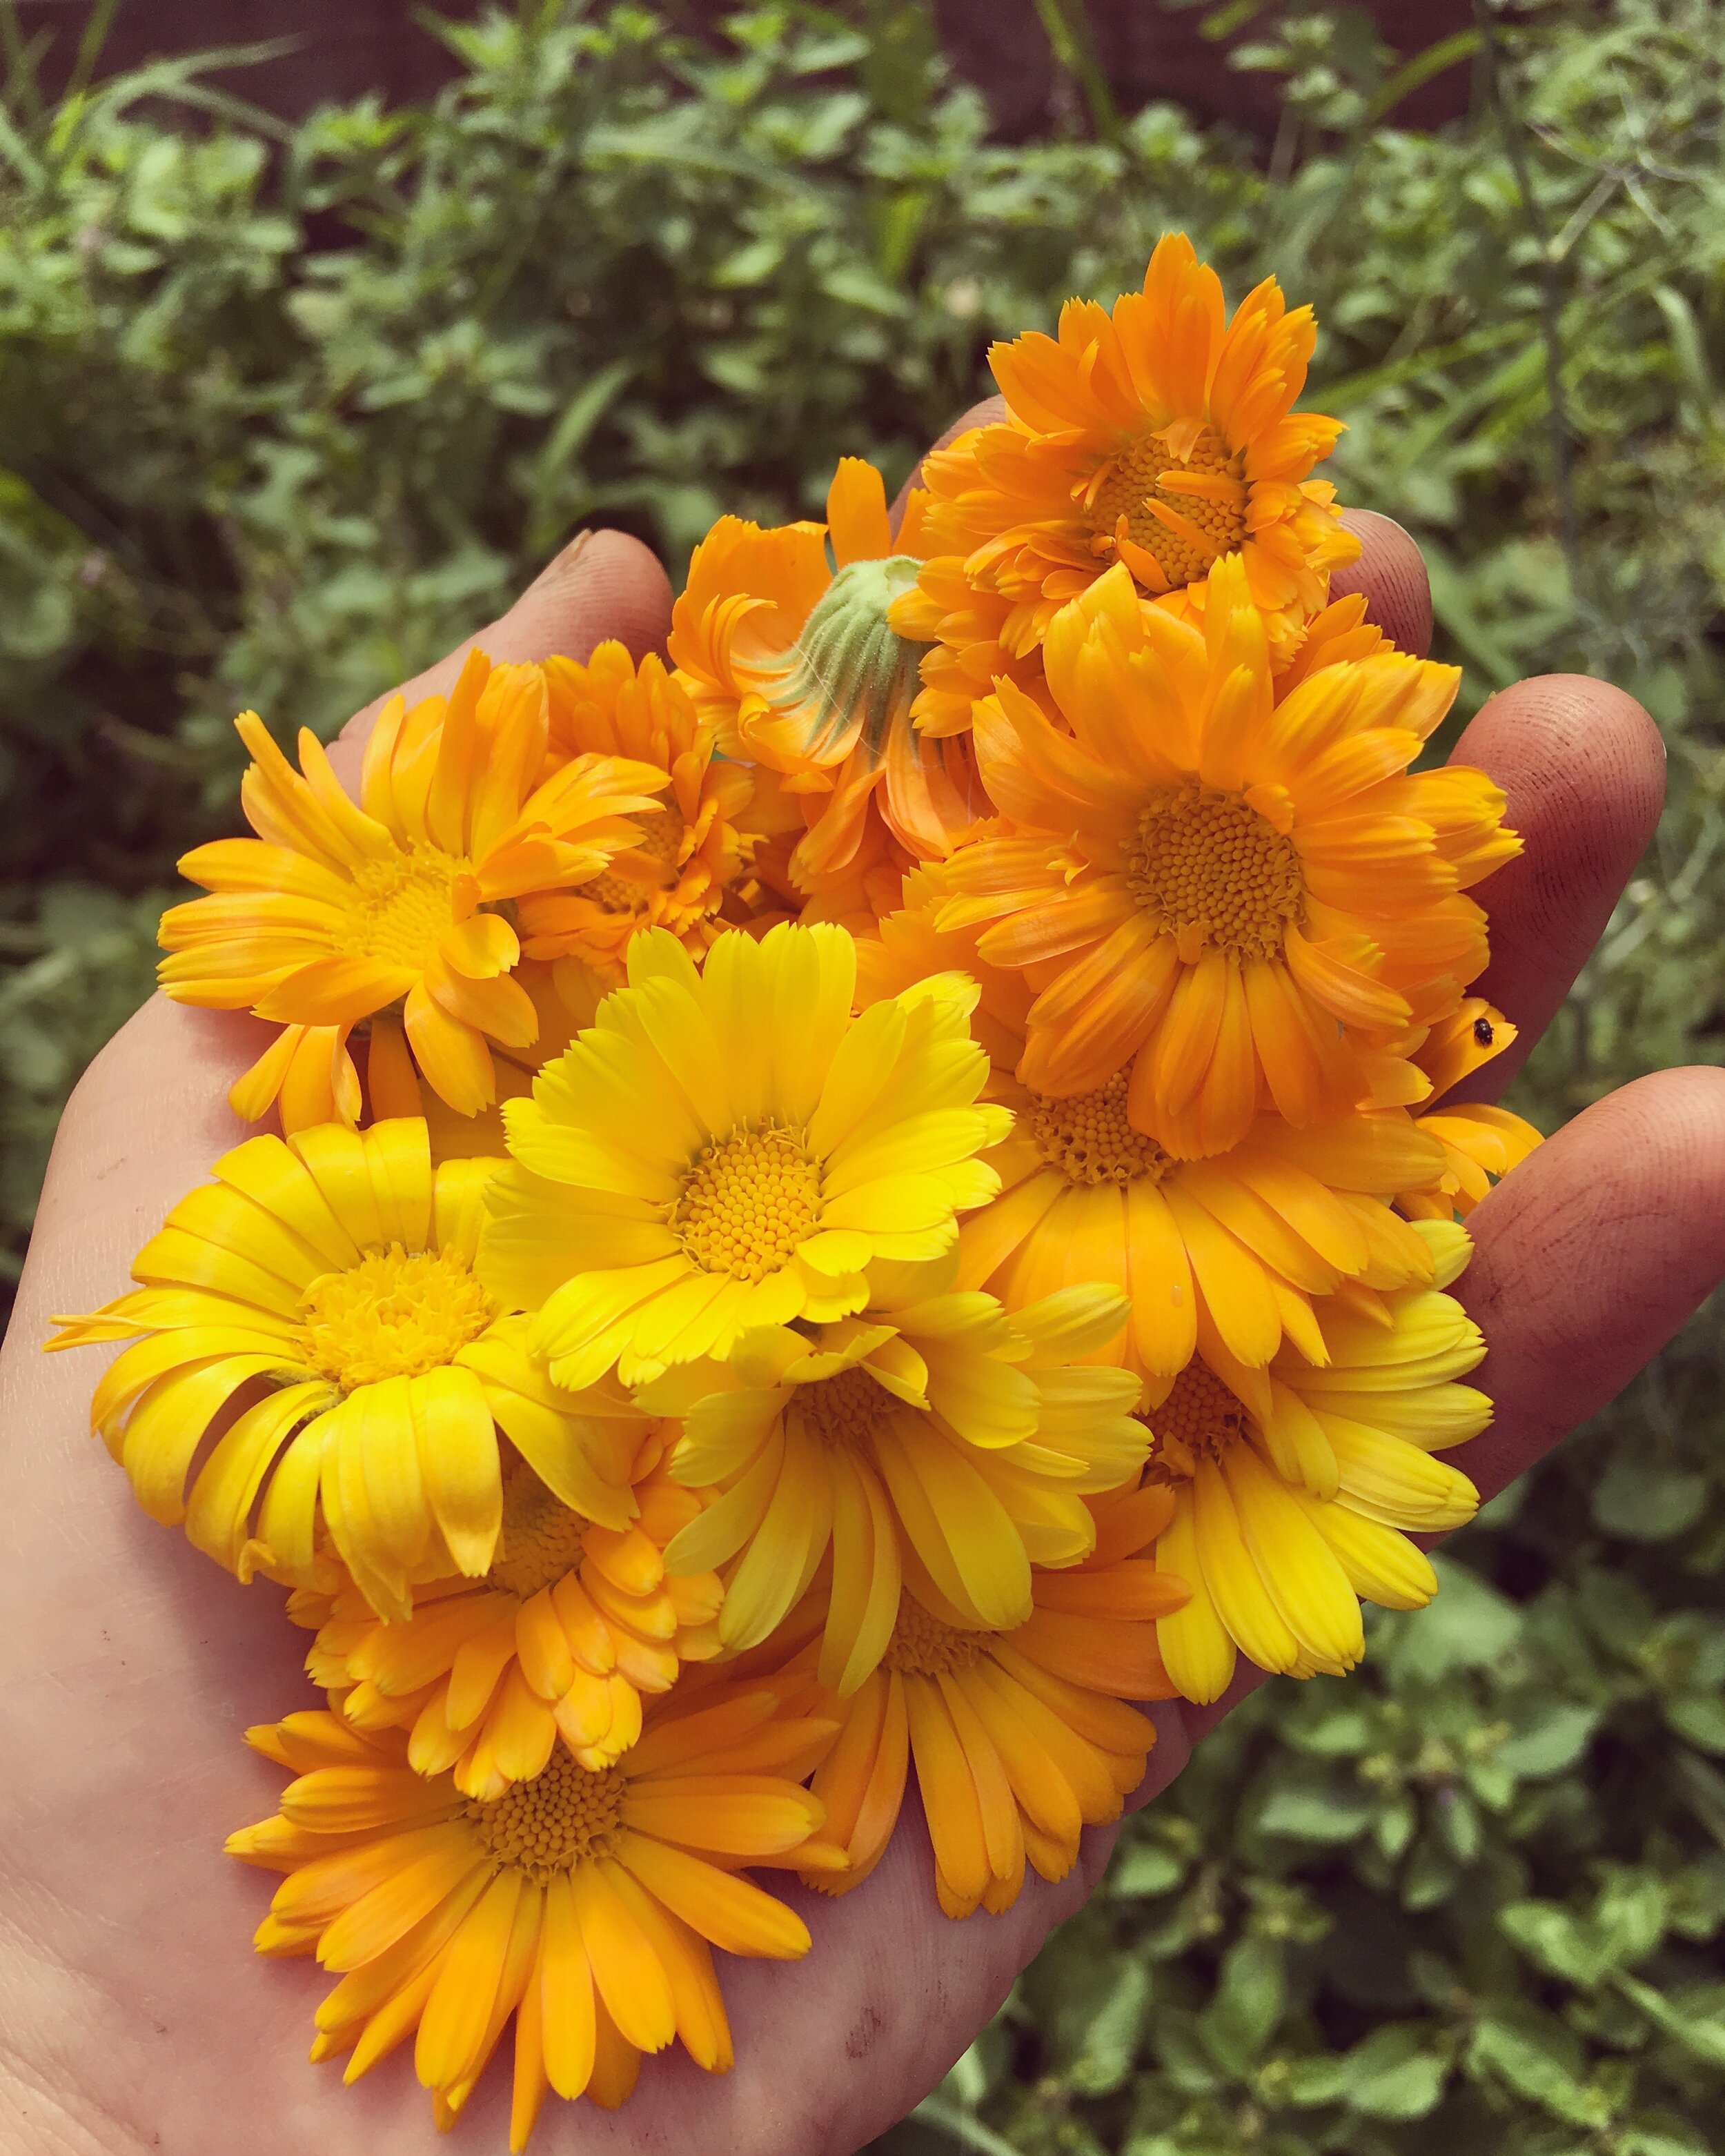
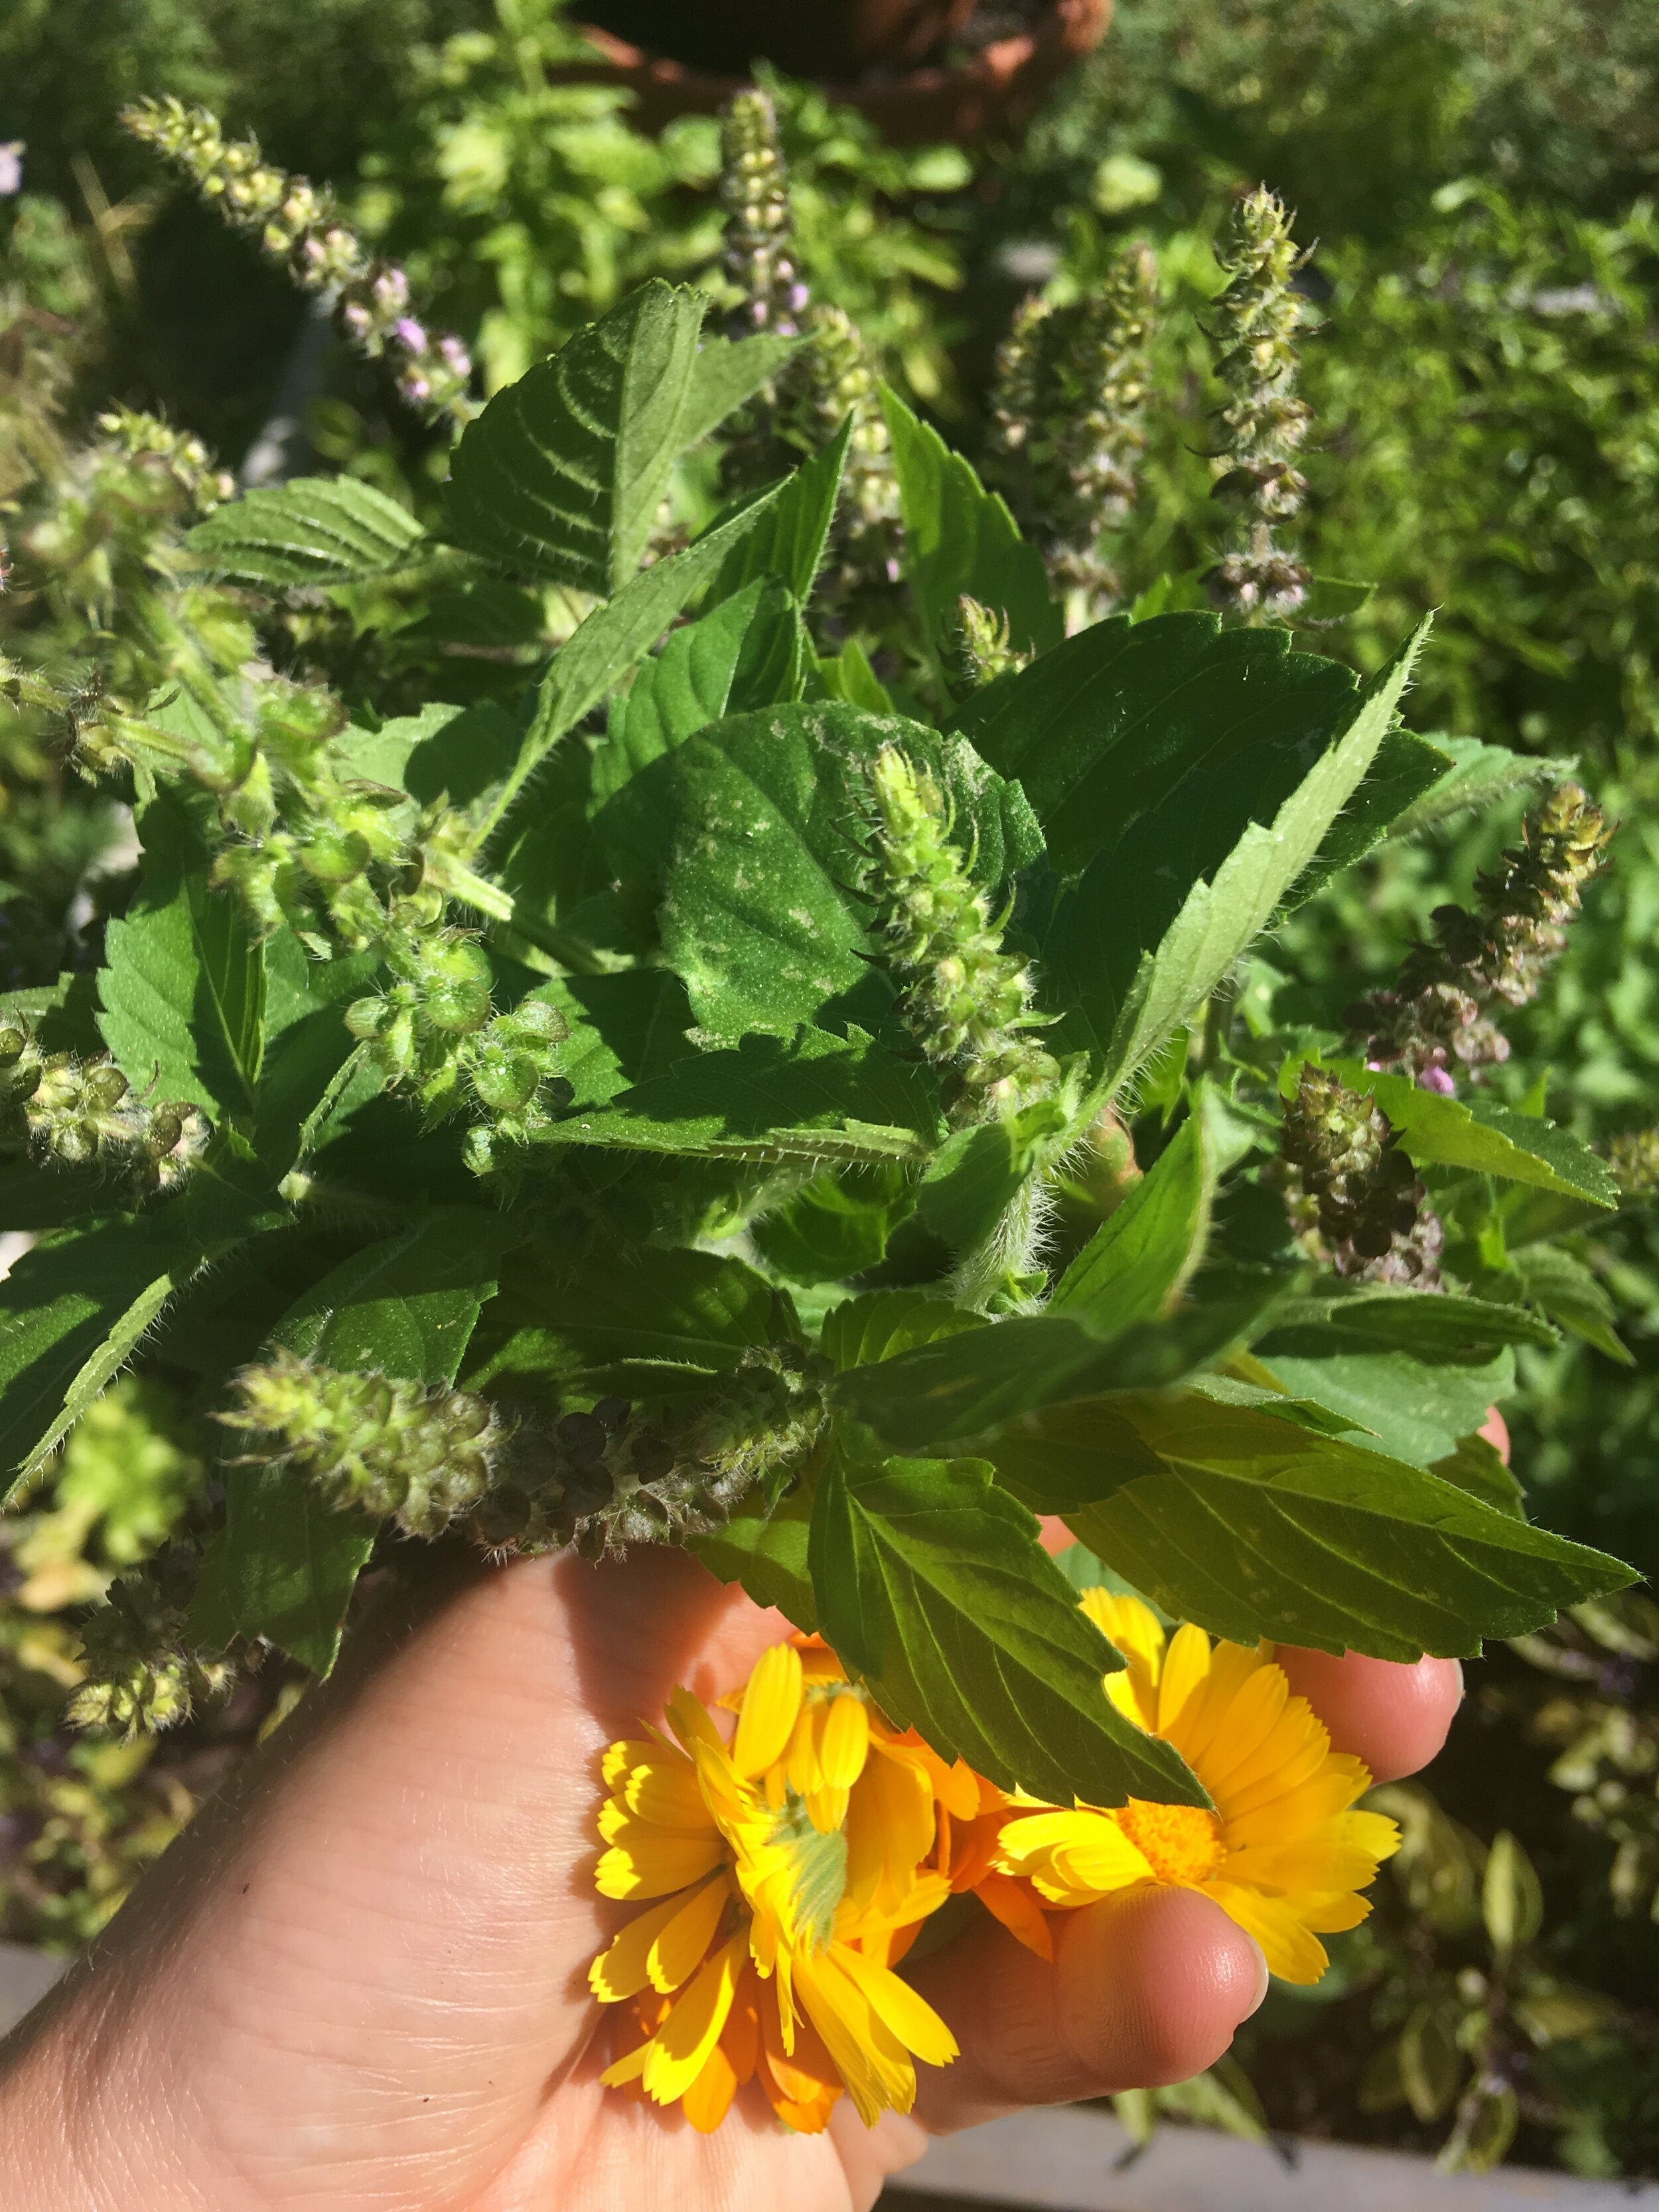
Calendula (Calendula officinalis), historically also known as Pot Marigold, is one of those cheery plants that has successfully transcended the gap between herbal medicine and ornamental gardening. Its sunny blossoms start blooming early in the summer if transplanted, and will proliferate all season long and even after frost, as long as the flowers are picked before going to seed. Like others in the Asteraceae family, pollinators flock to this plant, which provides a valuable long-term nectar source. While there are many types of ornamental calendula available on the market, highly medicinal varieties include Resina, Alpha, and Erfurter Orangefarbige. You’ll know you’ve got a potent calendula if when you pick the blossom (snapping it from the stem and removing the flower head and green bracts) your fingers get sticky with resin.

If you’re growing calendula and deadheading the plants regularly, you’ll find yourself with a wealth of flower heads to use. Luckily, there are endless ways to make use of this beautiful and powerful plant! 

Calendula occupies a unique and important place in any herbal medicine chest. Powerful yet gentle, it’s listed as an active ingredient in balms for everything from cracked hands to rashy baby bums. Calendula enjoys a long history of use as a venerated wound healer and anti-inflammatory herb, soothing and repairing injuries and ulcerations of all kinds. As it also has documented immune-stimulating affects (through its work on the lymphatic system), calendula is also useful when dealing with skin issues that stem from some kind of infection. At the start of gardening season, I can often be found soaking my roughed-up hands in strong calendula tea to heal cracked cuticles and scraped knuckles. 

But we can’t talk about skin without mentioning the skin that lines our insides- the digestive tract! In the same way that calendula heals external wounds, it is equally as powerful when taken internally to alleviate the effects of inflammation in the gut. Allergic reactions both inside and out can benefit from application of this herb, and it is gentle enough to use every day in a variety of ways. I love including calendula in mouthwash formulas to heal irritation and inflammation in the gums.

There’s no reason to relegate calendula to the first-aid kit, though. It is also a wonderful tool in the kitchen, adding color and beauty to baked goods and salads as the “poor man’s saffron”. To use, simply pluck the petals off the flower head, and sprinkle into your batter or lettuce mix. The center of the heads, with their sticky resin, tend to leave an uncomfortable feeling on the back of the throat when consumed raw, so it’s best to save those for tea infusions, or thrown into soups and bone broths where you’ll get the benefit of the herb and the visual delight as well. 

Now that you’ve harvested your blossoms and dreamed up all the ways you’ll use your calendula, make sure to dry some for winter use. Flowers should be picked in the height of the day, when they have fully opened and any dew has dried. Dry flowers in baskets or on newspaper, spread in a single layer so that they are not touching (you can also use a dehydrator on the lowest setting). Calendula flowers hold lots of moisture, so it’s important to let them dry fully before storing, lest they get moldy on you. The center of the head should snap apart easily when dry. As the season wanes, leave some flowers to go to seed on the plant. You can harvest these fossil-like structures once they’ve turned brown and come off easily in your hand. 

Calendula is an excellent and safe introduction into the world of herbal medicine, and with its myriad uses, it’s one of the most reliable plants you can keep on hand throughout the year. 

Basic Calendula Oil, Two Ways:

  • Calendula flowers, wilted for a few days or completely dried

  • High quality oil, such as olive, sunflower, grapeseed, almond, or jojoba

Roughly chop calendula flowers and pack into jar, then fully cover with oil (add an extra glug or two to make sure flowers stay submerged). Label with contents and date, then leave to steep in a dry, shady place for 2-4 weeks. Different herbalists have different habits, and some prefer to let their oils steep in the sunshine, while I keep mine out of direct sunlight. 

If you’re in a rush, you can quickly make an infused oil by heating the oil and flowers slowly in a double boiler, making sure that you stay well below the smoke point for that oil. Heat gently for an hour or two. In either case, when you’re finished infusing the oil, strain out and compost the flowers, label your oil, and store in a dark place for up to a year. You can use this oil to make salves, lotions, and creams, or apply directly to skin. 

Gut-Healing Tea (make with fresh or dry herbs):

  • Calendula flower

  • Chamomile flower

  • Plantain leaf (Plantago spp.)

  • Fennel seed

  • Peppermint leaf

Blend equal parts of all herbs. Infuse about a handful (approx. ¼-½ cup) of herbs in 1 quart of boiled water, and allow to steep for an hour or overnight. Enjoy hot or iced, and drink daily as part of a regimen to help with digestive upset (can also be enjoyed as part of a healthy-skin regimen, too!)

Resources:

Calendula Monograph: https://www.herbrally.com/monographs/calendula

Henriette’s Herbal: https://www.henriettes-herb.com/blog/yell-calendula.html

Drying Herbs for the Home Apothecary


By Sophie Cassel, herbalist, gardener, educator, and RWP employee. 

drying herbs photo.JPG

So, you’ve planned out the garden beds, planted your herbs, tended dutifully to their new growth, and now you’ve got a garden full of medicinal flowers and bushy growth, beginning to attract the attention of busy pollinators and your awe-struck neighbors. What next? Of course, you could leave the plants as ornamentals, or allow them to go to seed in hopes of expanding the garden next year. But if you’re interested in harvesting plant medicine, you’ll want to have all the tools you need to gather, dry, and store your bounty. Read on for some tips on tools and methods for keeping on top of the harvest, and you’ll be rewarded with aromatic and delicious herbs that will store well through the winter months!

Harvesting

First, a note on harvest. Medicinal plants have been used and revered for as long as humans have been humans, and we can and should show gratitude to the plants for all they offer us. While it bears repeating that wild plants should always be collected with utmost respect and caution towards the continuity of the stand or the species, even our own gardens can be the site of conscious harvest. Remember that maintaining a healthy pollinator population is essential for maintaining a healthy garden, and leave at least a third of flowers for the little critters who make all that abundance possible. With many commonly grown medicinals, leaving flowers for the bugs and birds will also promote seed production, which can then be gathered from in the fall to save for next year or offer to friends. Dead standing seed heads also provide important food sources to birds in the winter, which is another way to pay forward the bounty of the garden. 

That said, it’s helpful to have some key tools to make the harvest go smoothly:

  • Baskets: Wide woven baskets are ideal for harvesting big bunches of herbs. They also make good places to dry the plants, since they provide plenty of surface area for air flow. If your basket has an open weave, line it with newspaper to prevent leaves and flowers from falling through the gaps.

  • Clippers: Small snips are best for quickly and cleanly trimming off leaves and small stems, especially with plants whose stems don’t snap off cleanly. Make sure to keep your clippers clean to prevent the spread of disease from plant to plant. 

  • Rubber bands: Save your old bands and twist-ties from produce and use them to make small bunches of herb sprigs- the diameter of the bunched stems should be between nickel- and quarter-sized to allow for air flow through the leaves. 

When it comes to drying herbs, there are a few different methods, and they work well for different plants, depending on the moisture content of the material you’re harvesting. Small-leaved and twiggy plants like thyme or lavender dry quickly in a bundle, whereas juicier plants like tulsi or calendula flowers need time and lots of air flow. Generally speaking, you want to create an environment that is warm, dry, breezy, and out of direct sunlight. That may be a corner of your kitchen, under the eaves of a garage or barn, or hanging from the ceiling of a three-season porch. Here are some methods you can consider, depending on the type of plant you’re collecting.

  • Hanging: Tied up in those small bundles, herbs that are cut by the stem can be hung from a clothesline or string around the house. If it’s a plant that tends to shed its leaves as it dries, like tulsi or bee balm, you can hang the plant inside of a paper bag, so that as the leaves dry down they fall into the bag. Be sure to check bundles regularly to make sure they are drying evenly, without excess moisture in the inside of the bundle.

  • Baskets and Racks: This method works best for flower heads, leaves, and anything with soft or short stems that won’t hold up to bunching. Spread your herbs in a single layer on your basket (lined with newspaper if needed) and place somewhere dry and warm. If you do place your herbs in direct sun, be sure to check them regularly and bring them in before they get too crispy or bleached out. I like to swirl the herbs around in the basket every day or so to make sure they are drying evenly- this is also a good time to remove any thicker stems that are drying more slowly than the other plants. For juicy flowers like calendula or red clover, be sure to check that their middles are fully dry (the centers should snap apart). If you’d like to build your own simple drying screens, there’s a great tutorial here. I set up a wooden clothes drying rack in my living room and place these screens on it, which creates vertical space for drying that doesn’t tie up counter space. 

  • Dehydrator: Only use a dehydrator that has a temperature adjustment, as most standard dehydrators will run too hot for delicate plant material. Models like the Excalibur are pricey, but if you already own one for food preservation, they make great herb dryers. Make sure your temperature is on the lowest setting, and check the plants often to make sure they don’t overdry or begin to cook. It may help to chop the herbs a bit first so that they fit on the trays and don’t crowd each other.

Whichever drying method you use, make sure to label your plants, particularly the leafy green herbs that may only be identifiable by taste or smell. Label the drying plants with their name and when they were harvested- this way you’ll also develop a sense of how long it takes for each herb to dry down. Things like ambient temperature and humidity can dramatically lengthen the time it takes for herbs to dry.

After the plants have dried fully, it’s time for the most satisfying step with the funniest name: Garbling! Garbling is the process of stripping and shredding the useful medicinal leaves and flowers from the woody stems, resulting in a finished product that is uniform and easy to use. The best way to garble is to rub the dried plants against a screen (just like the drying screens above) made with half-inch hardware cloth, which will allow the crumbled herbs to pass through into a bucket or bowl below. You can also of course also do this by hand, in one of your big baskets or a large bowl. 

Once your herbs have been processed fully, store them in a sealed plastic bag or glass jar to prevent moisture moving in. Label well and keep in a dark place to preserve their shelf life. Stored this way, home grown herbs will last well over a year. If you’re unsure of whether the herbs are still useful, use your nose and eyes as guides: If the plants look bleached out or yellowy, or if they have no fragrance (or a funky/moldy one), it’s time to add them back to the compost. If you’ve dried them properly, your dried herbs will stay fresh-looking and aromatic, and provide you with an abundance of medicinal and culinary delights well after the garden has been put to bed. 

Resources:

Planting the Perfect Pumpkin

We all want that giant, magical pumpkin come harvest time.  Here are a few tips to get you there.  Pumpkins are related to cucumbers, melons, summer squash, zucchini, and winter squashes and all of the vegetables in this family will benefit from this treatment. Warm soil. In Vermont wait until early June to put out the plants--a good rule of thumb is to wait until we have had a few nights above 50 F degrees. Transplants do better than seeds since you will have a head start on the season and don't risk having seeds rot in cold soil or be eaten by the local rodent.  It's best to keep two plants together when transplanting since the larger volume of foliage will help shade out weeds later in the season.

A raised bed or mound. This will help warm the soil and improve drainage.  It also gives the plants' shallow roots a place full or looser soil to spread without strain.

Lots of fertility. Compost is a  must for successful pumpkins, squashes, cucumbers and melons.  At home, we use rotted donkey manure (thanks to Pokey and Rosy) mixed with well composted yard debris (leaves, grass clippings) and food scraps.  More can be learned about compost at the Vermont Compost Company website.  A little granular fertilizer can be used as well if you do not have access to good compost and/or very poor soils.  A soil test is always a good idea, and can be done easily at your local extension office.

Adequate water. One inch a week.  That means that if it does not rain, you should gently pour about 3 gallons of water at the base of your plants.  A slow drip irrigation system or soaker hose is a great option as well.

Full sun. There is no compromise on this one.  The plants must have at least 8 to 10 hours of full sunlight.

Lots of room.  Plants (actually, groups of 2 plants) should be at least 3 feet apart. They need that much space for proper ventilation and so that the flowers and foliage are exposed to pollinators and sunlight.

Pollination. Plant a few bee friendly plants such as calendula, borage, mint and salvias around your garden to attract bees and other beneficial insects.  Cucurbit plants have male and female flowers on each plant and have to be pollinated by insects.  Welcoming bees to your garden will help yields since more female flowers will become pollinated--the only way for them to produce fruit.

Harvest at the right time. Winter squashes and pumpkins should be harvested when the skins are hard and cannot be pierced by your thumbnail.  Summer squashes and cucumbers and zucchini should be harvested at whatever stage you like to eat them, from baby to baseball bats.  Watermelons are harvested when the tendrils on either side of the attaching stem are dead and the yellow spot on the bottom of the fruit (where it rests on the ground) is a deep yellow, and when thunking the fruit with your knuckle produces a hollow sound.  Cantaloupes are ready when they slip off the vine with a gentle tug (called the "half slip stage").  Melons take a little trial and error to learn to harvest at the right time, but a good rule of thumb is "if in doubt, wait."

The Autumn Garden: Time to Gather and Restore

With these colder days also come a chance to produce a few more late season greens in the vegetable garden. These include lettuce, kale, parsley cilantro, arugula, mustard greens and spinach. Here is a simple system that can be followed by anyone wishing to extend the fall and winter harvest.

Julie's Introduction

If you ask me, September is the best month in the garden.

The warm season crops are still doing well (in theory) and the colder season crops are starting to come back, thankful for the cooler nights.

The harvest basket seems to just fill itself up the minute I step into the straw mulched paths, pausing for a moment to ask if I should eat the raspberries before or after I do a little grunt work.

But while all of this pastoral musing seems idyllic enough, there are some other thoughts in the nether layers that I need to reckon with.

First of all, why is my garden so big?

Why is it that every April, the month of good intentions, I decide that this is the year I will finally find time to keep everything weeded and tended?

As we slide from April to September, my good intentions are slowly eclipsed by my desire to spend summertime in places other than the garden. I love to bike, hike, swim, row, travel, read in the hammock, and yes, I love to cook, hence the garden. But gardening feels like work when it is 95 F and the weeds are scratching my neck.

I used to feel guilty about all of this, but now I have learned to cope with the ebb and flow of my gardening enthusiasm-- what I am working on now is gardening without guilt.

While it is true that I am very passionate about gardening, I realize that there is a seasonal drive to every aspect of this hobby. Every gardener must come to terms with his or her own type of engagement in the garden. There is no right or wrong way to garden. There is beauty and purpose in every type of garden and what matters most is that a garden meets the needs of the gardener, not the other way around. Gardens without guilt are places of liberation and revelation....a place to accept both our shortcomings and our successes.

The food coming out of my garden this year is bountiful as always, and I have managed to learn a few things which have made the garden easier to manage in spite of its size. Over the next few months as we go through another autumn and winter cycle, I will reflect on what gardening means to me, what I do with the food from my garden, and how I go about deciding what to grow at Red Wagon Plants.

As I share these thoughts with you, I encourage you to share your notions about The Garden. What works well for you? What are the disasters? How does your garden fit into your life? This garden journal is a collective effort between the people of Red Wagon Plants and the family of customers created by all of those young plants going out into the world of our gardens. We hope you will share the thoughts you glean this season and keep the conversation going until we see you again in the spring.