By Sophie Cassel, herbalist, gardener, educator, and RWP employee.
So, you’ve planned out the garden beds, planted your herbs, tended dutifully to their new growth, and now you’ve got a garden full of medicinal flowers and bushy growth, beginning to attract the attention of busy pollinators and your awe-struck neighbors. What next? Of course, you could leave the plants as ornamentals, or allow them to go to seed in hopes of expanding the garden next year. But if you’re interested in harvesting plant medicine, you’ll want to have all the tools you need to gather, dry, and store your bounty. Read on for some tips on tools and methods for keeping on top of the harvest, and you’ll be rewarded with aromatic and delicious herbs that will store well through the winter months!
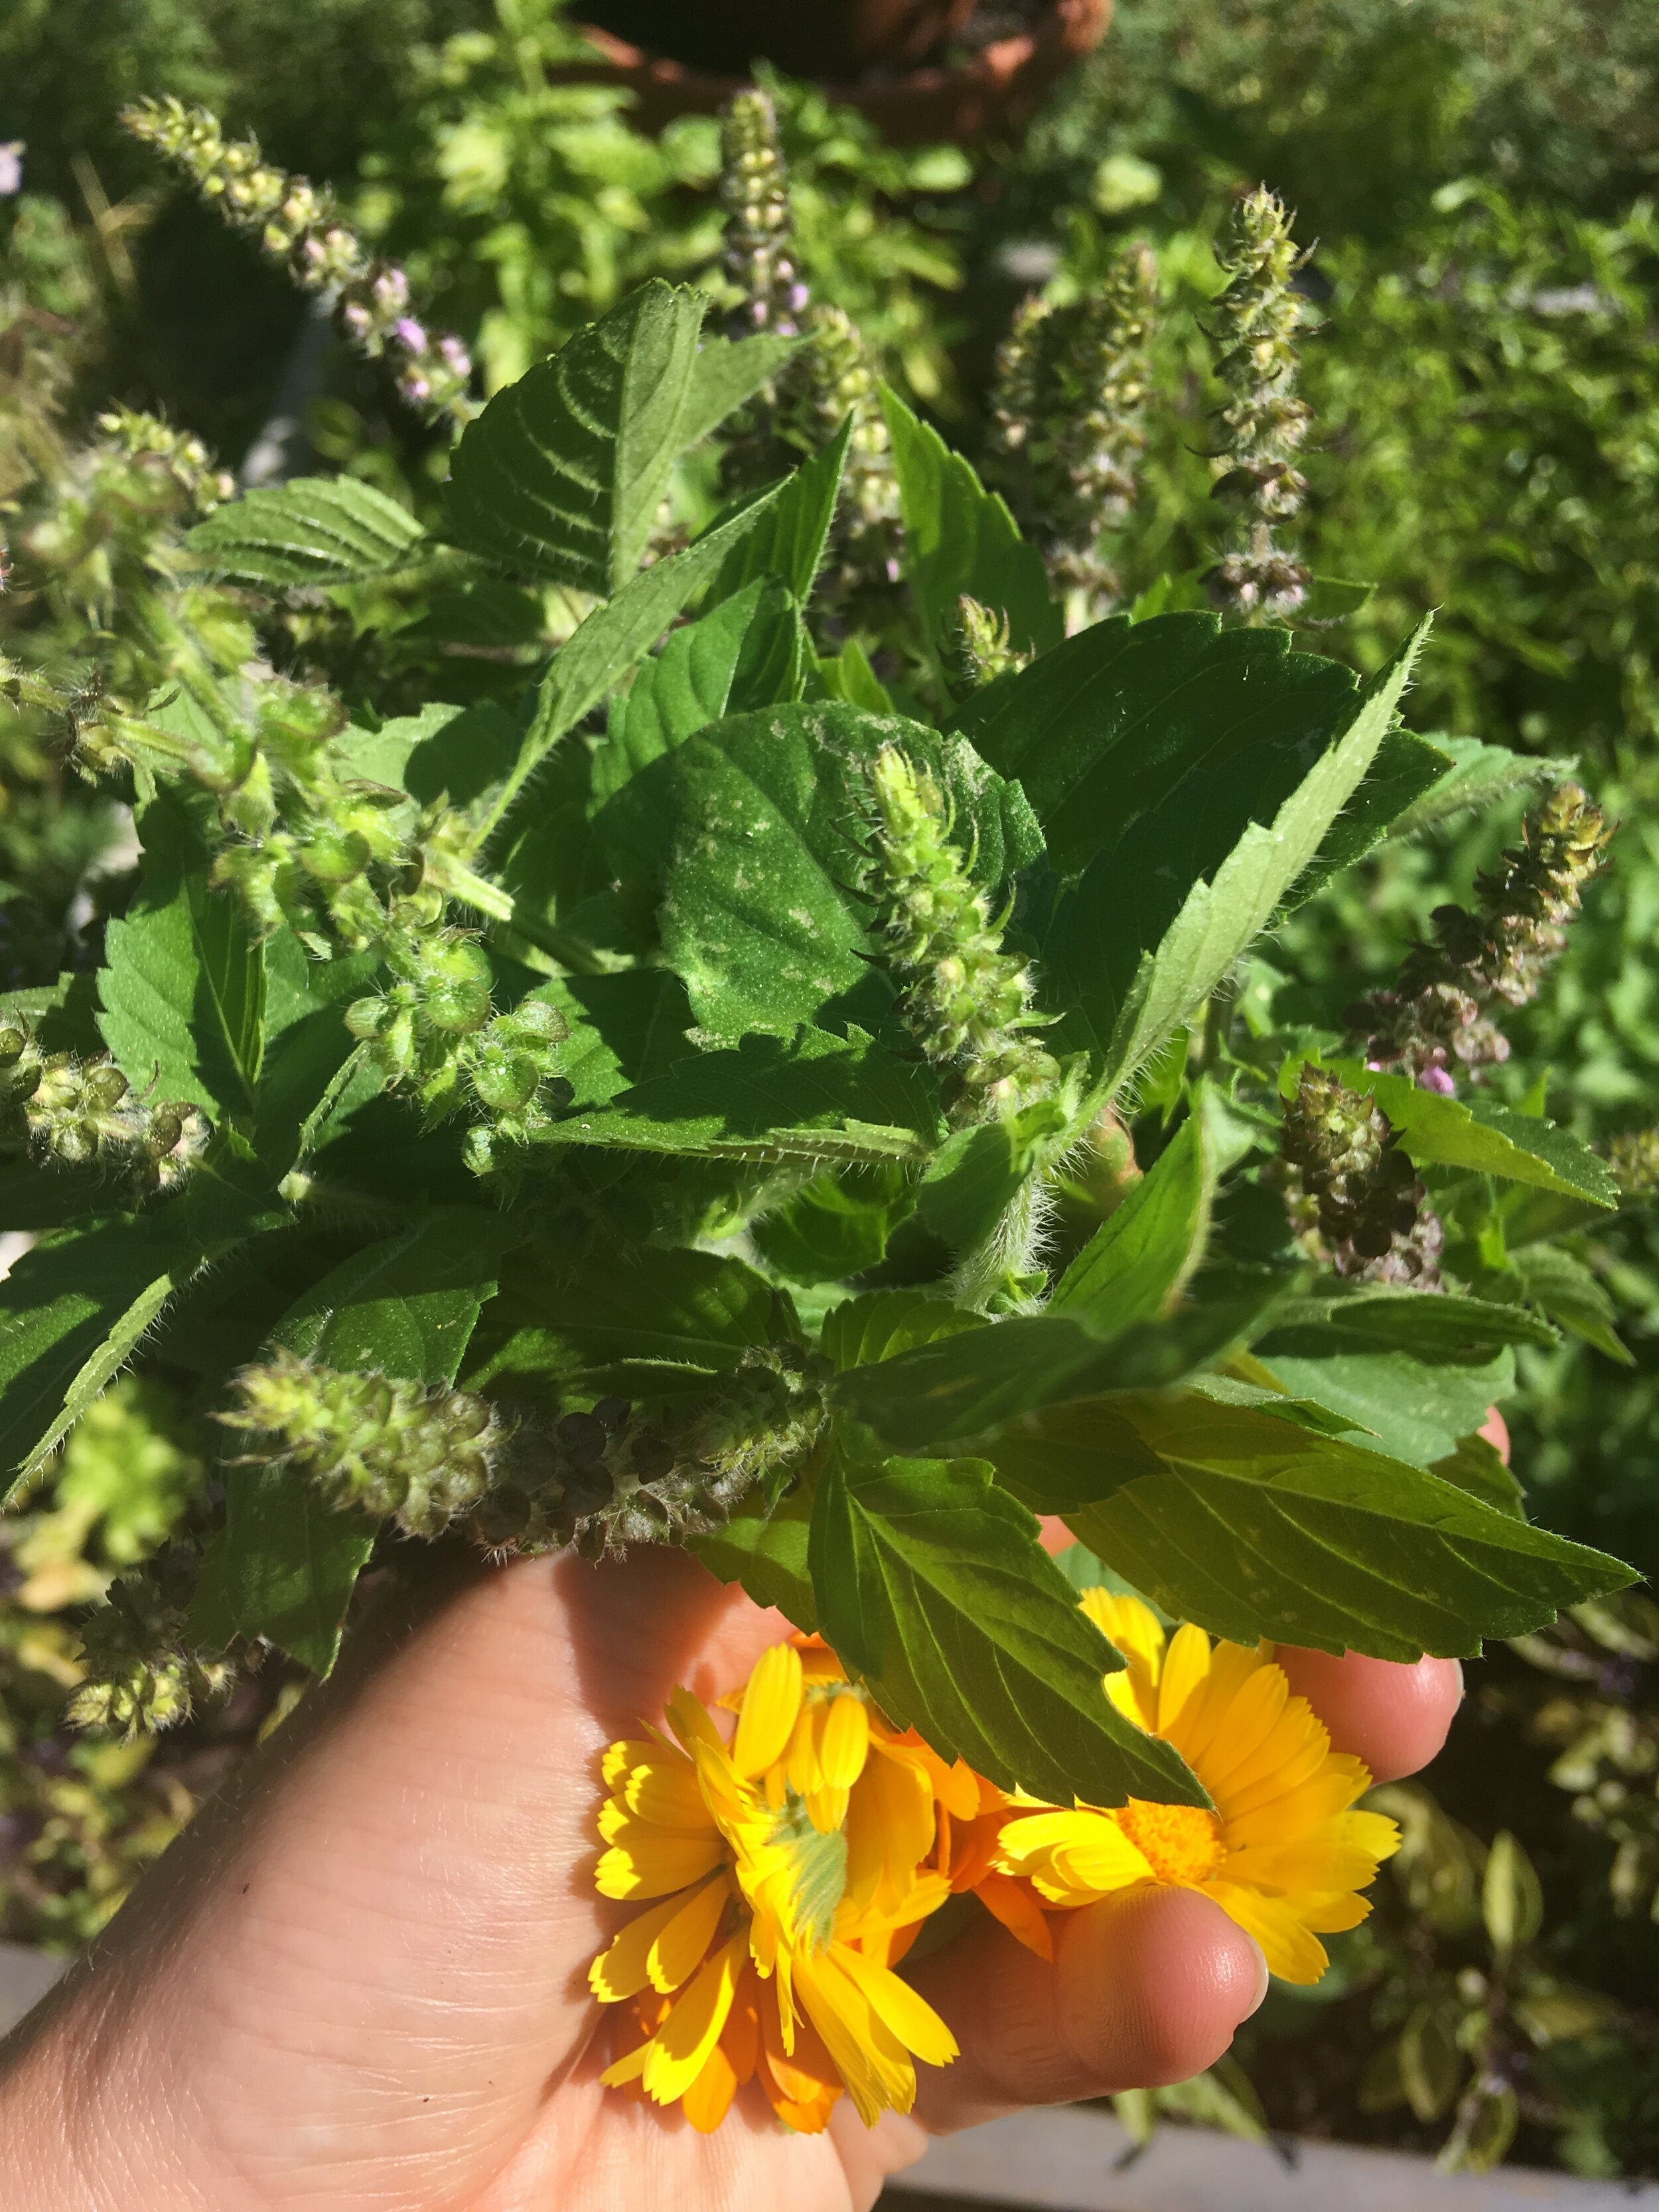
Harvesting
First, a note on harvest. Medicinal plants have been used and revered for as long as humans have been humans, and we can and should show gratitude to the plants for all they offer us. While it bears repeating that wild plants should always be collected with utmost respect and caution towards the continuity of the stand or the species, even our own gardens can be the site of conscious harvest. Remember that maintaining a healthy pollinator population is essential for maintaining a healthy garden, and leave at least a third of flowers for the little critters who make all that abundance possible. With many commonly grown medicinals, leaving flowers for the bugs and birds will also promote seed production, which can then be gathered from in the fall to save for next year or offer to friends. Dead standing seed heads also provide important food sources to birds in the winter, which is another way to pay forward the bounty of the garden.
That said, it’s helpful to have some key tools to make the harvest go smoothly:
Baskets: Wide woven baskets are ideal for harvesting big bunches of herbs. They also make good places to dry the plants, since they provide plenty of surface area for air flow. If your basket has an open weave, line it with newspaper to prevent leaves and flowers from falling through the gaps.
Clippers: Small snips are best for quickly and cleanly trimming off leaves and small stems, especially with plants whose stems don’t snap off cleanly. Make sure to keep your clippers clean to prevent the spread of disease from plant to plant.
Rubber bands: Save your old bands and twist-ties from produce and use them to make small bunches of herb sprigs- the diameter of the bunched stems should be between nickel- and quarter-sized to allow for air flow through the leaves.
When it comes to drying herbs, there are a few different methods, and they work well for different plants, depending on the moisture content of the material you’re harvesting. Small-leaved and twiggy plants like thyme or lavender dry quickly in a bundle, whereas juicier plants like tulsi or calendula flowers need time and lots of air flow. Generally speaking, you want to create an environment that is warm, dry, breezy, and out of direct sunlight. That may be a corner of your kitchen, under the eaves of a garage or barn, or hanging from the ceiling of a three-season porch. Here are some methods you can consider, depending on the type of plant you’re collecting.
Hanging: Tied up in those small bundles, herbs that are cut by the stem can be hung from a clothesline or string around the house. If it’s a plant that tends to shed its leaves as it dries, like tulsi or bee balm, you can hang the plant inside of a paper bag, so that as the leaves dry down they fall into the bag. Be sure to check bundles regularly to make sure they are drying evenly, without excess moisture in the inside of the bundle.
Baskets and Racks: This method works best for flower heads, leaves, and anything with soft or short stems that won’t hold up to bunching. Spread your herbs in a single layer on your basket (lined with newspaper if needed) and place somewhere dry and warm. If you do place your herbs in direct sun, be sure to check them regularly and bring them in before they get too crispy or bleached out. I like to swirl the herbs around in the basket every day or so to make sure they are drying evenly- this is also a good time to remove any thicker stems that are drying more slowly than the other plants. For juicy flowers like calendula or red clover, be sure to check that their middles are fully dry (the centers should snap apart). If you’d like to build your own simple drying screens, there’s a great tutorial here. I set up a wooden clothes drying rack in my living room and place these screens on it, which creates vertical space for drying that doesn’t tie up counter space.
Dehydrator: Only use a dehydrator that has a temperature adjustment, as most standard dehydrators will run too hot for delicate plant material. Models like the Excalibur are pricey, but if you already own one for food preservation, they make great herb dryers. Make sure your temperature is on the lowest setting, and check the plants often to make sure they don’t overdry or begin to cook. It may help to chop the herbs a bit first so that they fit on the trays and don’t crowd each other.
Whichever drying method you use, make sure to label your plants, particularly the leafy green herbs that may only be identifiable by taste or smell. Label the drying plants with their name and when they were harvested- this way you’ll also develop a sense of how long it takes for each herb to dry down. Things like ambient temperature and humidity can dramatically lengthen the time it takes for herbs to dry.
After the plants have dried fully, it’s time for the most satisfying step with the funniest name: Garbling! Garbling is the process of stripping and shredding the useful medicinal leaves and flowers from the woody stems, resulting in a finished product that is uniform and easy to use. The best way to garble is to rub the dried plants against a screen (just like the drying screens above) made with half-inch hardware cloth, which will allow the crumbled herbs to pass through into a bucket or bowl below. You can also of course also do this by hand, in one of your big baskets or a large bowl.
Once your herbs have been processed fully, store them in a sealed plastic bag or glass jar to prevent moisture moving in. Label well and keep in a dark place to preserve their shelf life. Stored this way, home grown herbs will last well over a year. If you’re unsure of whether the herbs are still useful, use your nose and eyes as guides: If the plants look bleached out or yellowy, or if they have no fragrance (or a funky/moldy one), it’s time to add them back to the compost. If you’ve dried them properly, your dried herbs will stay fresh-looking and aromatic, and provide you with an abundance of medicinal and culinary delights well after the garden has been put to bed.
Resources:
The Herbal Academy, “How to Make an Herb and Flower Drying Screen”: https://theherbalacademy.com/how-to-make-an-herb-and-flower-drying-screen/
Carpenter, Jeff and Melanie. The Organic Medicinal Herb Farmer. Chelsea Green Publishing, 2015.