garden tips

Many Marigolds

Giant African Marigolds in the garden of RWP friend Bob Furrer

Marigold: even the common name evokes a sense of radiance and joy, which is exactly what these plants bring to the garden. But not all members of the Tagetes genus are the same, and it can be confusing for the new gardener to know which type is best suited to which part of their planting plan. Read on to learn about some commonly confused species and a few other marigolds you’ll want to include in your garden. All marigold petals can be dried and used as a seasoning in winter time.

French Marigold

Tagetes patula, French Marigold. This cute, compact species is often planted as a companion in vegetable gardens, as it attracts beneficial insects and produces alpha-terthienyl, which helps deter nematodes and other pests. T. patula only reaches about a foot tall at most, and doesn’t have a spreading habit, so it’s easy to tuck in between tomato plants or around the edges of the garden bed. They come in a rich display of saturated sunset colors on 2” blooms, with many cultivars boasting variegation on the petals and a crested, double bloom.

Tagetes erecta, African Marigold, American Marigold, Mexican Marigold. Also known as Giant Marigold, which is a helpful reminder that this species can grow well above 3’ tall depending on the cultivar. T. erecta has large 3” blooms with dozens of petals packed tightly together, and come in single colors of vivid yellow and orange. Strategically placed, these tall flowers can provide afternoon shade for greens like arugula and cilantro, which tend to bolt in the hot summer sun. They provide the same beneficial insect and pest protection as T. patula in a larger, showy package. They also work beautifully in a cut flower garden alongside Benary’s Giant zinnias and tall snapdragons. Pick off flowers regularly to encourage blooming all summer. Giant marigolds are especially useful as dye plants and make gorgeous flower garlands, which are important elements in marriage and death rituals around the world. 

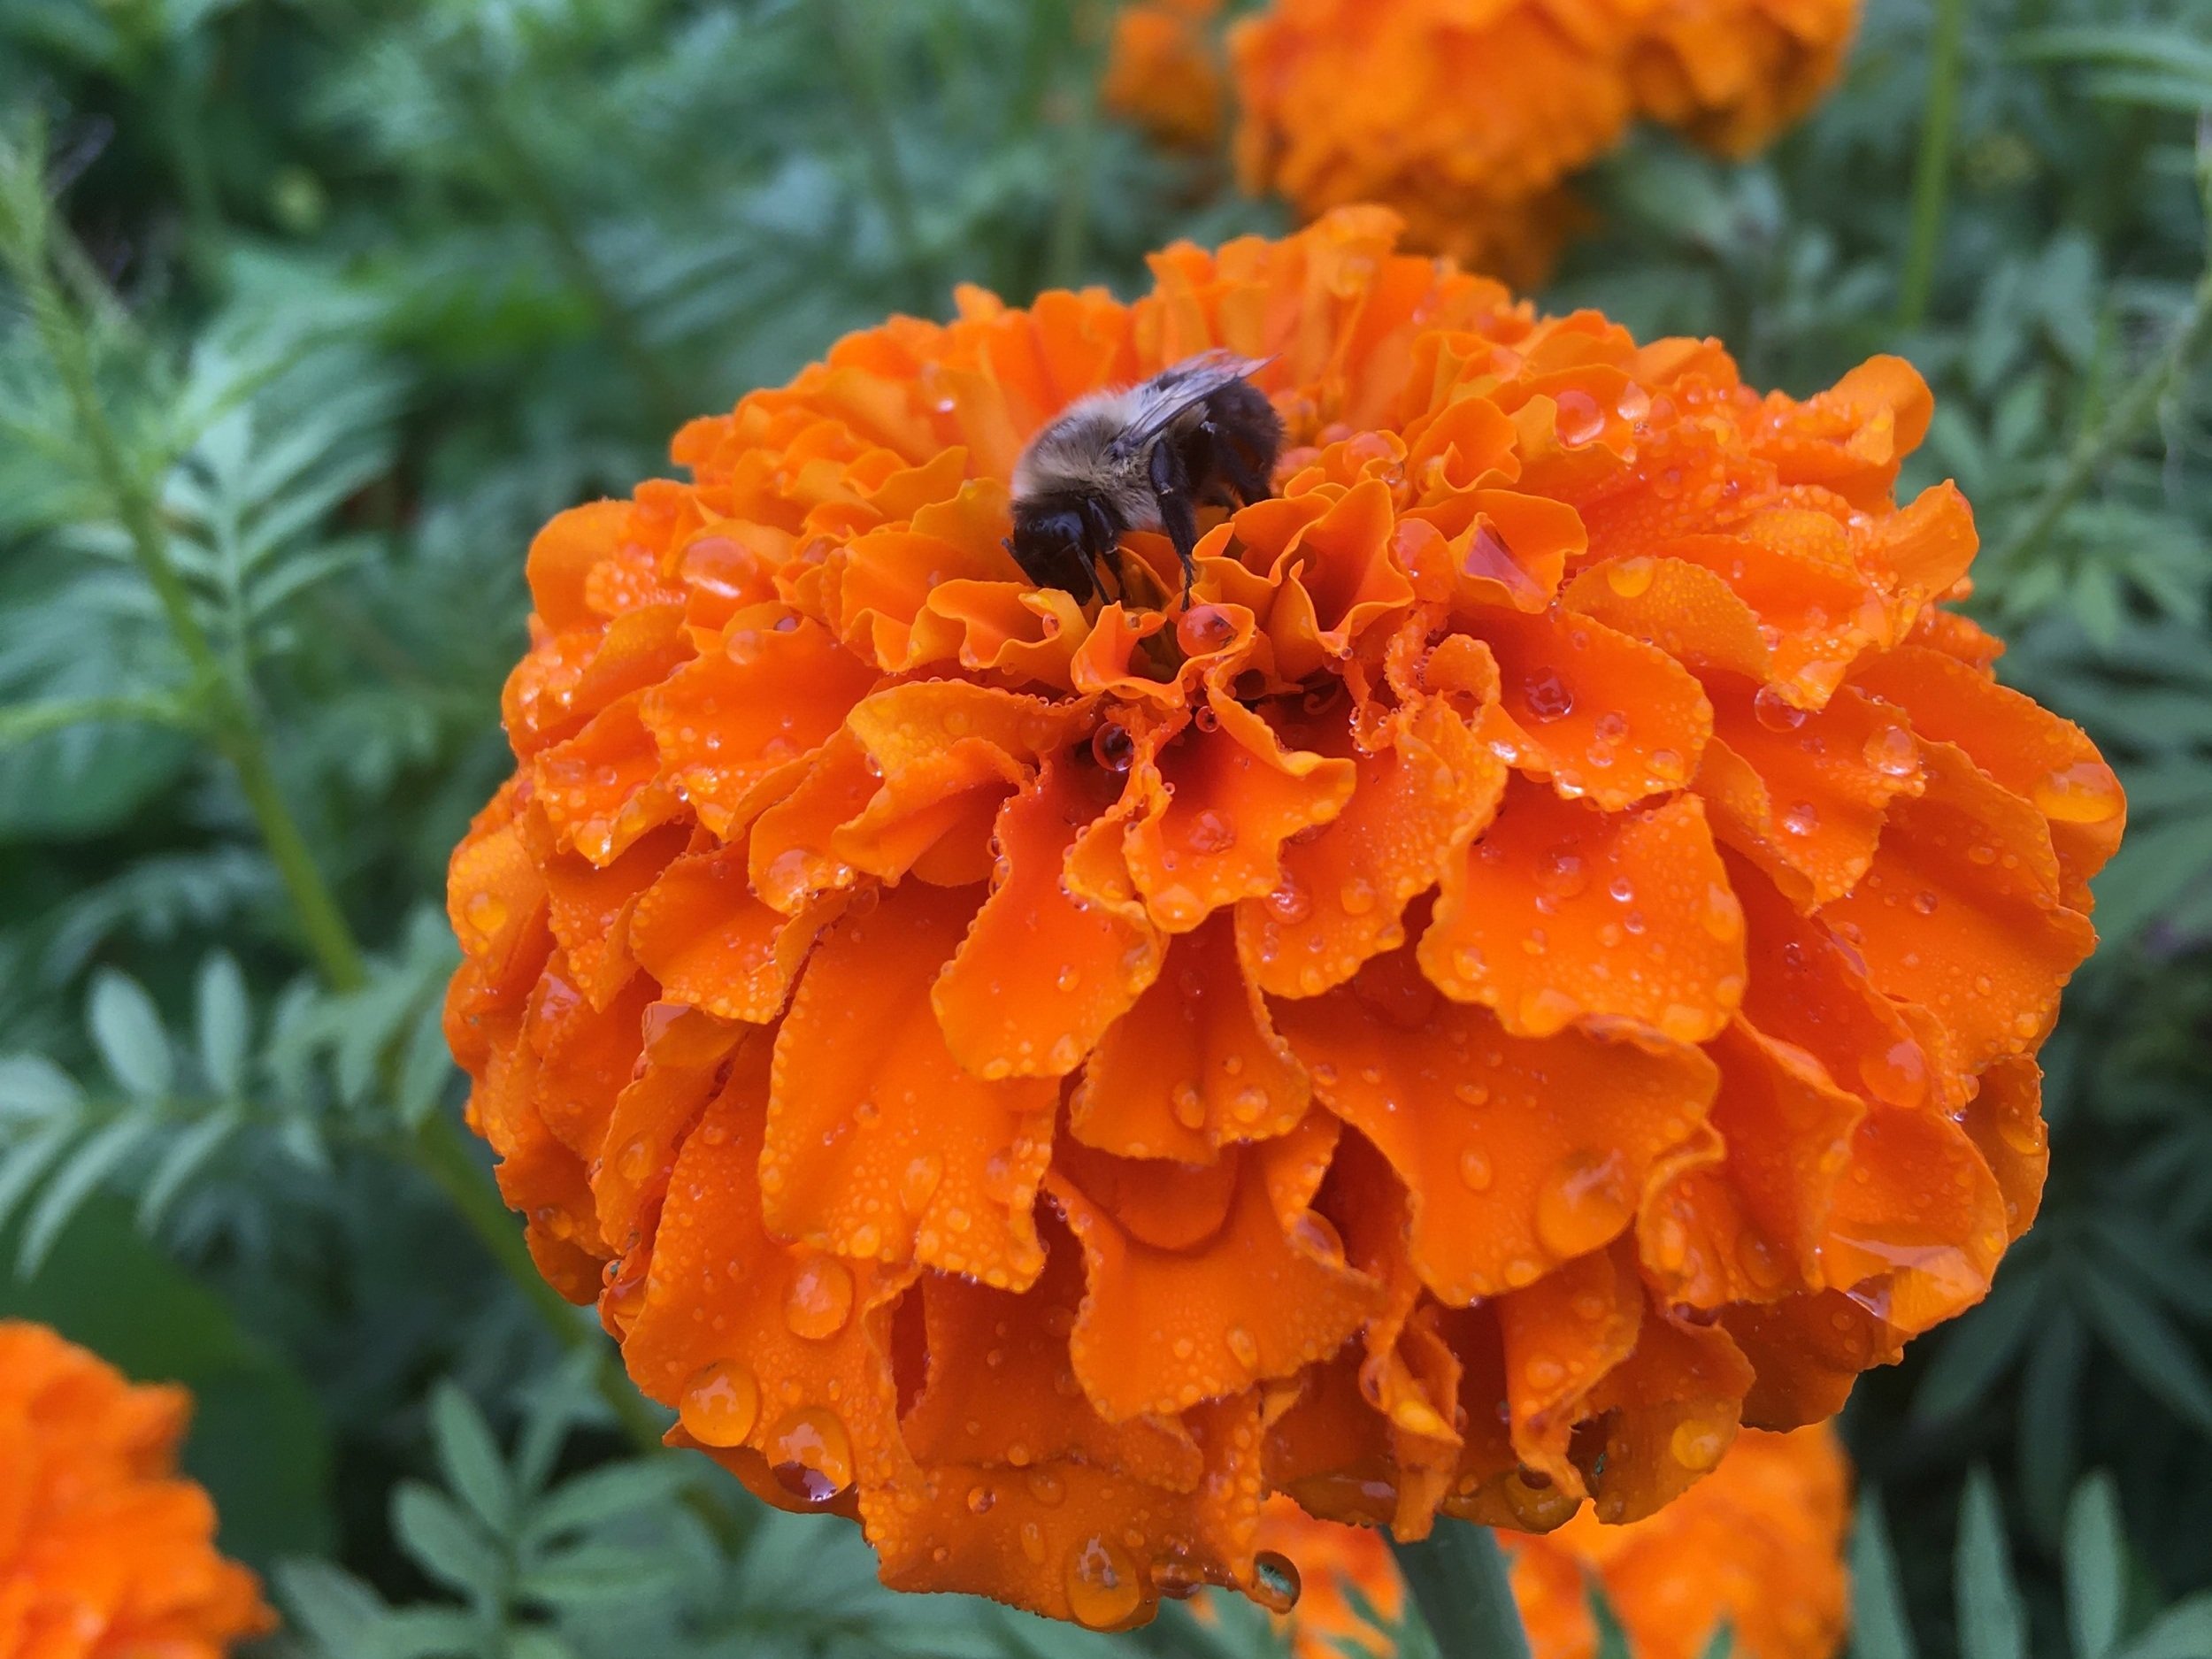
African Marigold, ‘Crackerjack’

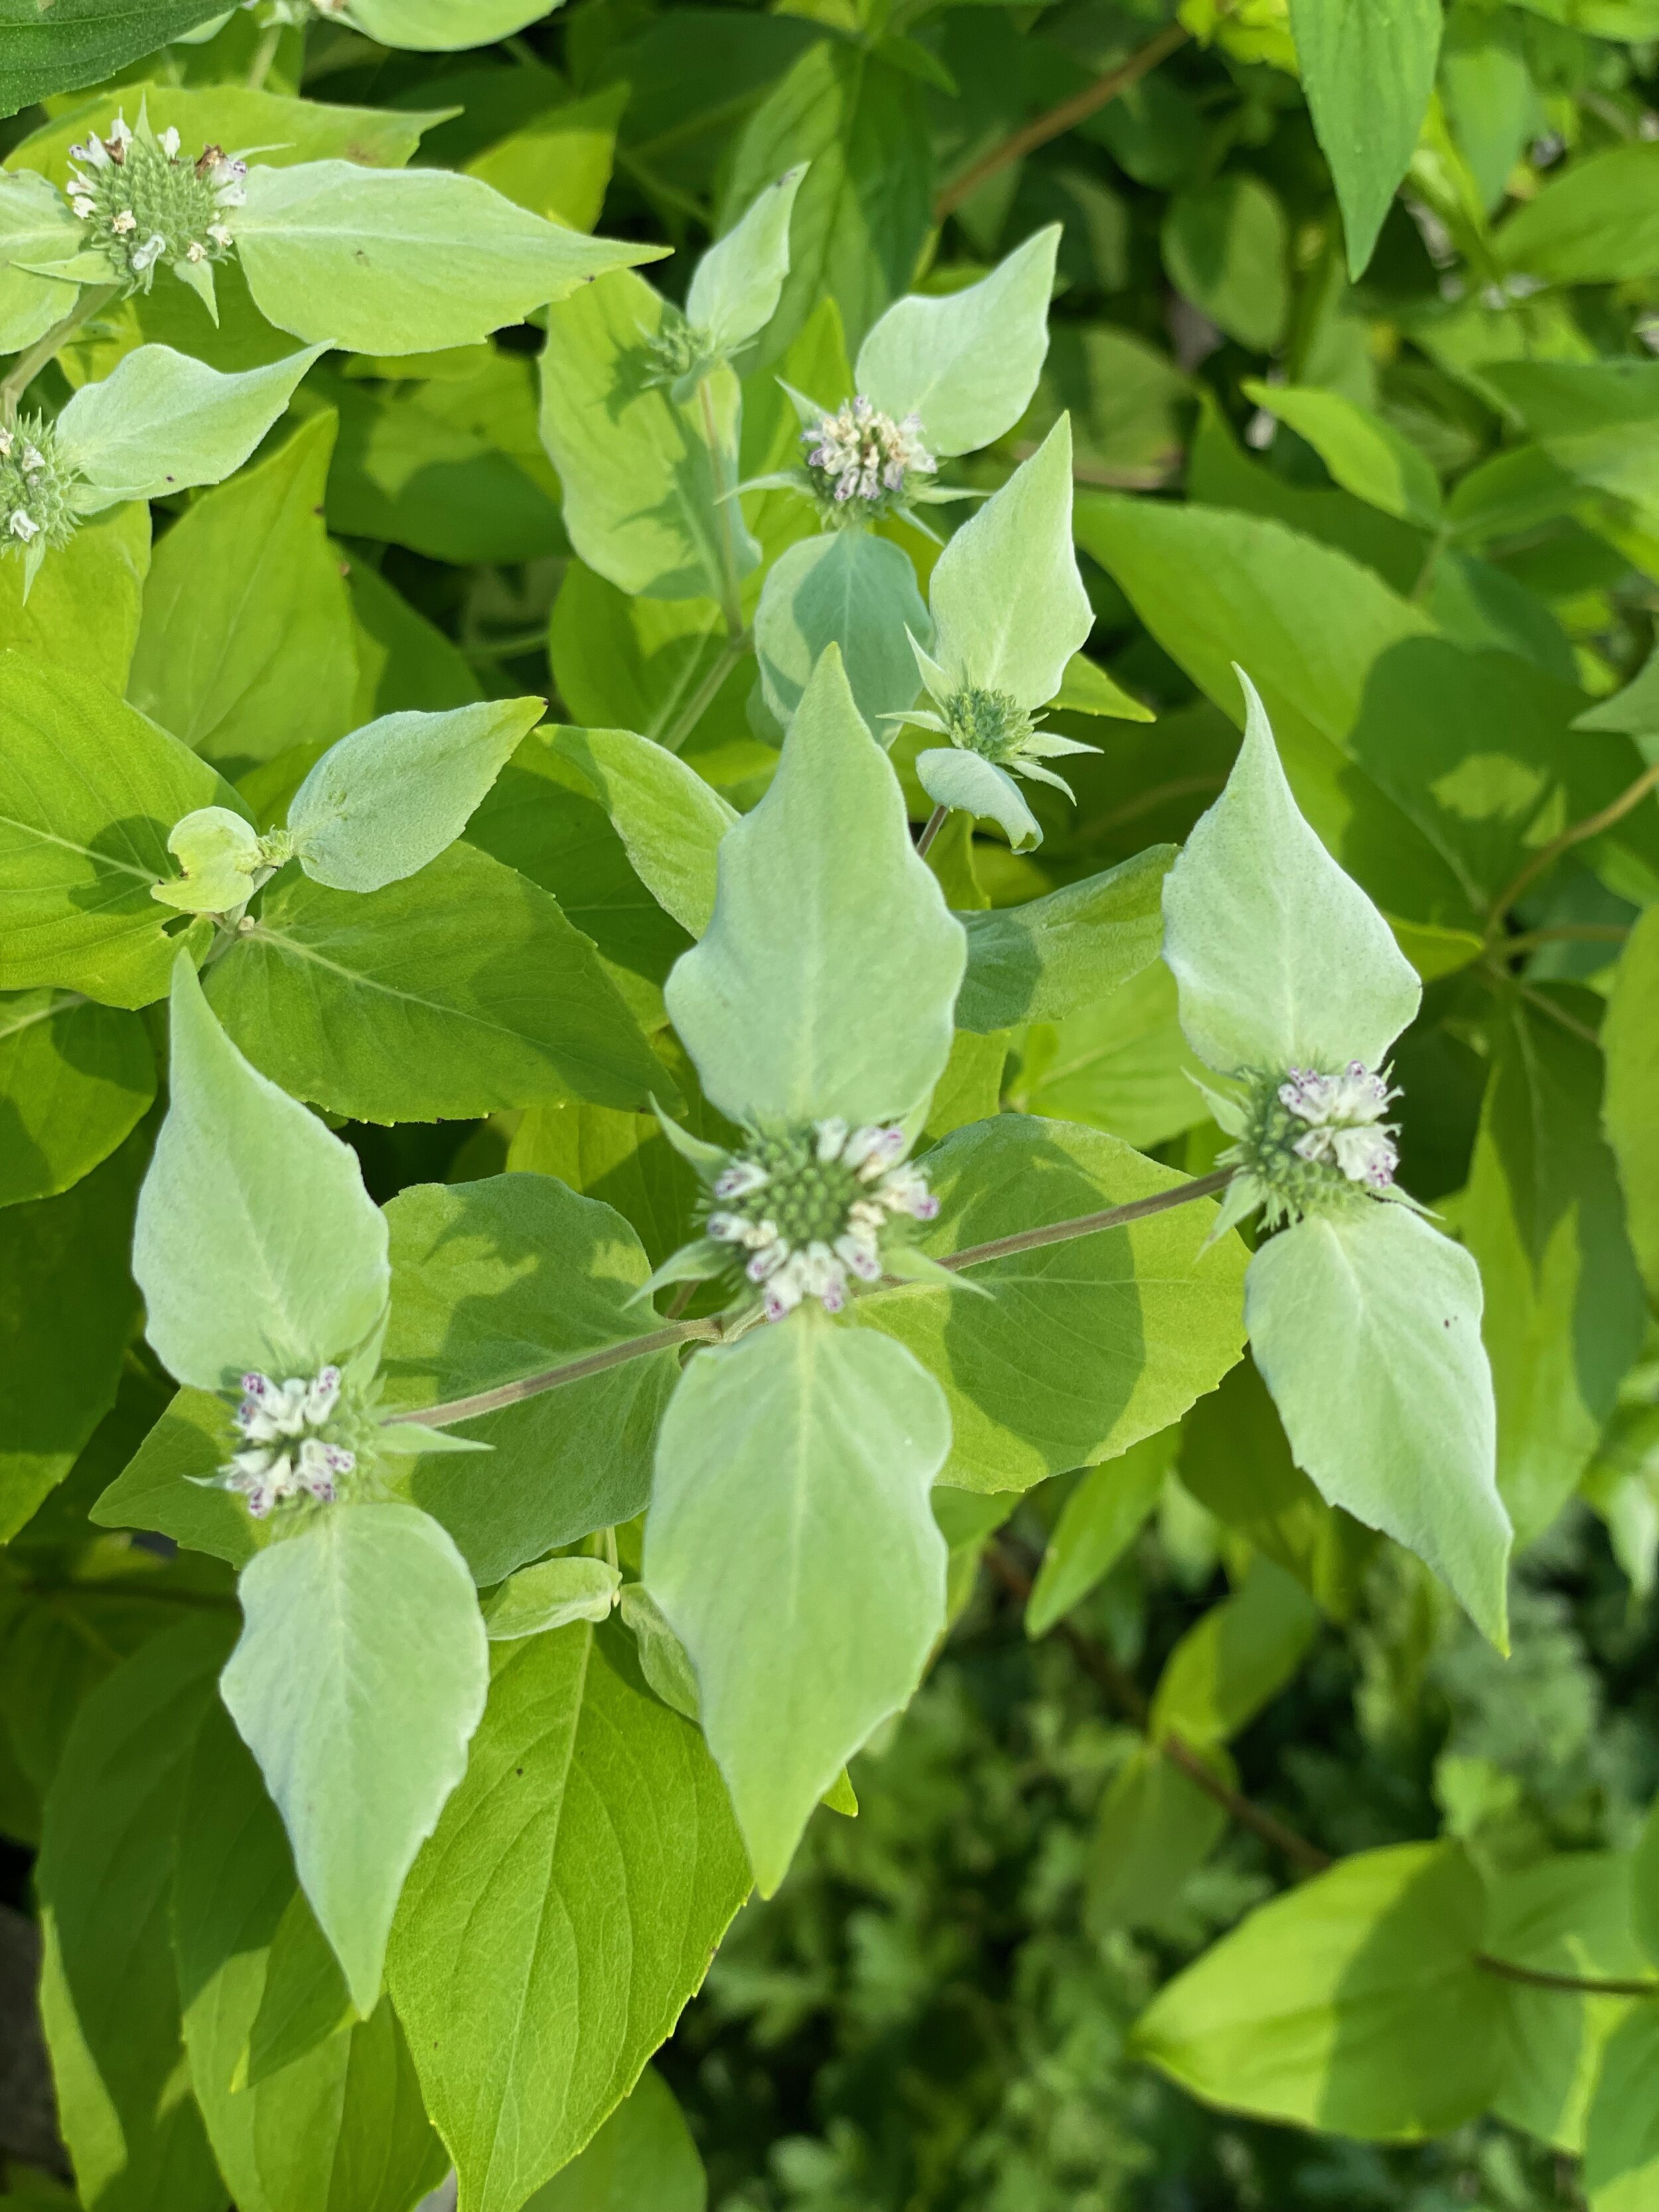
Both of these species are technically edible, though not particularly delicious. The aromatic petals should be removed from the base of the flower, which tends to be quite bitter. Add to a pot of rice for a saffron-like effect, or include in baked goods for a splash of edible color. Read on for two more less common Tagetes species that are definitely must-haves for the edible flower garden.
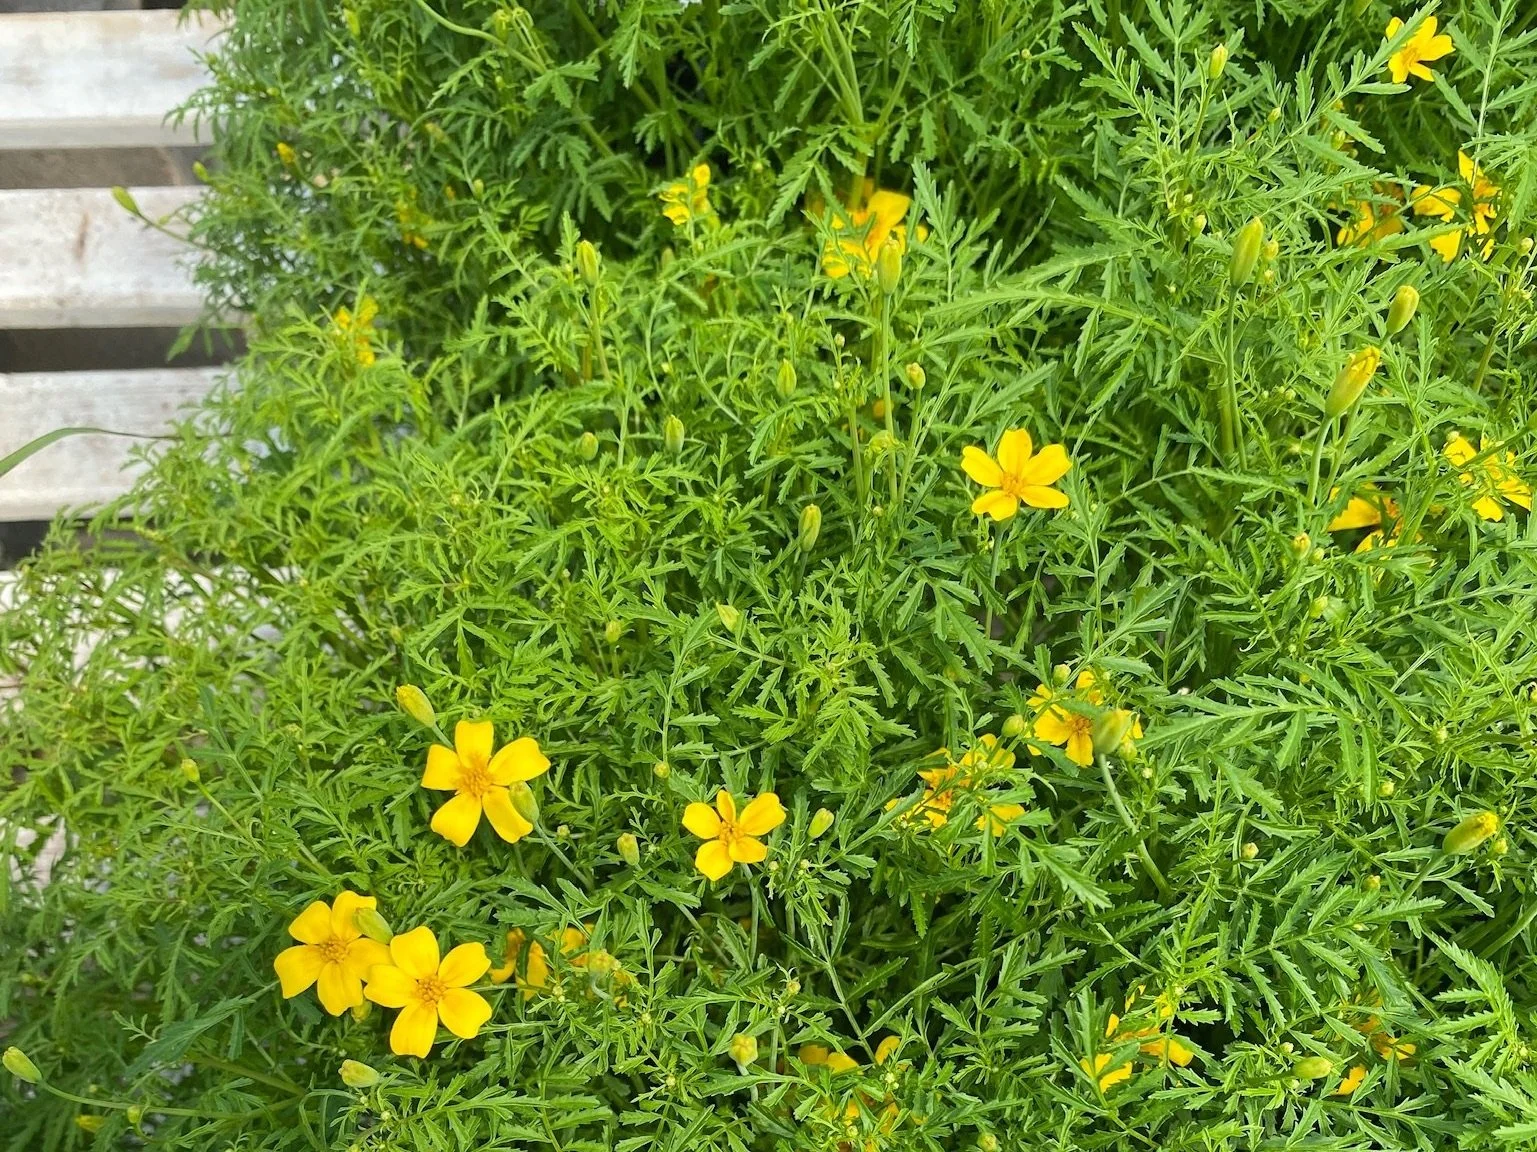
Lemon Gem Marigold

Tagetes tenuifolia, Gem Marigold. These plants are a favorite at Red Wagon for their feathery foliage, compact clumping habit, and profuse blooms. Their petite flowers attract insects and keep blooming even without consistent harvest. Plant gem marigolds in their own containers or include in the herb and vegetable garden. Your imagination is the limit with how to include these flowers in your kitchen: top salads, pizzas or pastas with the bright petals, or decorate cupcakes for summer birthday celebrations. The green sepals and stems can be bitter, so remove those before eating.

Mexican Mint Marigold

Tagetes lucida, Mexican Mint Marigold, Mexican Tarragon. Easily the most delicious of all of the Tagetes species, Mexican Mint Marigold has small, yellow flowers that are primarily employed for their sweet licorice flavor, which can be added to beverages and salads. The Aztecs considered T. lucida sacred and used the plant in the preparation of their famous drinking chocolate. True to its native habitat, this compact plant thrives in heat and full sun, and will bloom from late summer through fall.

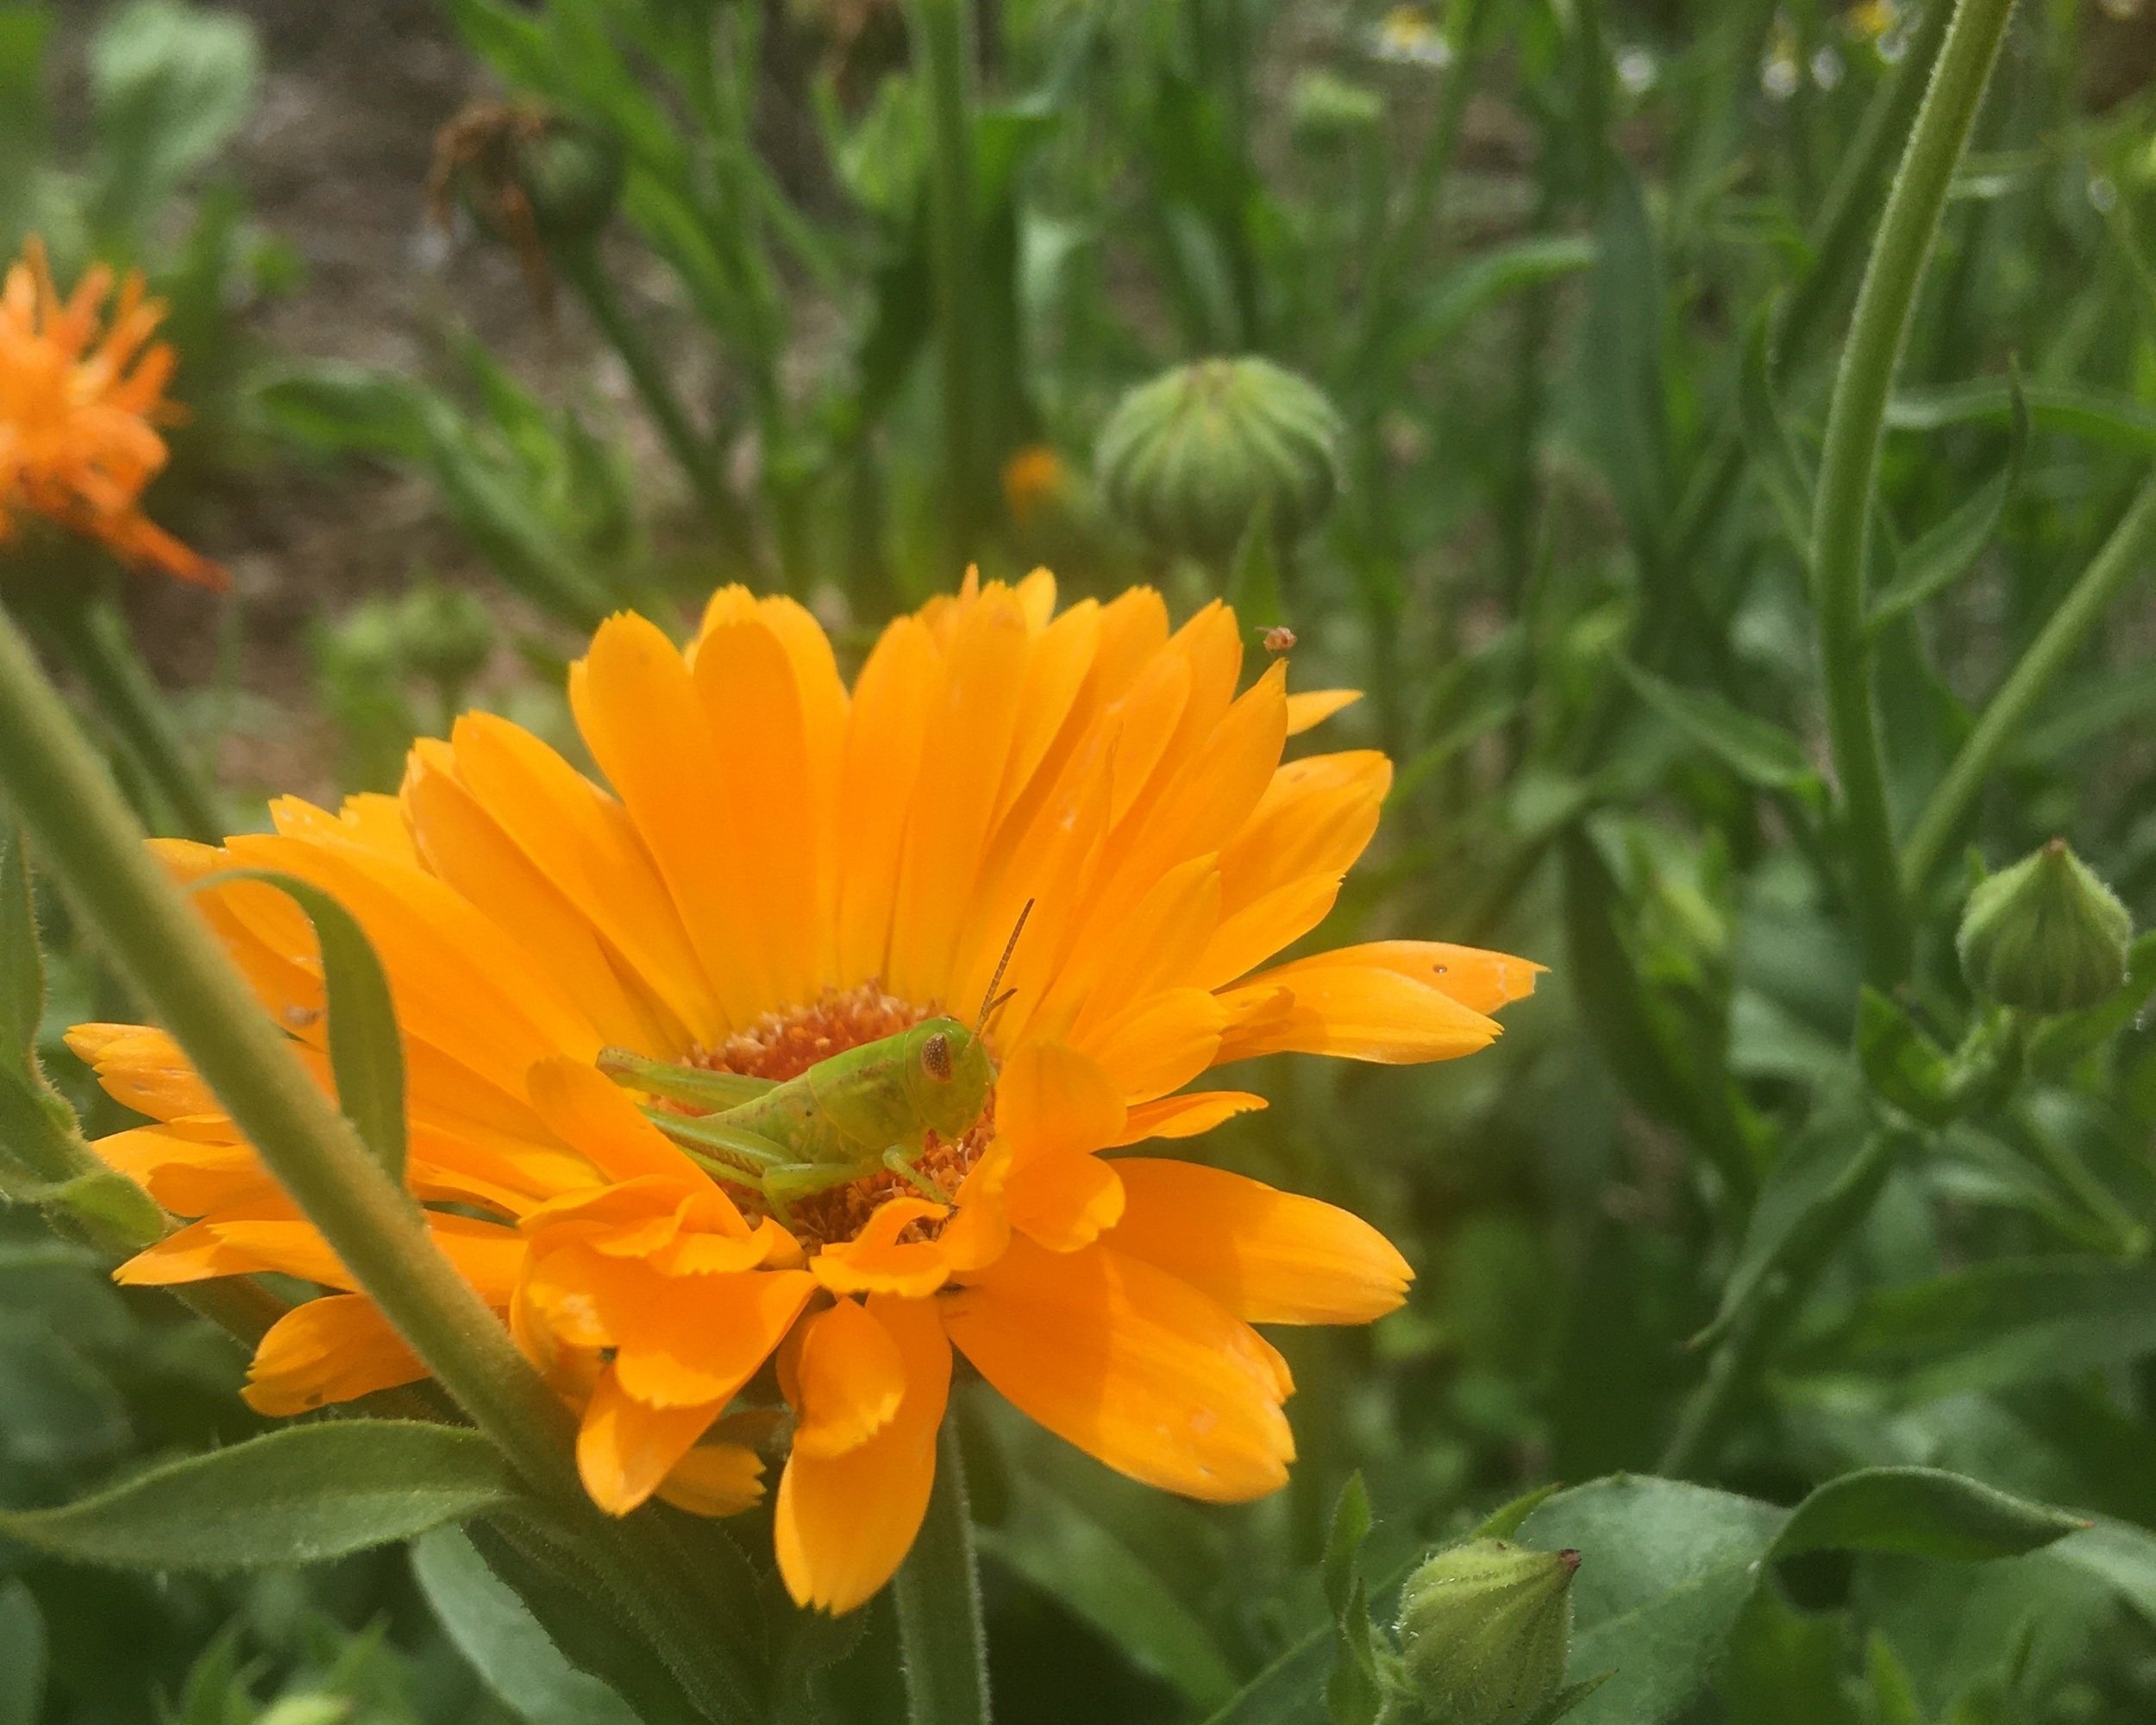
Calendula officinalis ‘Alpha’

An honorable mention goes to Calendula officinalis, often referred to as Pot Marigold. Although Calendula is not in the Tagetes genus, it does, like marigold, share a place in the Asteraceae or Daisy family. Calendula has oblong, waxy leaves and a flower that looks more similar to a tiny sunflower than a true marigold. Calendula has been similarly bred to display single and double blooms in a wide array of yellows, oranges and reds, and is held in high esteem as an herbal remedy (see our post about it here). Use the whole flower heads in fresh or dry tea blends, pluck the petals from the bitter center and sprinkle them on salads and cookies, or use as medieval folk did and throw a handful of the dried flowers into broths and stocks, where it lends rich color, flavor and medicinal benefit to soups all winter long. 

Whether planted for their beauty, defensive strategies, or edible petals, marigolds will provide a dash of sunshine well after the garden has been put to bed. With a variety of cultivars in each species, you could be forgiven for filling up your entire garden in Tagetes (and Calendula) flowers this year. You can find a list of all the marigolds we grow here.

Last Week of the 2021 Season

IMG_0968.jpeg

Our last week of the season!

Thank you for gardening this year, and for supporting us in all the incredible ways that you do. .

Thank you for gardening this year, and for supporting us in all the incredible ways that you do. Without all of your interest in gardening and plants, we would not be here. Our work is fun, and meaningful in every way, and attracts such a great team of people, both as workers and as customers. I am so grateful to each of you for another wonderful season. July and August have been a little more quiet than normal, and I am guessing it is because of the rain and the ability to travel and visit. I know my own garden has suffered its share of neglect due to its absentee owner. But this week, I am vowing to turn that around and spend 3 early morning sessions cleaning up, cutting back, and putting in a few new plants. Maybe you are feeling a little need to tame the jungle too? I welcome you to follow along and help keep me accountable in this late August push. I am happy to help you do the same. Share your goals and projects with us. You can tag us on social media, or send us an email, or even better, come in this week and give us an update. We love to hear from you.

In the Garden

My 4 projects this week in the home garden:

  • Redo my herb planters for fall. I am ripping out old basil, cilantro, dill and planting fresh for fall.

  • Cut back some very tired looking perennials that melted in the rain.

  • Pull out some thugs, and replant with some better behaved plants.

  • Rein in some of the plants along my gravel path - mainly Geranium ‘Rozanne’ (Cranesbill) and Stachys ‘Helen von Stein’ (Lambsear)

I will take some photos before and after each session. Feel free to follow along on Instagram or Facebook.

In the vegetable gardens at work, I will continue to lay in successions of greens for the fall. I am harvesting tomatoes, eggplants (finally) and peppers non-stop.

In the Kitchen

I have been making lots of yummy things with all the produce:

  • Refrigerator pickles with the hot peppers. I use them in everything! The pickling mellows out the heat, and I take out a whole pepper, chop it fine, and add it to morning eggs, tacos, ricotta for stuffing other veggies, etc.

  • Bread and butter pickles with cucumbers

  • Eggplant parmesan

  • Baba Ganoush

  • Roasted eggplant, fennel, sweet onion, tomatoes, herbs and garlic for the freezer

  • Peach Jam

  • Plum Jam

  • Peach Bourbon BBQ Sauce

  • Brandied peaches

  • Frozen blueberries

  • Blueberry tart

  • Blueberry sauce

Full disclosure - I have purchased eggplant and cucumbers and blueberries. Thank you, Old Road Farm, Steph, Adams Berry Farm and Sweet Roots Farm! I did not have great success with the eggplant in our heavy clay soils this year due to all of the rain. And our cucumbers all died due to a virus early in the season. Yes, these things happen to everyone and I we are fortunate to have fabulous farms in this area who work magic with soil and seeds no matter the weather. And a giant thank you to my friends Amy, Matt and Yvan for the peaches and plums. I am very lucky to have exceedingly generous friends with thriving home orchards.

I am happy to share recipes if you would like any.

In the Greenhouses

Our “Plant of the Week” deal is once again a whole group of plants, not just one. Here is the scoop: you buy 3 perennials and or shrubs, and we give you a fourth 1 free. It is ok to mix and match, and the lowest priced item will be the freebie. It is a great time to stock up on plants for the future planting projects (keep them watered until you get to them) that can happen a little later. Maybe once the kids are back in school, you can steal away into the garden for a few hours and pop in your new plants.

We are cleaning up, and starting the maintenance projects that keep our crew busy into the fall and winter. The herb farm continues to produce beautiful and fragrant harvests twice a week, and the indoor herbs are doing really well in their new beds.

Pruning Raspberries with Lily Belisle


Many trees, shrubs, vines and brambles benefit from annual pruning. Many plants have their own preferred way to be pruned. It can be difficult to gain confidence with a task you only get to do once a year. Plants are forgiving, and give second chances. So my suggestion is to watch a YouTube video and give it a try. Raspberries are a great place to start.

Raspberries are vigorous growers once the plants are established and you'll greatly improve your yield, disease resistance, and ease of harvest with annual pruning. There are 2 types of raspberries - ones that make fruit on second year canes (floricanes), these are your summer raspberries - and ones that make fruit on first (primocane) and second year canes (floricanes), these are your fall raspberries with a few fruits in the summer. I grow both types at my house and prefer to prune them all the same way.

You'll need hand pruners or loppers and gloves. These canes are prickly.


C8081F79-4F0C-4B82-85DD-B2FF13965B28.JPG

The goal is to remove all canes that are 2 years old (floricanes) and any damaged or weak canes. Cut cane down as close to the soil level as possible.

How do you tell which canes are floricanes? They will have branching, the bark will look dull and weathered, and when you cut them the wood will be dead.

C4334A97-30E1-4E9B-AED0-35CE8B0995A7.JPG

Many of my canes were damaged by rabbits, so I cut all those down too. Any very thin canes should also be removed.

19569387-DDD3-4068-9962-4DBFEB79B7EF.JPG
2516B80A-A44E-4B39-9F66-783398A7CCB4.JPG

Lastly with all the remaining canes that I'm keeping I prune them down to be about 4-5' tall.

Enjoy!

Onions

Baby onions, about two to three weeks away from transplant time.

Baby onions, about two to three weeks away from transplant time.

A while back, I delivered a crate of onions and garlic to my dad. We had some coffee, talked over the Thanksgiving meal plans, and I took a little walk. That day is a distant memory, my father has since passed away, but the image of those onions and garlic has stayed in my head. The way they filled the wooden crate brings me to a memory of the smile on my dad’s face when he saw them, the food we talked about making together, the warm coffee in our hands.

Onions are a back ground vegetable, easily taken for granted, but aren’t they the basis of flavor in most dishes?

Some people are like onions too. Sharp and edgy at first, sweet and mellow with time and heat.

I am thankful for their plumpness, their abundant harvest, the flavor they will bring to our meals, and the way they generously keep so well under the right conditions.

I rarely buy onions or garlic, usually having enough from the garden to last the year, in some form or another. The storage onions that are great to eat fresh in July, when cured properly, last until March or April. By then chives are ready, then scallions, then green garlic and fresh onions again, one following the other, with a predictable rhythm.

My dad is gone now, but the memories are not, storing and keeping, sweetening with time.

The best time to plant onions is as soon as the ground can be worked, usually middle to end of April in Vermont. They don’t mind cold ground. They prefer it actually, and the earlier they go in, the rounder and larger they will be. Their trajectory is programmed by the sun; as the days get longer, the onion plants remember to follow the cue and they grow round and big. If you neglect this key part of onion growing and plant them late, the onions stay small, and more oval in shape, in a sort of protest.

Our onion plants come in 4 packs. There are about 80 plants in each pack. You just need to separate each individual plant (it is a quick job, especially if the plants are well watered). Then make a trench, 4 inches deep, as long as you want. And then lay each onion delicately in the trench, white roots down, green part up. Fill the soil in around each plant, pat firmly and water well. If 80 onions is too many, you can certainly plant some of the plants in little groups of 4 to 6, and harvest them young, to eat like scallions or baby onions. These are easily the best value in the gardening world, not be forgotten.

Heat of Summer Garden Watering Tips

2014 has been a fabulous garden season, don't you think? Once we got over that initial cold period - a.k.a. November through April - it seems like we have had abundant sunshine and weekly rains. Moving towards August, we are seeing some drier weather in the Champlain Valley and needing to take a few precautions to make sure that plants stay healthy.  Whenever customers ask me a question about watering, I always have to stop myself from giving them a 45 minute lecture! Watering is something I do for hours a day, every day. I think about watering probably more than any other single task in our greenhouse business. It is a meditative and lovely way to spend part of each morning, and it is the best way I know to commune with plants, to get to know them, to check on them and see what else they might need in order to thrive. I will spare you the 45 minute lecture, and instead give you a few tips that will make your plants healthy and will save you time every time you water.

1. Mulch - whenever you can, lay down some old hay, straw, burlap bags, wet cardboard, newspapers or bark mulch around your plants. This will not only help keep weeds down, but it will also help keep moisture near the root zone.

2. When you water, aim the stream of water under the plant's foliage. Getting leaves wet is not the goal of watering...getting the roots drenched is what you are going for. I know this seems obvious, but so many people just water the top part of the plants and don't actually get the soil wet. It takes a lot of water right at the base of the plants to actually soak the soil. If you waste all the water on the leafy part of the plant, it sheds off, with the leaves acting like an umbrella and keeping the root zone dry. Not exactly efficient. Get the hose nozzle or tip of the watering can under all that foliage and you will be giving the plants what they want and where they want it.

3. Use a good nozzle on the end of your hose. We recommend this style:

They are made by Dramm and can be found locally at garden centers and on-line here. These nozzles are great for pots, window boxes, raised beds and small gardens. They are gentle enough so that soil doesn't wash away, but allow enough volume of water to flow out so that you don't have to wait too long for the ground to be saturated.  If you have a larger garden, consider investing in soaker hoses or even an over head sprinkler to save time. Overhead sprinklers do get the leaves wet, but they are cheap, can be moved easily, and can water a large area in a relatively small amount of time. If you have long rows and a garden that is organized in straight lines, you can invest in drip irrigation, like what professional growers use. You will need a pressure regulator and a filter with it, but most supplier are happy to help you put together a simple system. We recommend Drip Works - they do a great job at explaining drip irrigation systems and are committed to helping gardeners save water and time.

4. Ideally, keep the foliage dry and water in the mornings. This will allow the foliage to dry out before evening falls. Wet foliage on warm nights is an invitation to fungal diseases. Powdery mildew and other assorted pathogens love those conditions. It is an old wives tale that watering mid-day will burn the plants. In 20 years of farming and owning a greenhouse business, I have never seen a plant burned by water. I am not sure what that would even look like! I have seen all kinds of diseases sprout up literally over night from damp leaves in warm, dark, humid conditions.

5. If you water with a watering can, take that rosette off! The stream of water, uninterrupted by all those little holes, will make watering the base of the plant much easier. The only time you need that rosette is when you are germinating seeds and don't want a stream of water to wash away all those seeds.

6. If you have plants in containers, water them every single day in hot, dry weather. If they dry out too much, it is very hard to re-hydrate them. Also, keep them deadheaded and fertilized and they will cope much more easily with the heat. If you are going away for a few days, place each container in a pan or dish and add an inch or two of water so that they do not dry out (but only for a couple of days - they will drown if watered like that every day).  And please don't be stingy with the water - the averaage 10" to 12" hanging basket needs about 1/2 to 1 gallon of water per day during these hot dry days. That is a lot of water!

Overall, I love this time in the gardening season. The hot weather crops like tomatoes, peppers, cucumbers and corn are ready but we still have some nice spring crops like peas, scallions, and lettuces.  Watering can be relaxing, and it can provide you with some nice bonding time with your plants. Let us know if you have any questions.