mid-June Garden tips and chores

We can help you get set up with row cover just like this. Photo from Johnny’s Selected Seeds.

We can help you get set up with row cover just like this. Photo from Johnny’s Selected Seeds.

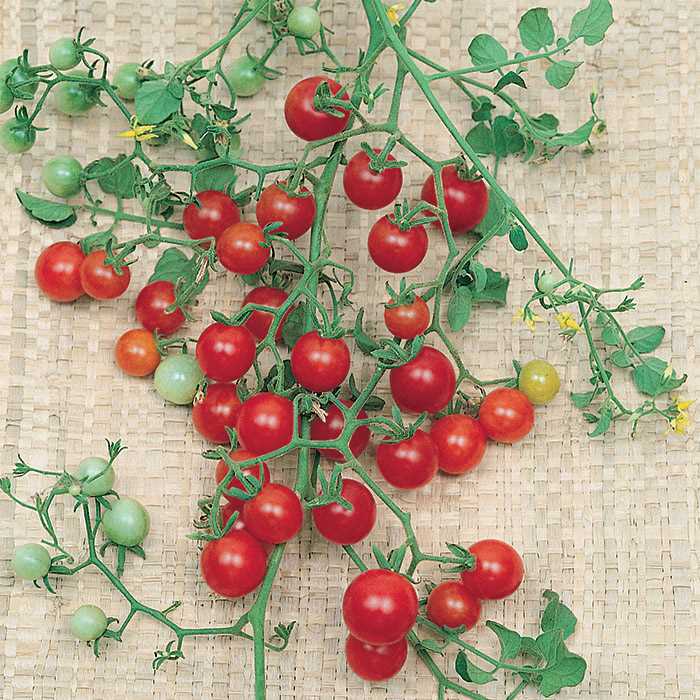
Hopefully you have been able to put some tomatoes in the ground at this point. And if not, don’t worry. It is not too late. I have successfully planted tomatoes as late as July 1st and still had a decent harvest. The trick is to look for varieties that will mature in under 72 days or so. Our tags usually have the days to maturity listed. This means you can count the days from the time of transplant and get an estimation of when you will be harvesting. This varies with the size of the seedling somewhat, and because we sell such beefy, healthy plants, we are often ahead of what the tags say. Here are some varieties I would recommend right now - any of the cherries, Juliet, Celebrity, Big Beef, Black Prince, Cosmonaut Volkvov, Mr. Stripey, Clementine, Jaunne Flammée, Eva Purple Ball, and many more. Our staff is always happy to help you with tomato selection, and I am there on Saturday if you want to ask me personally.

All of this rain has made it hard to get into some of our gardens, and we have delayed some projects and changed the course completely on others. Gardening is a humbling act and always a good teacher. You must bend and flex and adjust. Our plans to put in a display garden at the edge of the herb farm are now getting completely reworked as we see what a wet swamp it is during a rainy year. That is ok, we are taking the opportunity to research vernal pools and what type of ecological landscaping we can do in a site like that. It is easier to bend to what the site wants than to force a piece of land into something it is not meant to be. So one tip this June —don’t force it. Adapt.

We are reducing our display garden to a dry strip of three beds along the herb farm caterpillars. Sarah M. has been helping me transplant everything and it is looking great. Here are some extra steps we are taking to mitigate the wet and to ensure the plants take off at a rapid rate:

  • Compost Plus in the planting hole. I do this with all the plants I put in the garden. It is magic fairy dust.

  • Landscape fabric for weed control and extra warmth. We use a re-usable kind that can be folded up in the winter and re-used every summer. We burn holes into it with a blow torch and lay it over prepped beds with drip irrigation lines underneath. This is a lot of set up but it is a one time effort to minimize weeds all season and to guarantee that the root zone is warm and watered well (if it ever stops raining every other day!).

  • Cucurbits (anything in the squash, cucumber, pumpkin family) are getting hoops and row cover over them to add warmth, protect from wind, and protect from cucumber beetle (those little yellow and black striped guys). Once the plants are bigger and start to flower, I will take the row cover off so that the plants can get pollinated. Usually by that time, the plants are big enough to out compete any damage caused by the pests.

Cucumber beetle prevention starts now with row cover.

Cucumber beetle prevention starts now with row cover.

A lot of organic pest control methods have to do with timing….in this case it is pushing the plants along to grow quickly, so that they can outrun the pest’s life cycle. Understanding pest habits and plant habits and manipulating the plants when possible is key to good gardening. By manipulating I mean slowing down or speeding up, pruning, fertilizing, and weeding. Sometimes a weed is a host for trouble makers, and it is important to stay on top of it. Other times, planting something late gets it in the ground after the life cycle of a pest is complete. Gardening without chemicals means treating the garden like an ecological system - and we as humans, are part of that system.

  • We are watering the cucurbits once a week with a strong solution of fish / seaweed emulsion. This will help them get big before they flower so that they are really healthy when they go into the fruiting stage. Flowering and fruiting require a lot of energy and the more green leaves on a plant, the more they will be able to photosynthesize to support the fruiting and flowering. This applies to cucurbits more than to tomatoes.

  • Only fertilize tomatoes at transplant time and then again two weeks later. Tomatoes can get too green in our short season, and then they do not actually make much fruit. It is important to only feed tomatoes when they are young - at transplant time and maybe one other time before they flower. If you encourage green growth once they flower (in the form of nitrogen rich fertilizer) it will cut down on your tomato harvest. A little bit of stress is actually good to induce flowering and fruiting in tomatoes.

  • Now is a great time to keep transplanting lettuce, greens like chard and kale, kohlrabi, spinach, beets, scallions, mini onions, boc choi, cabbage, broccoli, and fennel. We have a great selection to choose from and will always encourage you to grow in successions. Running out of lettuce in the heat of summer is a drag because that is when salads are all you want to eat!

    And I hope you remember to just enjoy the garden. Stop to just breath it in, and don’t just see it as a list of chores and projects. There is always some bit of beauty to focus on. I have found great pleasure in just walking through my garden early in the morning, coffee in hand, and purposefully ignoring the thoughts of “I should do this” or “this looks bad”. It is become a morning ritual that I really love - just noticing something new in the ever changing world of my home garden.


Cafe in greenhouse 3 update

oysters.jpeg

. Julianne and Didier Murat are making coffee, juices, and treats Fridays (11 am to 6 pm), Saturdays (9 am to 6 pm) and Sundays (9 am to 6 pm). New starting in June - OYSTERS!

BYOB.

Come for oysters and your very own rosé amidst the plants for a lovely afternoon pause. We are so excited for this.

Rainy Weather Gardening

The weather lately is really putting a damper on my gardening aspirations. I am gong to make the best of it, and focus on what can actually be done in the cool and wet spring we are having, rather than on what cannot be done.

Paths are newly mulched with cardboard and bark mulch. The row cover tunnel just yielded our first harvest of mache and arugula and was just replanted with chard and broccoli raab. The row cover with hoops is one of the best ways to keep bunnies out…

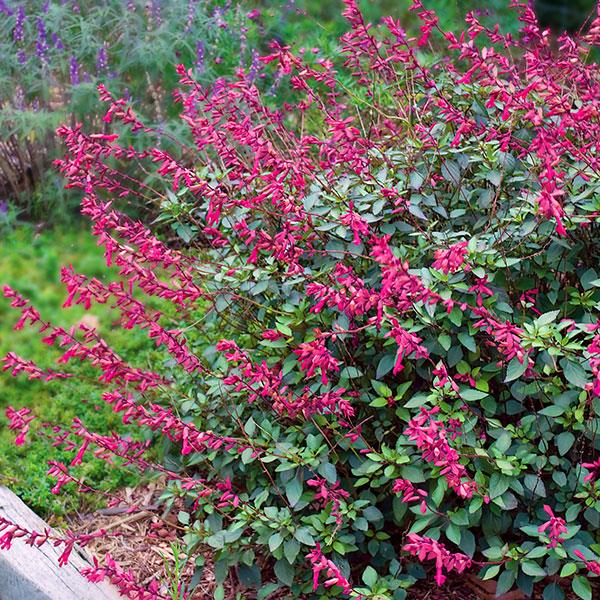
Paths are newly mulched with cardboard and bark mulch. The row cover tunnel just yielded our first harvest of mache and arugula and was just replanted with chard and broccoli raab. The row cover with hoops is one of the best ways to keep bunnies out without a fence. This is the year of the bunny. We even have a bunny statue to beg off the bunnies and ask them to spare us, but it is not really working. Chamomile and stone edging is looking cute and a new patch of self seeding Marble Arch Mix Salvia will provide us with edible flowers, cut flowers, and dried flowers for a few years.

Here is what I am doing in the garden this week:

Clean up and mulch the path ways.

The weeds come out easily when the ground is wet. It is ok to walk on the pathways to clean them up and mulch them, but I avoid walking on the growing beds or doing much to the soil in the growing beds when the ground is really wet. Doing so would compact the soil and adversely affect the tilth. So, the paths are getting a little extra attention this year and I am mulching with a thick layer of cardboard and some rough bark mulch from Clifford’s lumber. This is not the regular bark mulch from a garden center - it is a byproduct of a local, family owned sawmill just down the road. I would not use it in all applications where mulch is needed, but it is perfect for paths and under trees and shrubs. It is a little too coarse for perennial beds (but that is a whole other topic, because really I don’t think bark mulch belongs in most perennial beds). Once the paths are clearly defined and mulched, the rest of the season will be so much less labor intensive in the garden. Some other mulch ideas for paths are burlap coffee bags (which you can find this Saturday at our New North End Plant Sale at Bibens Ace Hardware on North Ave in Burlington). straw (I recommend the organic straw from Aurora Farms in Charlotte), or a combination of newspapper and leaves. These are all pretty heavy duty recommendations for paths. I would not use a heavy mulch like this right under smaller growing plants because the decomposing organic matter uses up the nitrogen in the soil and starves the plants of the food they need for healthy growth. Mulching paths is satisfying and really pays off in the long run. Plus, you can do it in the rain.

Plant more salad greens and try out some new varieties of cool hardy vegetables, flowers and herbs

I just added two kinds of kohlrabi to the garden, green Swiss chard, some Italian bulb fennel, broccoli raab, dandelion greens and frisée. This weather is perfect for transplanting a few plants here and there into corners of the garden. Again, you want to avoid working your soil when it is wet, but it is entirely all right to loosen up small corners of beds and tuck in a few plants here and there. I just harvested my first planting or arugula and of mache and re-planted right into those spaces. I did not disturb the wet soil too much, and I think they will all be fine.

Make containers

Picking out colorful annuals and cool foliage plants is the perfect antidote to the grey and the wet days we seem to be stuck in lately. I am covering my mom’s balcony with pots of geraniums, agastache, salvia, herbs, petunias, argyranthemum, canna, millet, banana, and heuchera. Heurchera, or coral bells, is an under-used plant in containers, and adds broad texture, interesting contrasting color (so many to choose from), and looks good all season long. We have a dwarf red banana we are growing this year that has a beautiful glossy red tinged leaf and looks really striking with the wispy orange of the Kudos mandarin Agastache and the red veined caramel heuchera. Tuck in a red oak lettuce here and there, and you will have a gorgeous container with edibles, perennial and season long interest that holds up well in rain, cold, heat, and dry. I love helping people make containers and have two more Make and Take classes coming up in June for shade loving containers. There is still room to sign up in both.

Wistfully choose heat loving crops

This weekend, I plan to select the tomatoes, eggplants, peppers, melons, cucumbers I want to grow, but I am just hardening them off for now. I am not planting them in the ground. This means that they will come inside at night if it is below 45F and they will go back out in the day time to feel the sun (wishful thinking?), wind, and rain and get used to real life outside. What I am not doing is planting them in the cold ground. That would just stress them out. They need soil that is 50F or warmer in order to grow well, and stressing them at a young age will weaken them when they are older and diseases start to settle in. Planting heat loving crops in cool weather is just asking for trouble down the road.

Move perennials

They love this weather. If you have an area that once was sun but now is shade, it is a great time of year to move those sun loving plants to a brighter spot, away from the encroaching shadow of shrub and tree. I took advantage of the dry and warm day on Wednesday to clean up a perennial bed and replant with shade loving plants under the shrubs that now cast shade. I used tiarella, pulmonaria, variegated Solomon’s Seal, Jacob’s ladder, and hostas. I love that sun to shade switch that inevitably takes place in a garden, the moving art of it all.

Hopefully, this gives you a good amount to do and scratches the gardening itch just enough. Happy gardening!


Who likes what? Inspiration for this rainy and cool spring.

calendula.jpg

While it has been a little cool and wet, I have had some extra time to plot out some new combinations I want to try in the garden. I love to mix up edible and ornamental plants, and coming up with some new ideas is always a creative part of the garden process I enjoy

People often ask me about companion planting, with the goal of learning more about what plants keep pests off of what other plants. I usually reply by saying that a mixed garden, with flowers and herbs interspersed among the vegetables generally helps confuse insect pests and also helps attract beneficial insects who are in search of pollen. Here are some combinations that I regularly create just because they work so well. Maybe as an exercise in trying something new, you could try your hand at one or two of these combos and then come up with some of your own. It is a great way to study plants, contrast, colors, and texture in the garden.
  • Verbena bonariensis, California poppies and lacinato kale - We do this often in the demonstration garden at Red Wagon Plants because the Verbena bonariensis is self seeding, along with some California poppies, and it is just so simple to throw in a few kale plants and see the magic unfold all summer long. The poppies bloom first and are a cheery, airy note floating beneath and alongside the dark green, almost black foliage of the kale. Later on, in late summer, the kale is bigger, the poppies are finished blooming and the verbena kicks into high gear with wiry stems waving high above the kale; delicate purple blossoms nod above the mature, gnarly textured leaves of the kale.

Some other favorites include:

  • Rainbow chard, gem marigolds, and lunchbox peppers

  • Opopeo amaranth,nicotiana elata, northern sea oats and redbor kale

  • Green butter lettuce, curly parsley, and calendula

  • Tokyo Bekana mustard, chervil, green oak lettuce, pansies and alyssum

  • Bleu Solaize leeks, Hungarian bread seed poppy, and rebor kale

  • Datura, African blue basil, and dusty miller

Team Red Wagon, Vadeboncouer and Some Jobs for the Week

Team Red Wagon 2019. Front row, l to r, Julie, Claire, Sarah M., Sophie, Tina, Mary. Mid row, l to r, Chad and Conor, Carol, Jane, Lily, Lisa, Hattie, Oren, Jess. back row Kat, Sarah B., Rob, and Kate.

Team Red Wagon 2019. Front row, l to r, Julie, Claire, Sarah M., Sophie, Tina, Mary. Mid row, l to r, Chad and Conor, Carol, Jane, Lily, Lisa, Hattie, Oren, Jess. back row Kat, Sarah B., Rob, and Kate.

Best Crew EVER! It feels like summer camp when we all get back together for the season. Our work is about to get incredibly fast paced, but we are enjoying the last week or so of the ramp up. I love the end of April because we are starting our wholesale deliveries, the production crew is on its own well-oiled trajectory each day, the retail staff has returned for the season and the plants look fresh and gorgeous. There are many mini- transitions within our short season, and the longer I go through each cycle, more patterns emerge.

And I love that I get to see all of you! Have you stopped by the new cafe yet? In April, Vadeboncoeur is open Saturdays and Sundays. In May, Didier and Julianne will be set up every Friday, Saturday and Sunday from 9 am until they sell out. It has been so nice to have a place to meet up with friends in the greenhouse, enjoy coffee and pastries, and just soak in the plants. Please come have a peek if you have not been yet. If you plan to linger a while, please use our north parking lot (follow the signs for “extra parking”) when you drive in. Today, Julianne has made Hot Cross Buns, radish tartines on rye, tangerine cake, chocolate cookies, and more. So good.

The Hutch.jpg

Garden tasks for the week:

Sow peas - Snow peas, sugar snap peas, and shelling peas can all get planted now.

Find a spot in the garden where you can set up a good trellis.

Make a trench that is flat across the bottom, about 6” wide, and 3” deep.

Scatter seeds across the whole flat trench, then cover with about 2” of soil and sprinkle with some Compost Plus on top of the soil.

Pound in posts or erect trellis at the same time or after they have germinated. They do best if given something to climb within a few days of germinating.

Watching the plants bend towards the trellis and seek it out with searching, gentle tendrils is pure magic. Show the kids.

Greensprout your potatoes to get a stronger crop that is ready earlier.

First, select your potatoes - we do sell out of certain ones, and we have some very good varieties this year. It is still a little early to plant them, but you could be like a professional grower and greensprout them. Here is how:

Spread potatoes out on a tray (cardboard or wood is best), then keep them in a warm spot. It can be light during the day because you are trying to break dormancy. Ideally, they should be at 70F to 80F.

Once you see sprouts, in about 7 to 10 days, put them outside to harden off. They can just stay like that another week, day and night. I leave mine on the picnic table, someplace where I won’t forget about them.

When you are ready to plant, cut any large potatoes in half or thirds, making sure each piece has at least one or two sprouts. Leave smaller potatoes whole.

When ready to plant, make a trench about 4” wide by 4” deep in a prepped garden bed.

Lay the pre-sprouted potatoes out every 8 to 12” in the bottom of the trench.

Cover the trench back up, and gently walk along the line of potatoes you have just planted to pack them tight against the soil. You could even make a little ritual of it, and take your shoes off. Feeling garden soil against bare feet is a nice way to usher in this new phase of spring.

Vermont adage - potatoes can go in the ground anytime that dandelions are blooming. So if you buy and sprout now, you will be getting the timing just right.

Mid-April Garden Jobs

onions.JPG

It is finally time to get into the garden after a long and very cold winter. Here are some jobs that can happen right now.

Sow from Seeds

Peas, carrots, beets, radishes, turnips

Transplant

Onions - they need the cooler days and long nights of April in order to make large onions in summer. Here are a couple of videos that will give you an idea of how to do it quickly. First, make a trench and sprinkle in some Compost Plus:

Then separate the clump of onion plants into individual plants. Onions should be planted about 4” apart, so just lay them in the trench, all in a row, then gently pat the soil around them to fill in the trench and stand them upright.

Leeks are planted the same way, but require more space, so I do those 6” part with 2 feet between the rows. Onions can have 1 foot between the rows. One 4-pack of our onion or leek plants has about 80 plants in each pack, so it is great to buy a few varieties and share with a friend so you can try multiple kinds. We grow red and yellow storage onions, Italian cipolinni onions, mini purple onions, 2 kinds of sweet onions, and early New York onions. We also grow scallions, 3 kinds of leeks, and shallots. All are planted in the same way, except scallions can be planted in small clumps of 10 to 15 plants. And they don’t need to grow in rows, but can be tucked into individual spots between other plants.

You can also be planting kale, arugula, mache, mustard greens, cabbage, and collards.

Herbs that can take the cold of April: Sorrel, chervil, cilantro, dill, chives.

alyssum clear chrystal mix.jpg

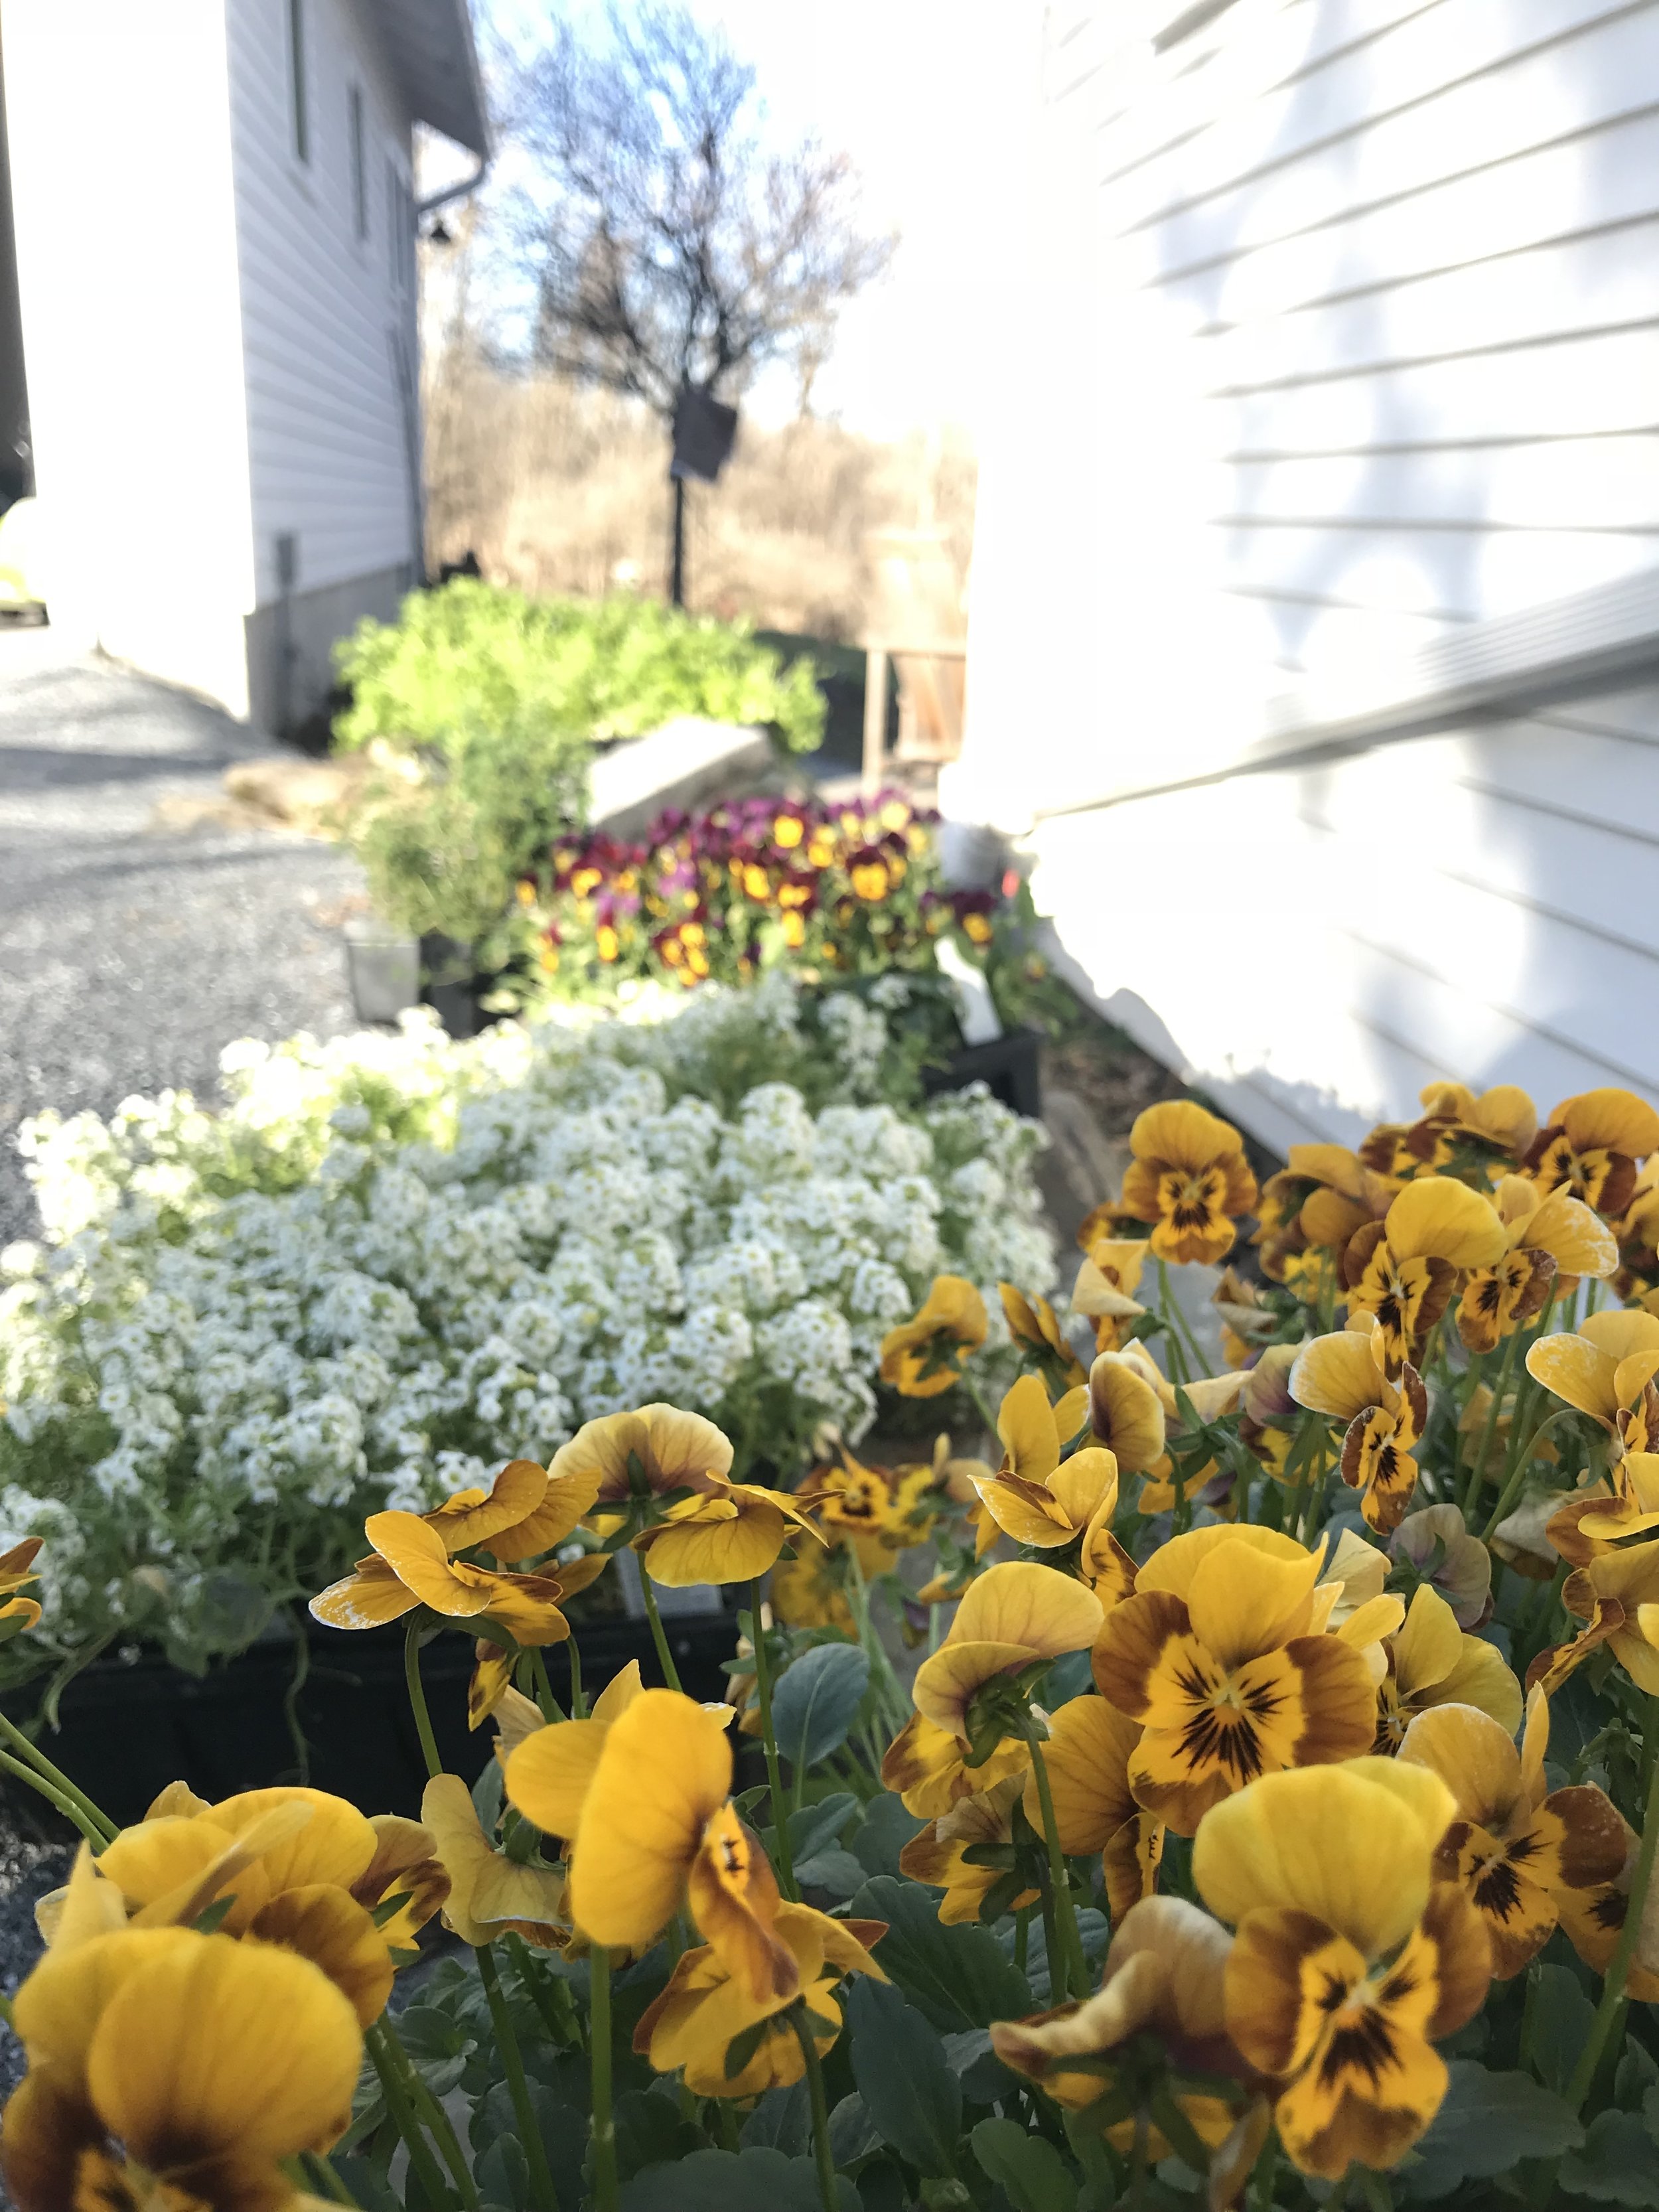
In the flowering plants department, it is a good time to plant alyssum, violas, and pansies. They are a good food source for bees this time of year when very few other things are flowering.


I wrote more about onions a few years ago here.

Happy gardening! They are announcing rain later today, so I am getting out there now.


First workshop of the season is coming up!

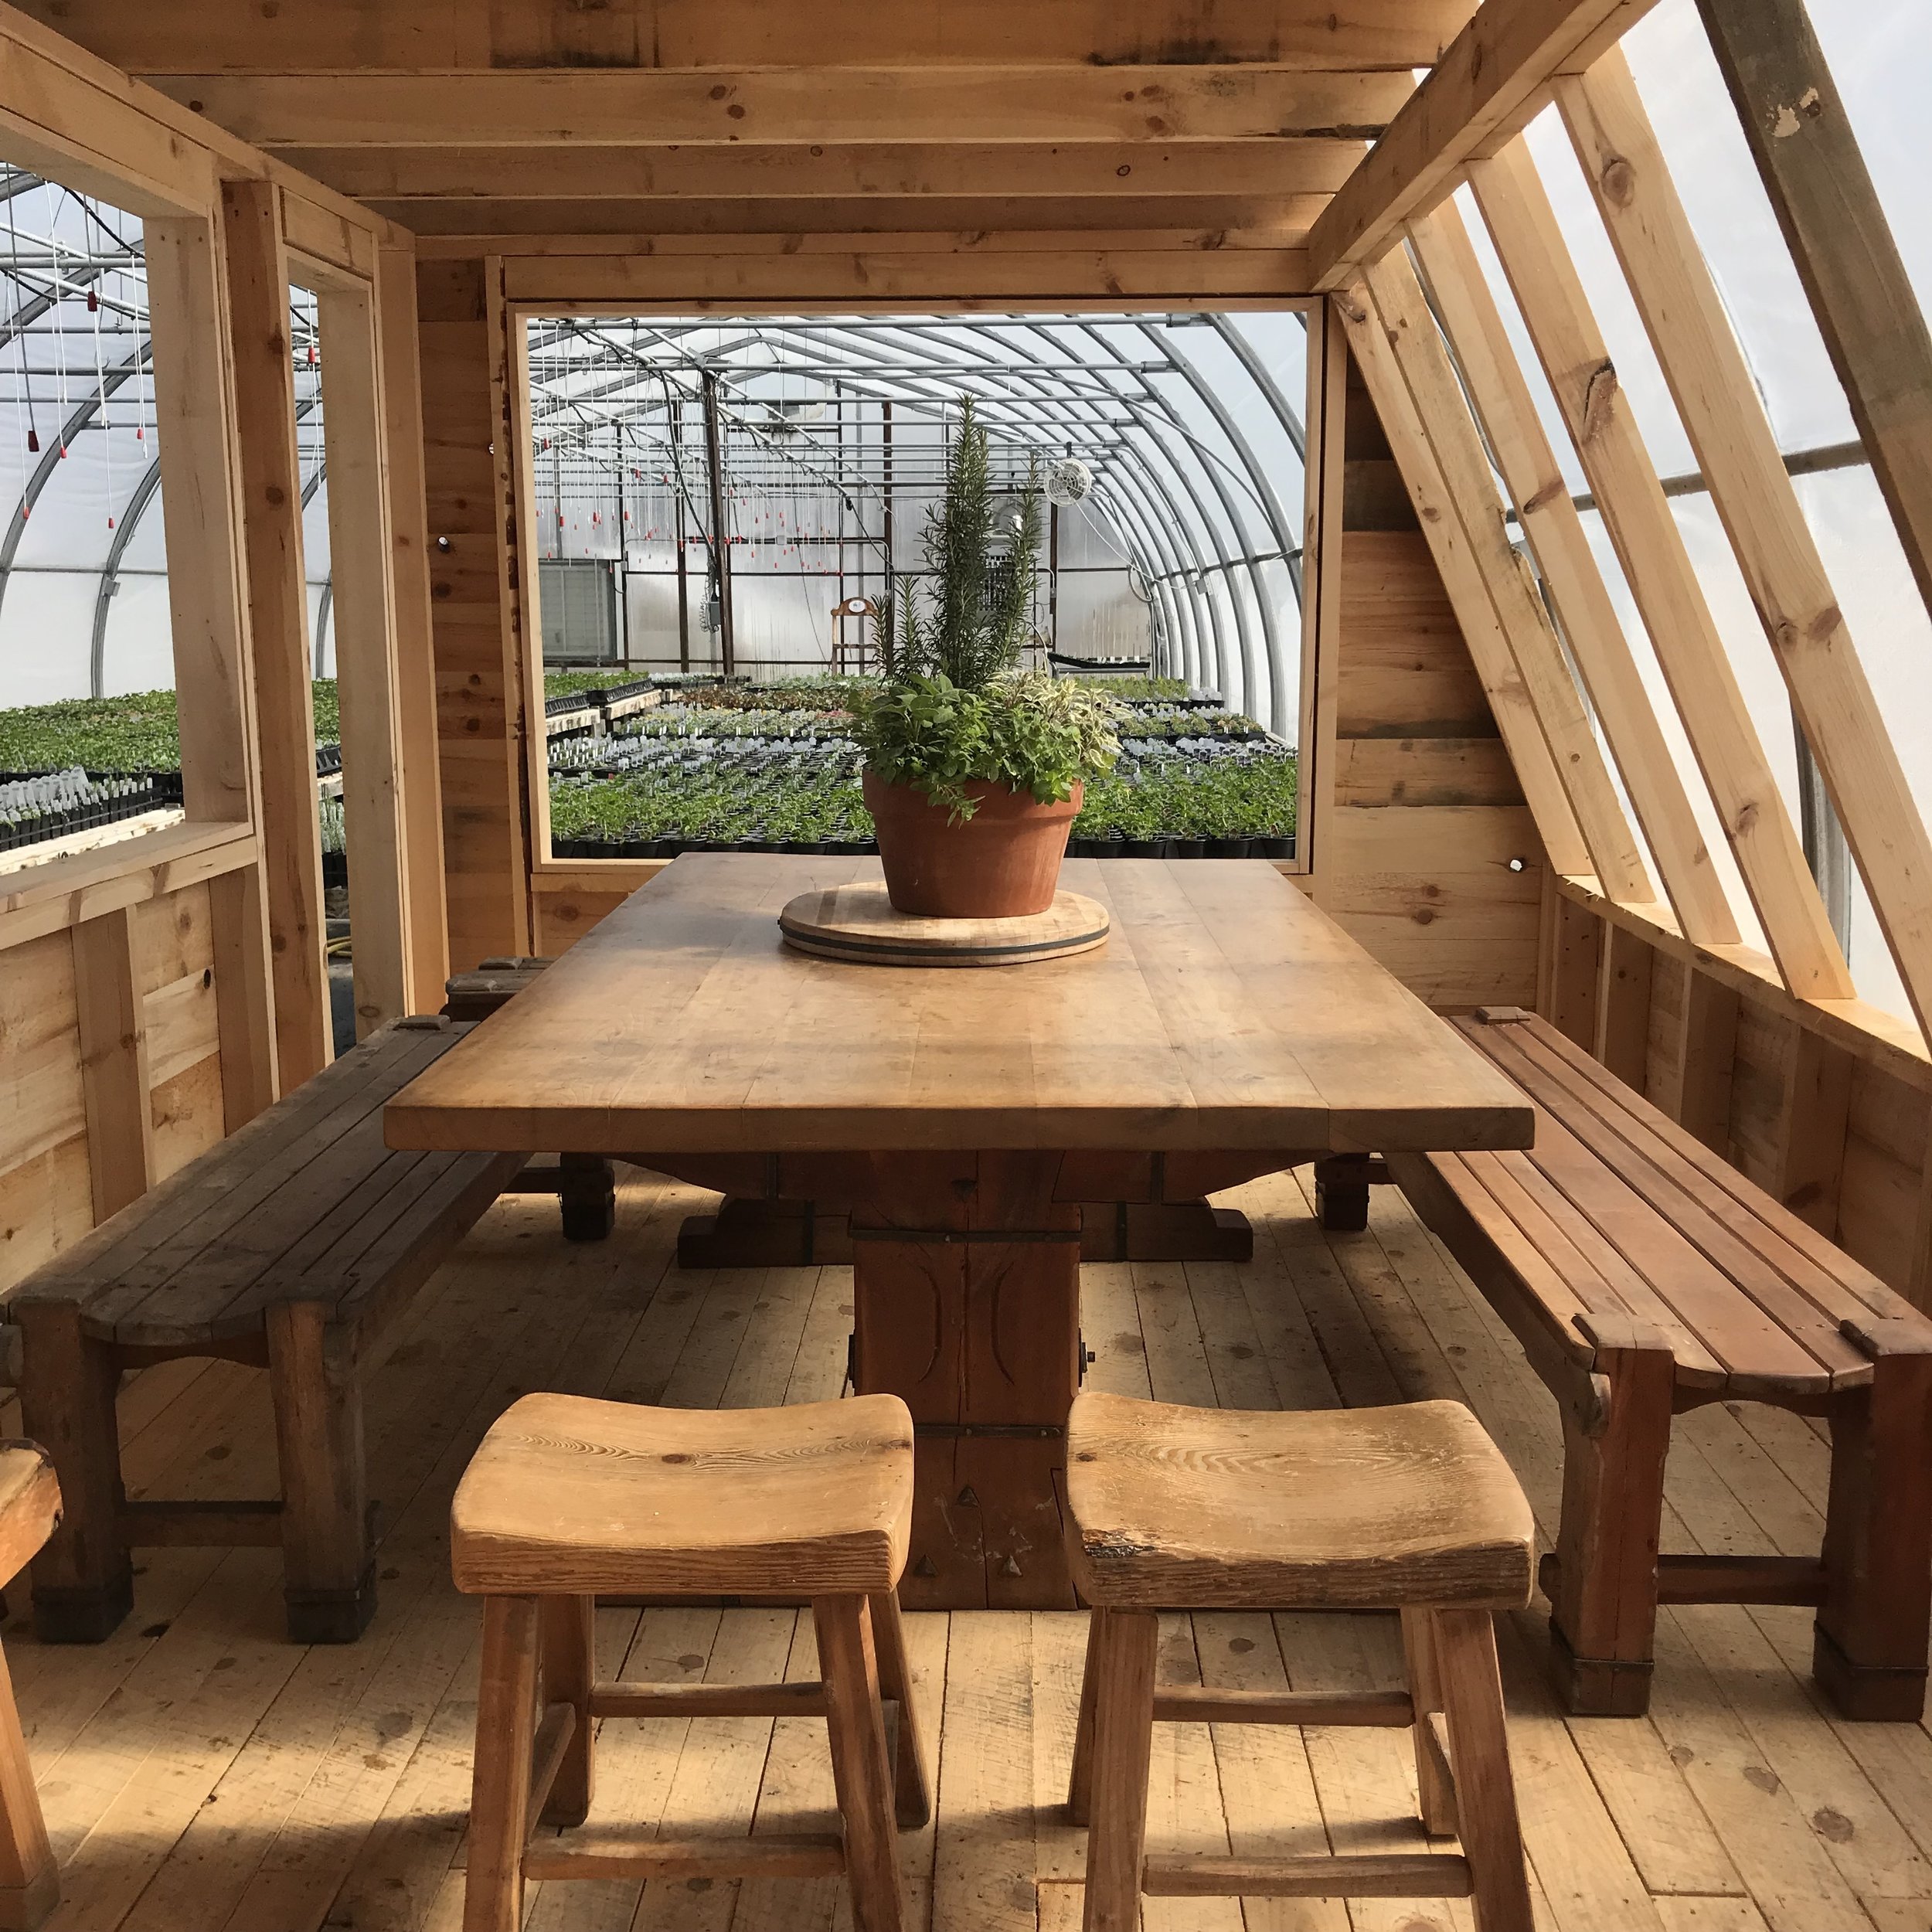
Our new classroom space in Greenhouse #3.

Our new classroom space in Greenhouse #3.

Open House yesterday started with snow and slush and ended with bright, sunny skies. Thanks so much to all of you who turned out and helped reel in this elusive spring. The plants loved all the attention. And our spirits were lifted.

Did you miss the open house, but are craving a little gardening inspiration? You are in luck because coming up this Saturday, I will be teaching a class about some of the harder to grow vegetables like cardoons, artichokes, leeks, and other trouble makers. If you want to challenge your self with something new this season and are the type of gardener who likes to dig a little into the how's and why's of plants, this class is for you. We will discuss plant physiology and other characteristics that will help you read the cues plants generously provide as a little code of sorts. You will leave a little more fluent in plant-speak and a little more confident in your abilities to branch out with your plant selection. You will get a better understanding of the relationship between the way a plant looks and what it needs to grow well. In terms of the real botany here, I am pretty much self-taught, with a degree in English and Philosophy, so rest assured that this won't be a deeply scientific thing. More like the poetry of plants, the love language of plants. This workshop will make you a more intuitive gardener, and hopefully will shed light on why certain things have not worked for you in the past. Hope is at hand.  

I will make us a lunch to share, highlighting some of the vegetables we will be focused on.  


Apple Crate Gardens

A delivery of fresh new apple crates from our friends at Clifford’s Lumber.

A delivery of fresh new apple crates from our friends at Clifford’s Lumber.

Look at this cool garden idea we want to share with you. It is a simple apple crate, from Cliffords Lumber, right here in Hinesburg, filled with potting soil from VT Compost Company from Montpelier. In fact the first house I lived in as a grown up after college had a beautiful porch that I decorated with apple crate gardens!

Here is how you can buy or make your own:

  1. We will be selling them as kits during our open house March 23rd, 10 am to 2 pm. The kits will include the soil, drainage material, fabric, instruction, and plants.

  2. We will sell them as kits once we open April 12th at 8 am. The kits will include the soil, drainage material, fabric, instruction, and plants. your own is not your thing, you can buy them already planted after we open April 12th. We will plant them with herbs, greens and edible flowers that are cold hardy and can go directly outside.

Keep your eyes peeled here and in our newsletter because maybe we will do a workshop and people can make them together, learn how to care for them, best uses, etc. Let us know what you think!

Our apple crate gardens were a big hit at the VT Flower Show recently.

Our apple crate gardens were a big hit at the VT Flower Show recently.

Workshops and Classes for 2019

taking notes.jpg

We are so excited to announce our class and workshop schedule for 2019. We are in the process of building a beautiful teaching space in one of our greenhouses and cannot wait to host fun events filled with plant loving people. The line up is very diverse and exciting and offers something for all types of gardeners and cooks and those just curious about getting into the world of plants. We have beginner level classes as well as ‘Next Level’ offerings for those ready to improve or challenge their gardening styles. Please take a look at our offerings on the event page.


Sign ups are open in the online store. Each event is linked to the store, so just click on the ‘register here’ button underneath the description. If you have any questions, don’t hesitate to get in touch!

The Fall Garden - It's never too late to plan for next year.

cabbage savoy famosa.jpg

Do you go to winter farmers’ markets and wonder how the farmers do it with all that beautiful produce this time of year? Here is a list of some veggies you can be harvesting and eating right now, and up until a deep freeze and snow storm, out of your garden. I have included tips on when you should have planted them in order to make that happen in a Vermont (zone 4) garden. Cold hardy crops should be sized up by the middle of October as they do not really grow actively after that point, but they do hold very well at the mature stage during the colder and shorter days. Your garden, at this time of year, is essentially a living walk-in cooler for you to glean from as you like.


Brussels sprouts - plant in late June, for a fall and early winter harvest. The cold actually makes them taste sweeter.

Kale - plant up to mid-August for eating all fall and early winter. You can transplant seedings, or seed directly into the garden to cut for “braising greens” or baby kale.

Collards - Slower growing, so should be planted by mid-July or so. Very cold hardy.

Cabbage – Transplant in mid-August for fall harvest.

Broccoli – Transplant mid-August to early September for a fall harvest.

Kohlrabi – direct seed in mid-August or transplant in early September.

Celery – transplant in mid-July to early August. Keep well watered in the summer months because they do not like to get too hot or too dry.

Celeriac – transplant in late June (like brussels sprouts). Great for Thanksgiving.

Carrots – direct seed through the first week of July.

Beets – direct seed through the middle of August or transplant as late as the first week of September

Arugula – direct seed through early september or transplant as late as first week of October.

Mustard Greens – same as arugula, but if you want large plants, transplant early to mid September.

Cold Hardy Lettuce varietes – transplant through late September. Direct seed through early September.  Best varieties for cold: Green oak Tango, Merveille des 4 Saisons, Red Butter Red Cross.

Cilantro – direct seed through mid-August. Transplant through late September.

Dill – direct seed through early September, transplant through late September.

Leeks – transplant in late June

Spinach – direct seed in late August. You can also seed it in early to mid September in order to overwinter it for an early spring harvest (mulch with straw in December).


Any crops can have a slightly extended season with floating row cover laid over hoops. This will also speed them along during the cooler growing periods of late September and October; and as an added bonus will keep off any late summer insects.

And a cold frame can extend the season even more. You can see me planting mine here on our You Tube channel. I did this in early October.


Jobs for the Weekend

I don't watch much television, but I  have taken to watching a British gardening show called "Gardener's World" with Monty Don and friends. Monty takes you through some gardening tasks each week in his own gorgeous garden and various guests have their own segment featuring a special garden or gardener or a plant they love or a container they make that reminds them of a special vacation. It is one of those shows that I stop and rewind a bit so that I catch every single word. I have learned so much and traveled to some lovely gardens every Sunday when it comes out. Anyhow, each show ends with a segment called "Jobs for the Weekend" with some suggestions you could take on that coincide with the weather and season. It is my favorite part of the show and even though I have to close my ears about all the things they can do in the English climate, I would like to copy Monty with our Vermont version of "jobs for the week".

Week of April 23, 2018

This is the week to make those cheery spring containers for your porch or deck or side entrance. It will put a smile on your face every time you walk by. I am really into this combination right now. All the plants are cold hardy and can be outside even in a frost. Alyssum is a good plant for bees and other beneficial insects. And it makes a quick floral ground cover, so I use it quite a bit, especially in gardens that have a lot of bare earth under perennials or shrubs. 

2018-04-19 15.20.44.jpg

We are putting covers on our cold frames and caterpillar tunnels at the farm. Chad and Hank got two of the caterpillar tunnels done yesterday, and will finish the other two this week if the weather allows. And Claire, Sarah M. and Sophie covered the cold frames with thick thermal blankets.  That is where we harden off plants to let them get used to the cold. This will provide us with some protected space for growing Mediterranean herbs for our cut culinary herb customers. In the vegetable garden, I am starting to work by hand or with rototiller the beds that are dry enough to work. 

Onions, leeks, scallions, shallots and peas are the first things to go in the ground each year, and I plan to have them in before the end of the week. Make a trench about 4" deep, and as long as you like (I usually plant 4-5 onion or shallot plants per foot) and lay out individual plants. Fill in the trench, burying the onions about 3 to 4 inches as you go. Leeks need a little more space - about 6" between plants. Scallions and mini-onions can be planted in clumps of 10 or so plants 8" apart. 

I am covering the chives with row cover to give them a little jump on the season for our herb farm customers. 

Peas are going in a new spot between the long caterpillar tunnels where we can stretch netting over bows bent out of metal pipe using a pipe bender. You will have to come see this. I am very excited about it! 

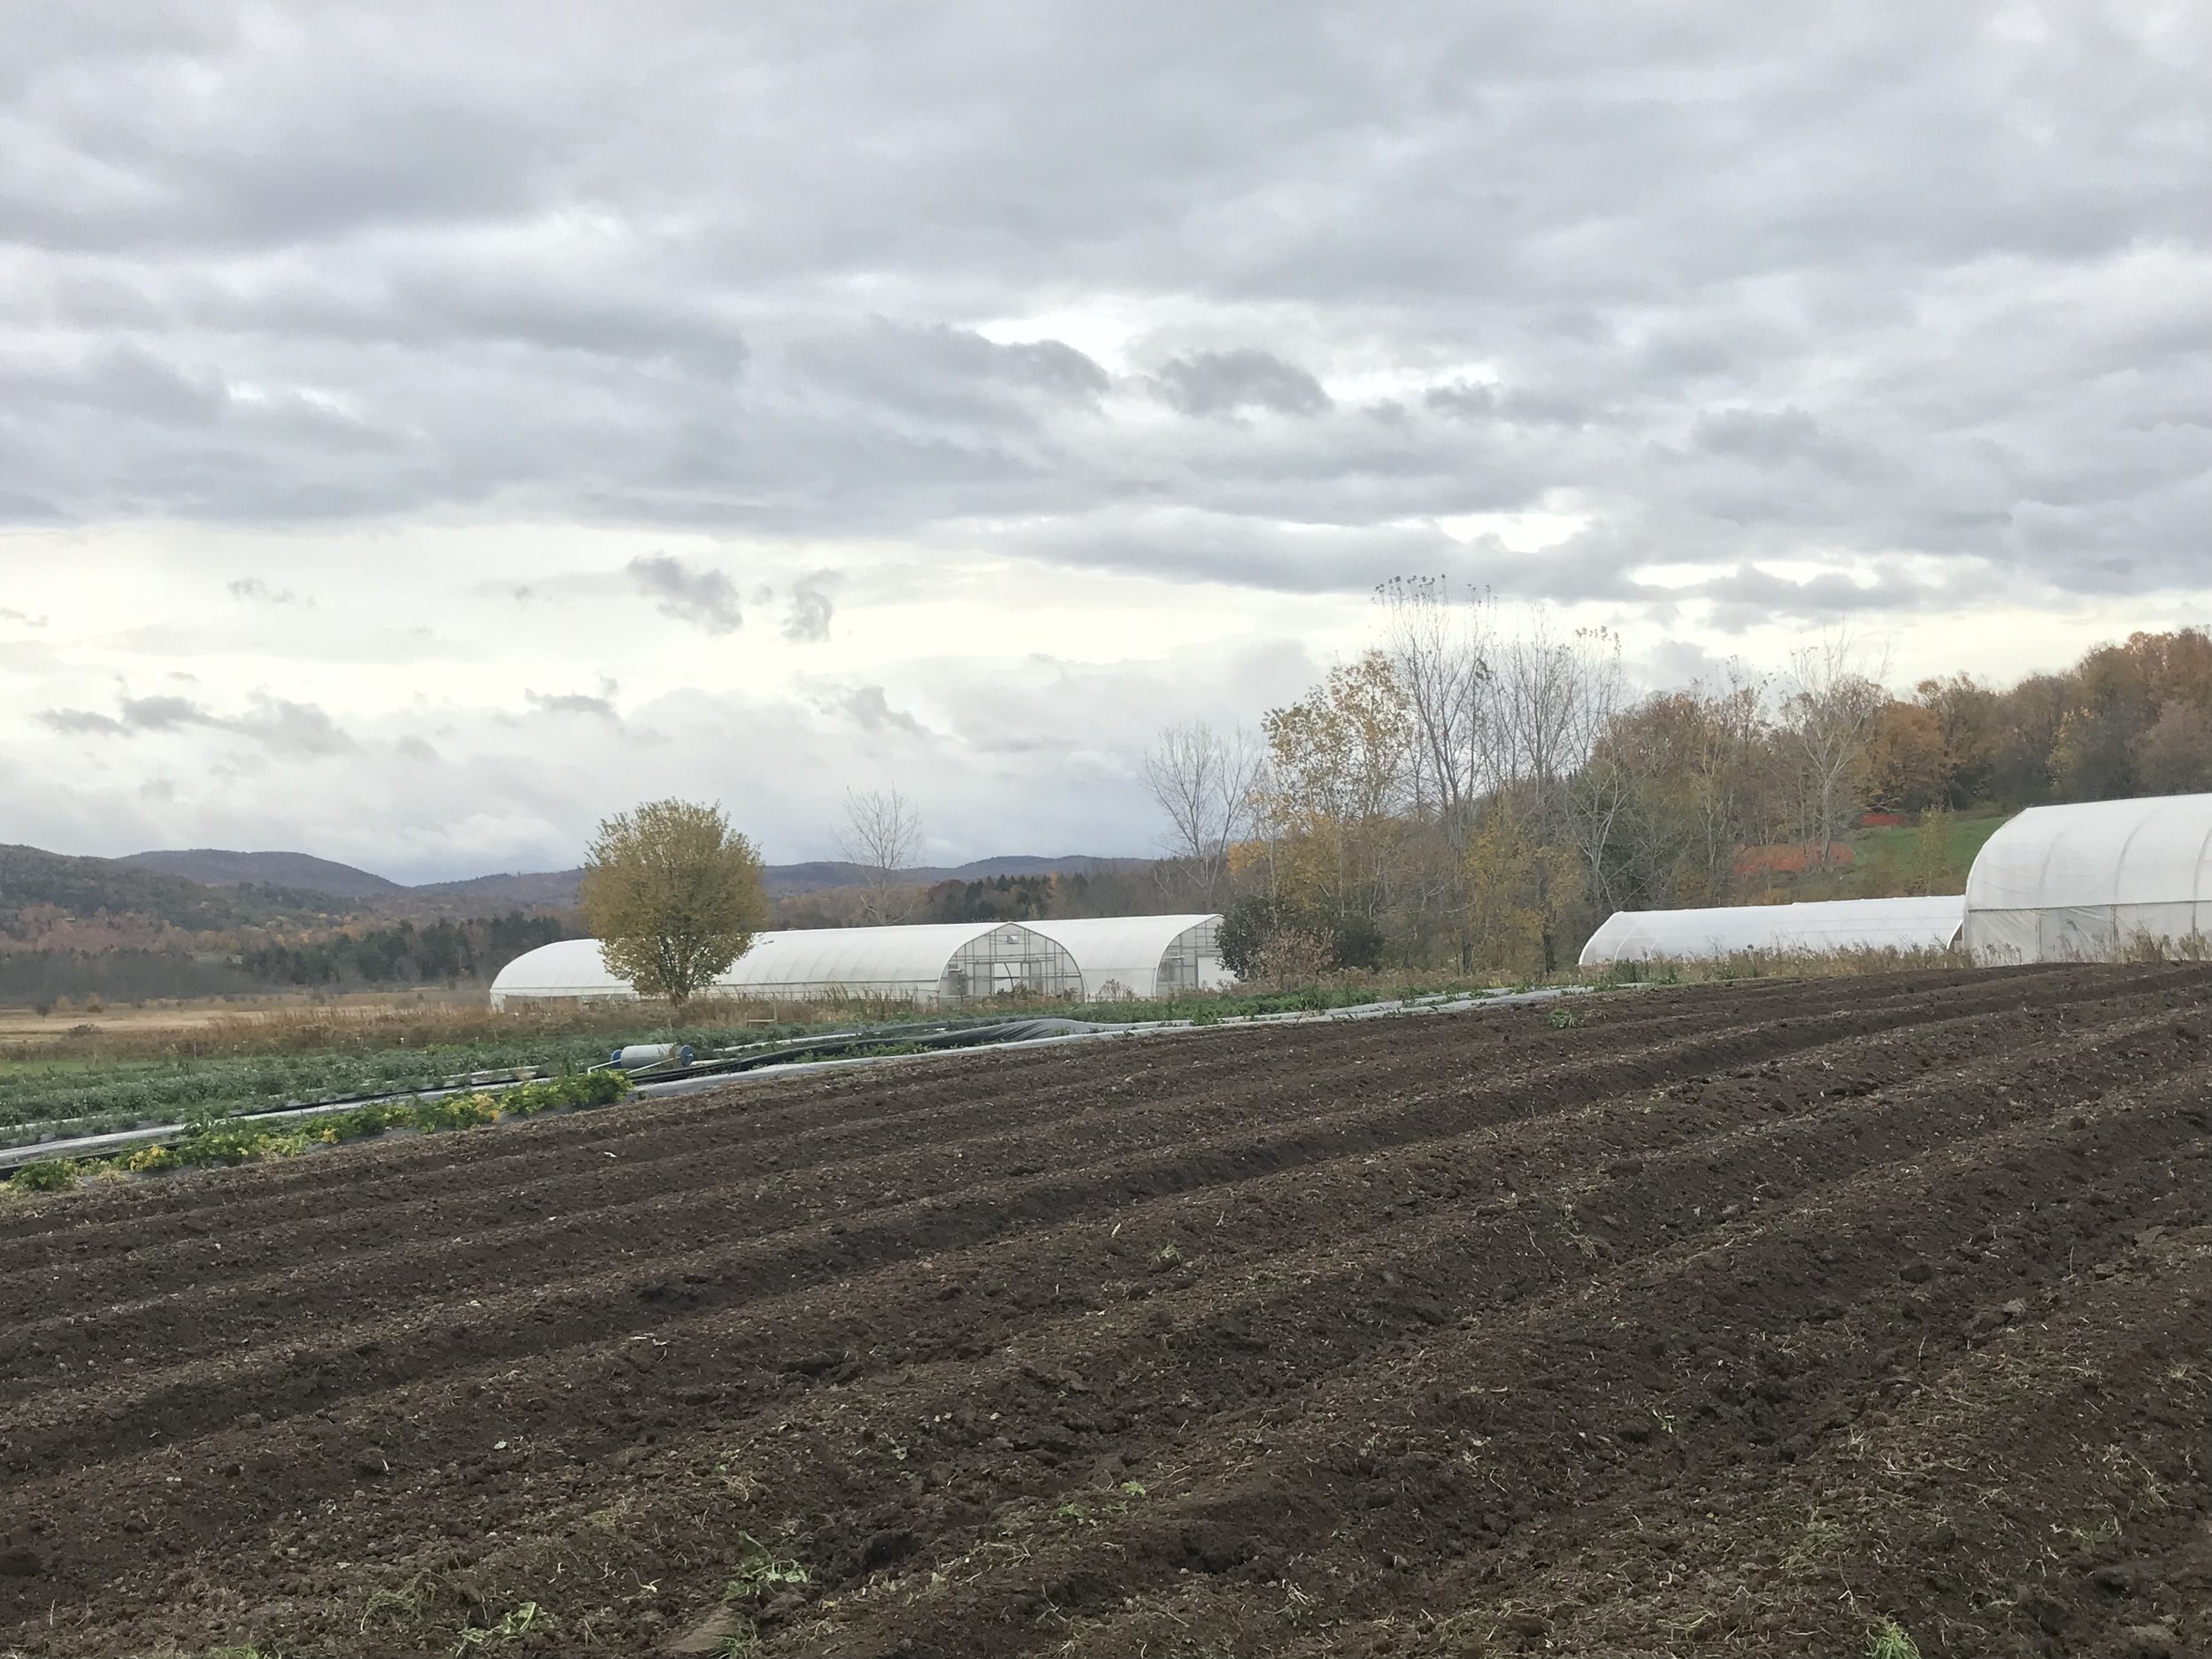
We are working on expanding our display gardens in the field beyond the greenhouses where the caterpillar tunnels were build this past fall. We hope you take a minute to walk around and see some of our plants growing and the methods we use. 

On a more personal note, at home (a new house for us), I have raked out the bits of lawn we have, cleaned up some perennials I had not cut back in the fall (I leave them for the birds and hope you do that too), and raked out the vinca that is in many of the beds as a ground cover. We are taking on an ambitious make over in our own back yard, and I will keep you posted with that progress. So far, the excavator, Pat Minor (ask me for his number if you ever need that kind of thing-he's great) and the stone masons (Aaron and John from Champlain Landworks, fantastic wallers and landscape people) have come over to make a plan. And Sam Wyatt from Studio Roji has made us the prettiest conceptual plan and come over a few times to measure, lay out stakes and twine, and help us talk through details. It has all been such a fun process and he totally understands what we want in a garden - a private, cozy oasis. Putting in a garden that is well designed and thought through has been a (almost) life long dream and I am able to do it after years and years of plotting and sketching. My childhood graph paper designs of the "ideal homestead" have finally walked into the land of grown up action. 

Please come by and visit - our staff is always able to help you make great choices for plants and seeds that are just right for the weather. It can be so confusing when we go from deep winter to deep summer in one day! 

What is ready the week of March 19, 2018

We are back in full production, and here is what we have ready for our wholesale customers this week. We will be making deliveries this Tuesday and Friday to some area stores, so keep an eye out for our babies! Our retail greenhouse opens April 13th. In the mean time, check with these stores  to see if they have our plants yet. Happy growing and garden dreaming to you all! 

Philadelphia Flower Tour

Lily and I recently were a part of the Philadelphia Flower Tour organized by Thomas and Bailey of Ardelia Farm for cut flower farmers and  florists. While we are neither of those things, we tagged along to learn more about flowers and plants used in the industry and to attend the Philadelphia Flower Show, Terrain and Longwood Gardens in nearby Kennet Square. Here are a few pics from our the Longwood conservatory taken by our friend Nina Foster from Trillium Finch  (check out her jewelry and floral design work too - it is gorgeous). 

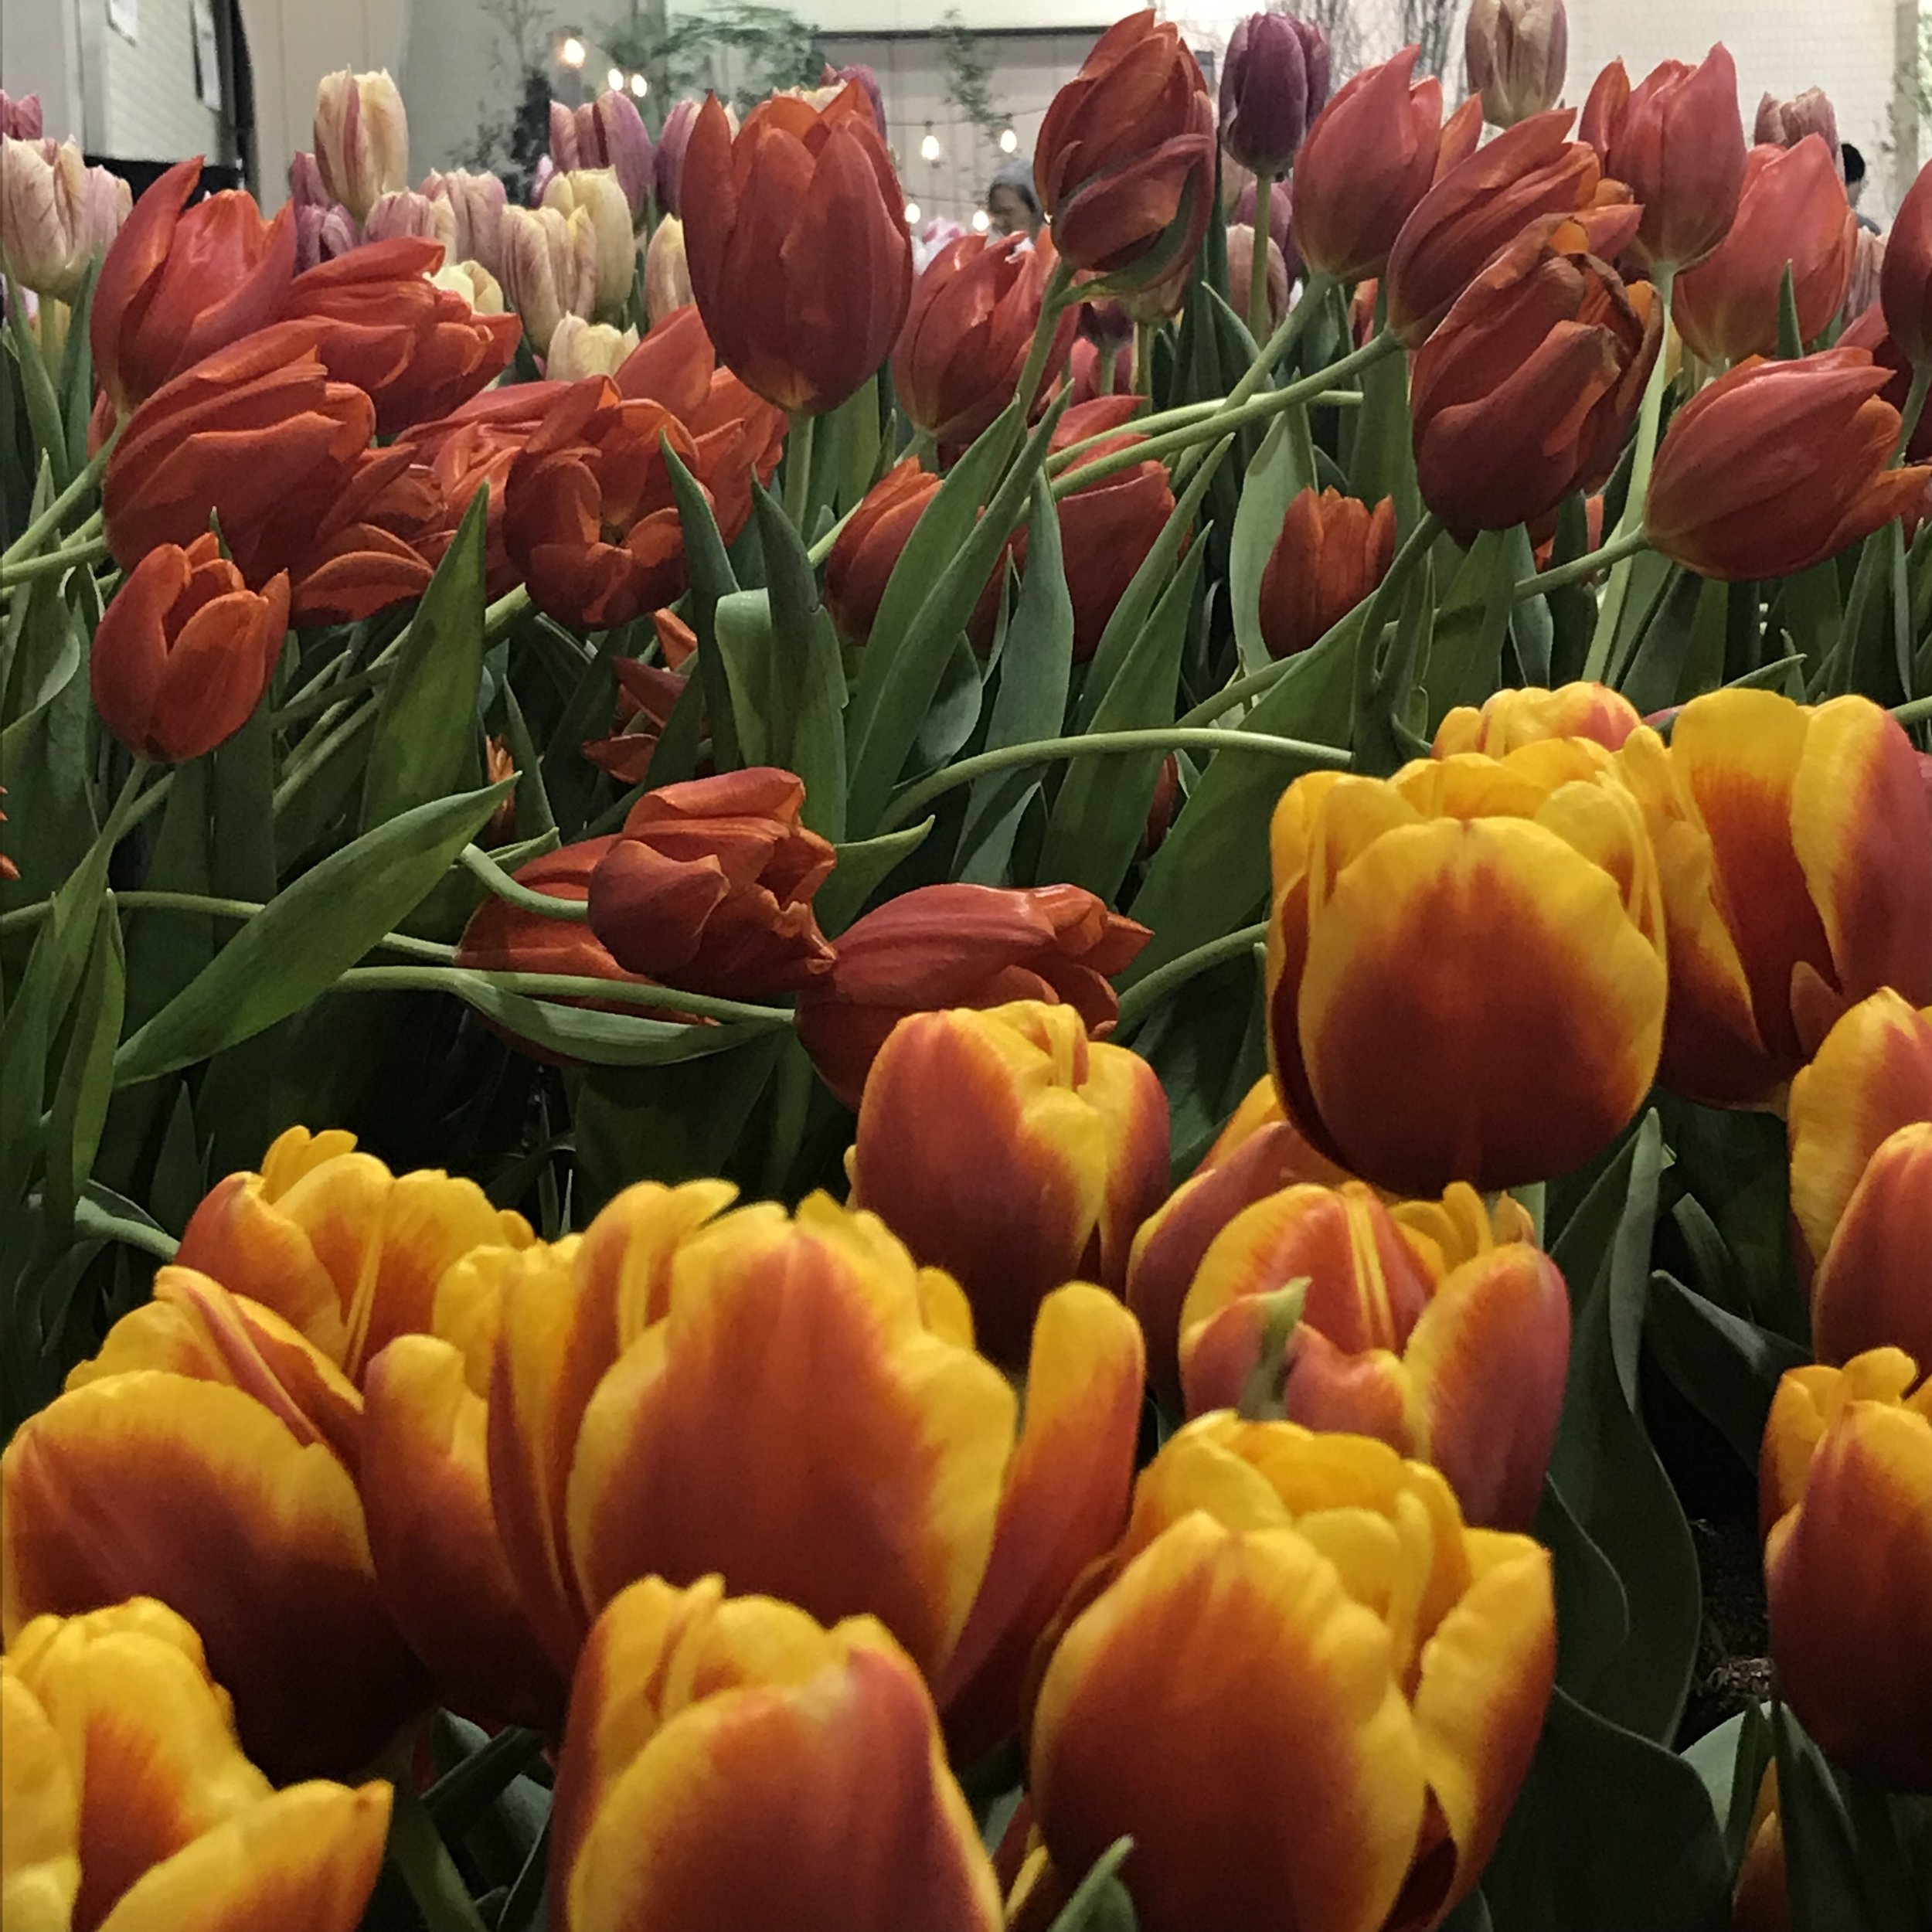
The flower show woke me right up after a long drive with lots of gorgeous begonias, succulents, cacti, tropical flower displays and tulips to fawn over. 

We also visited Terrain - a gorgeous garden and "lifestyle" shop owned by the same company that owns Anthropology and Urban Outfitters. A few plants made it into our car for the trip back as well as lots of ideas for future dreams and displays. We have our work cut out with a high bar and lots of inspiration. 

Dahlias in 2018

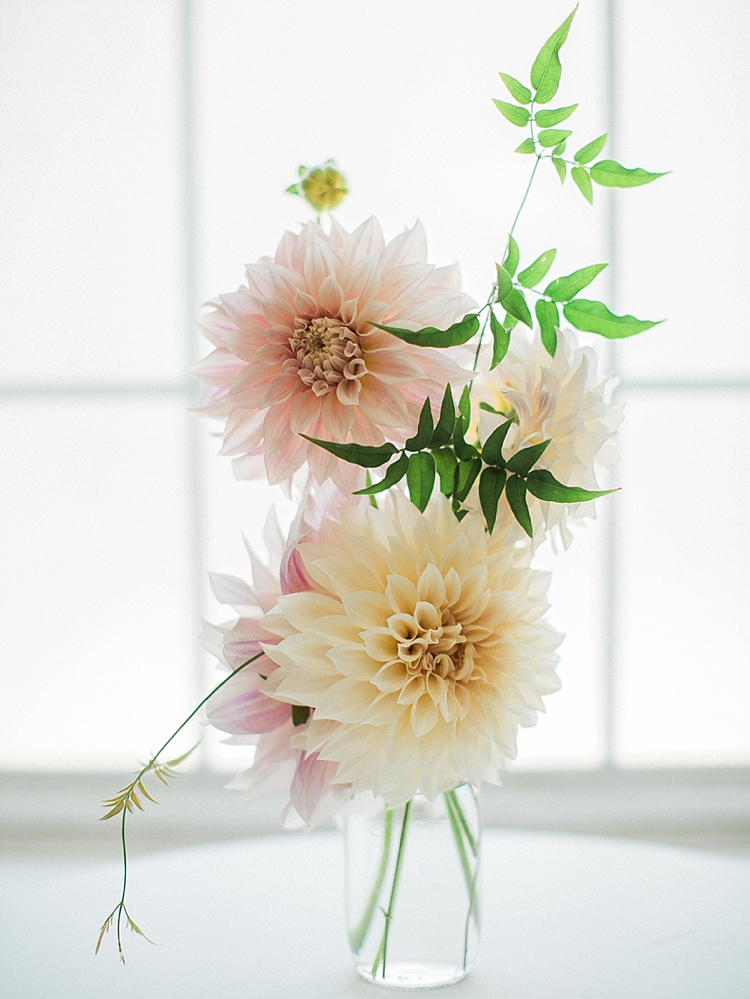
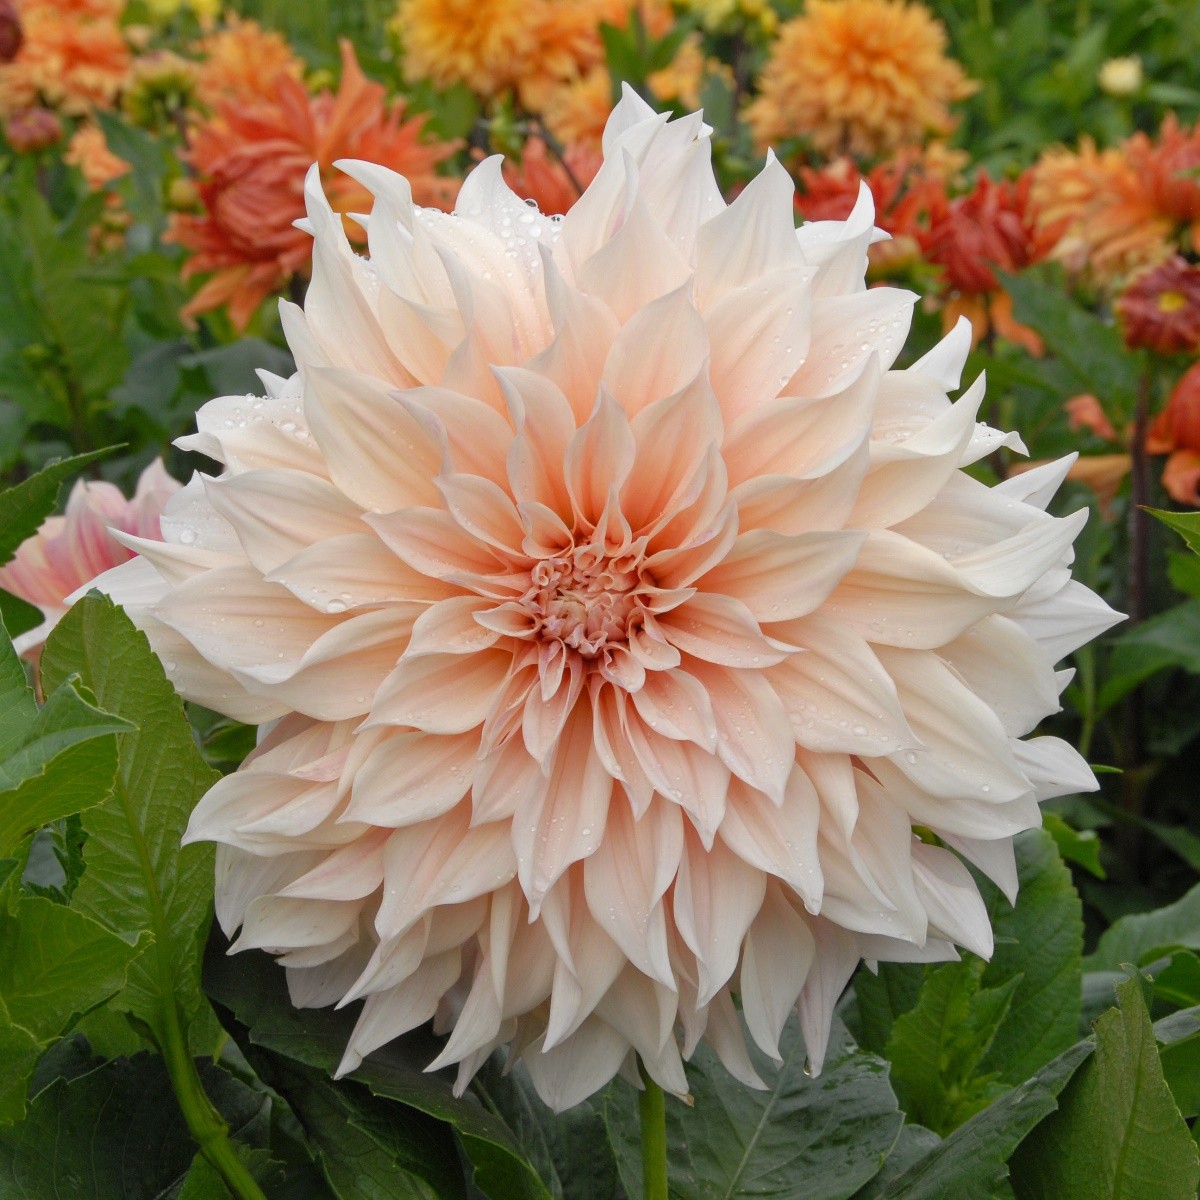
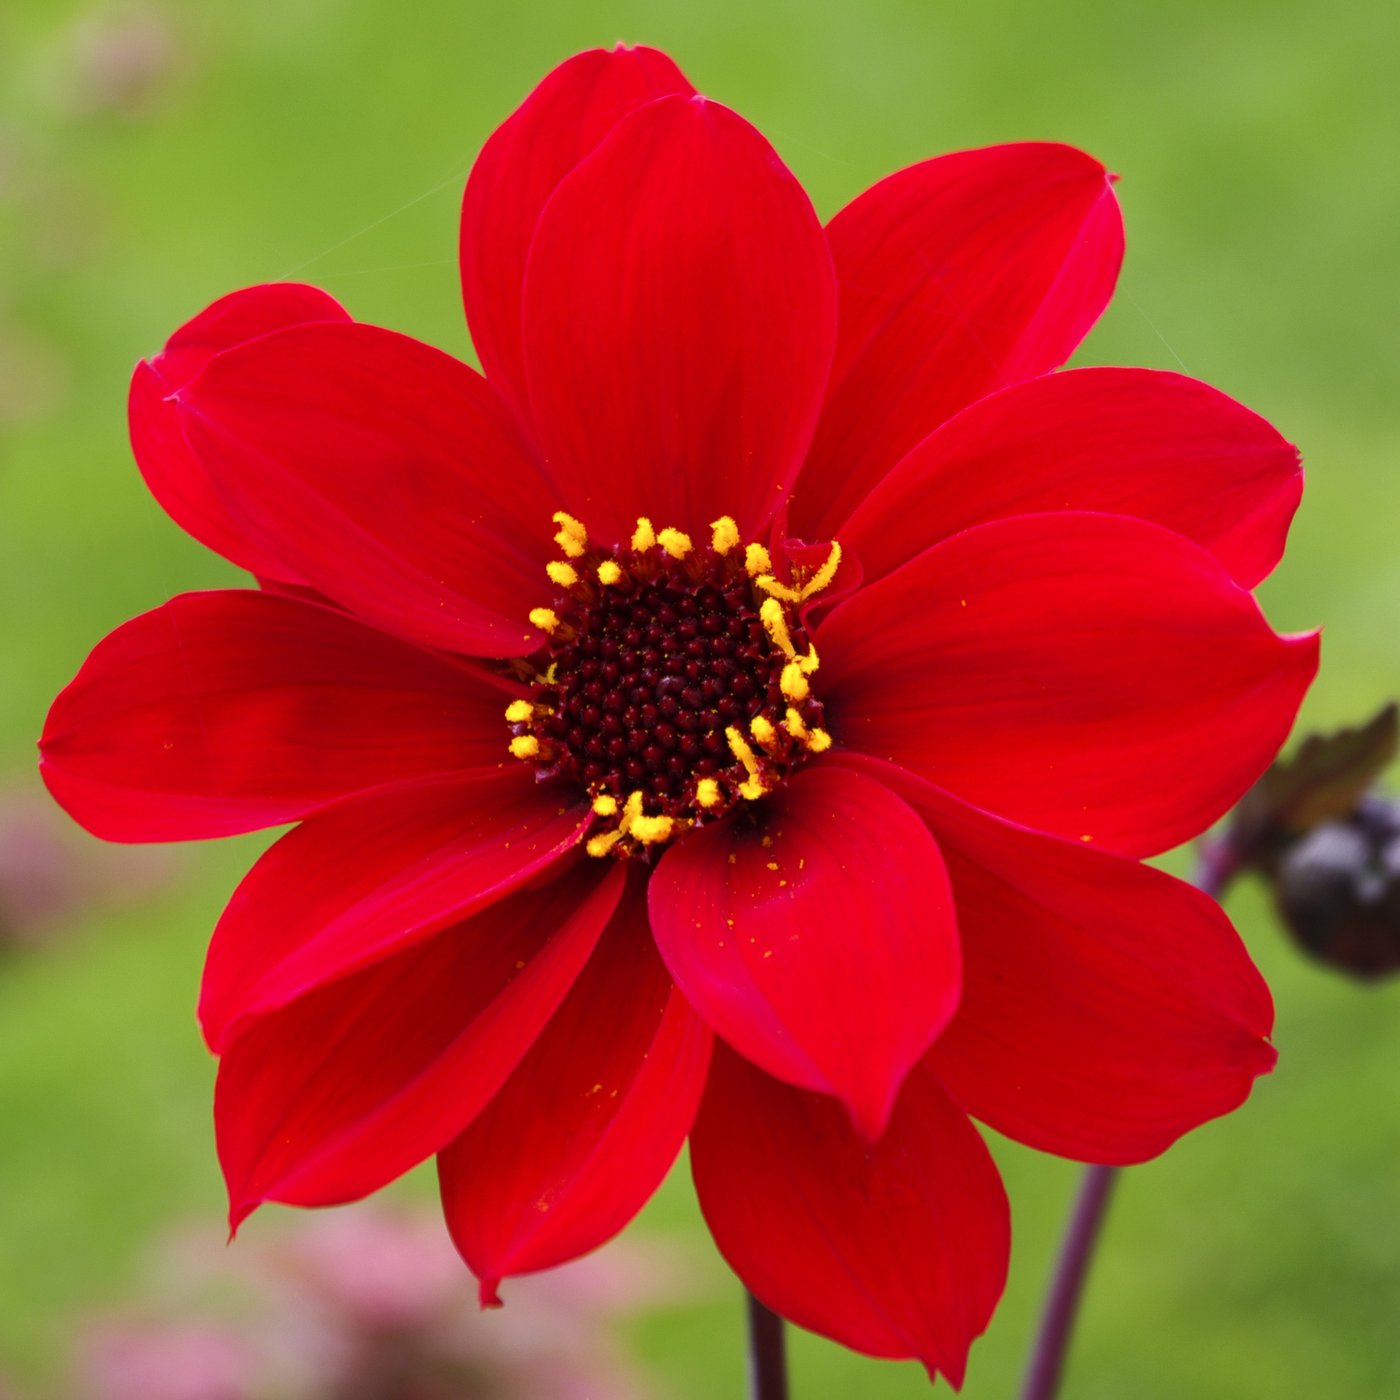
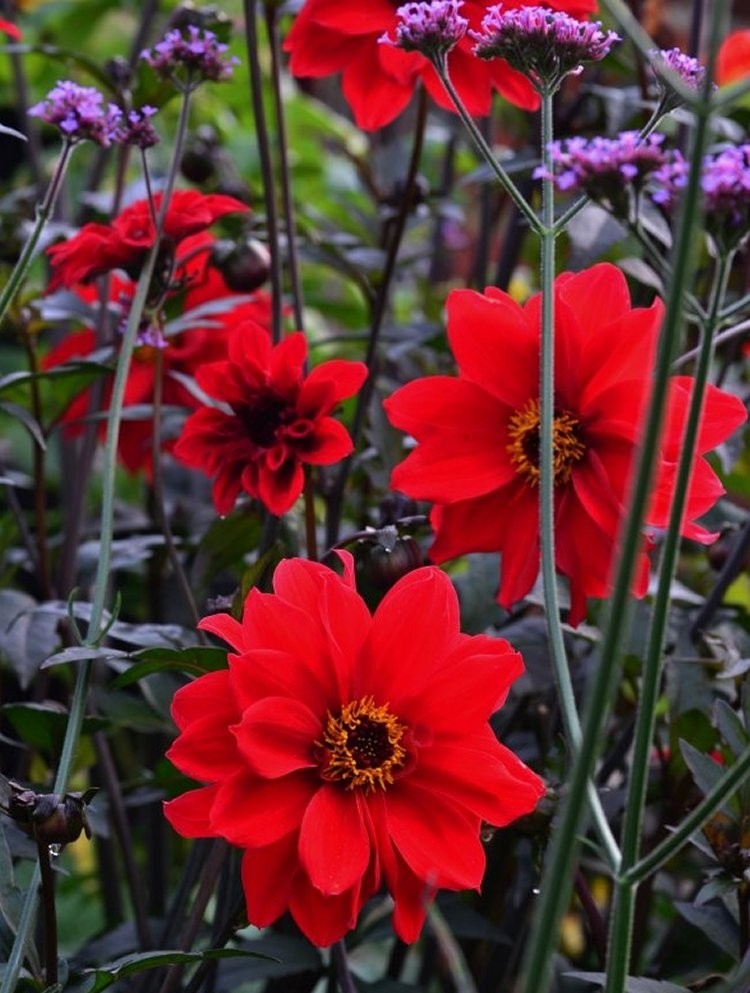
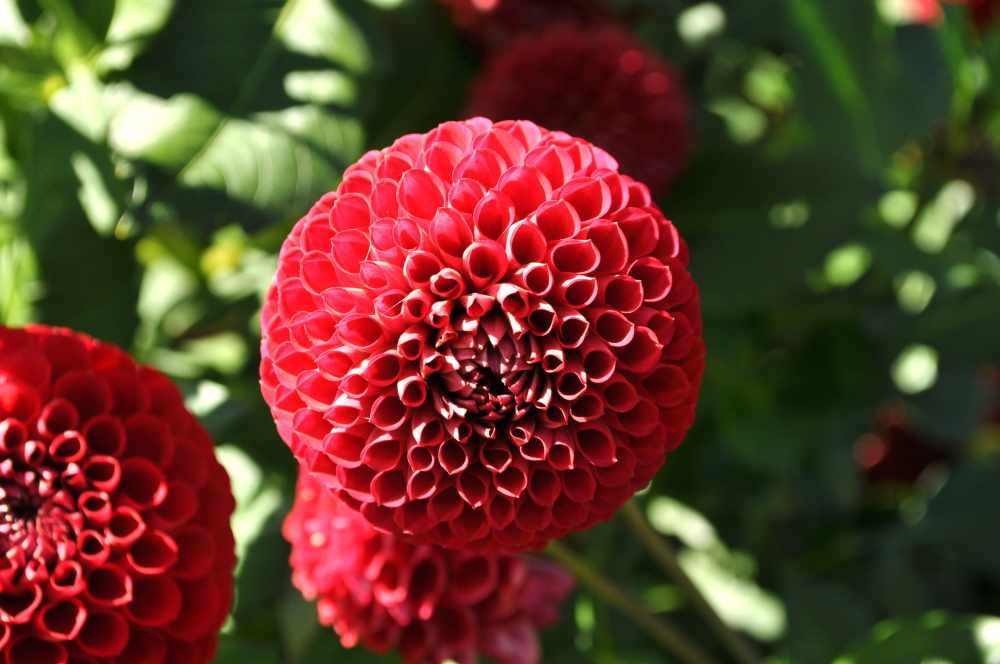
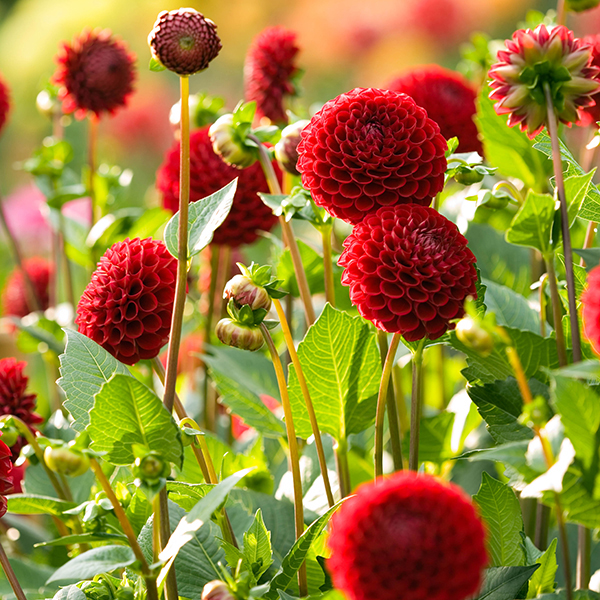
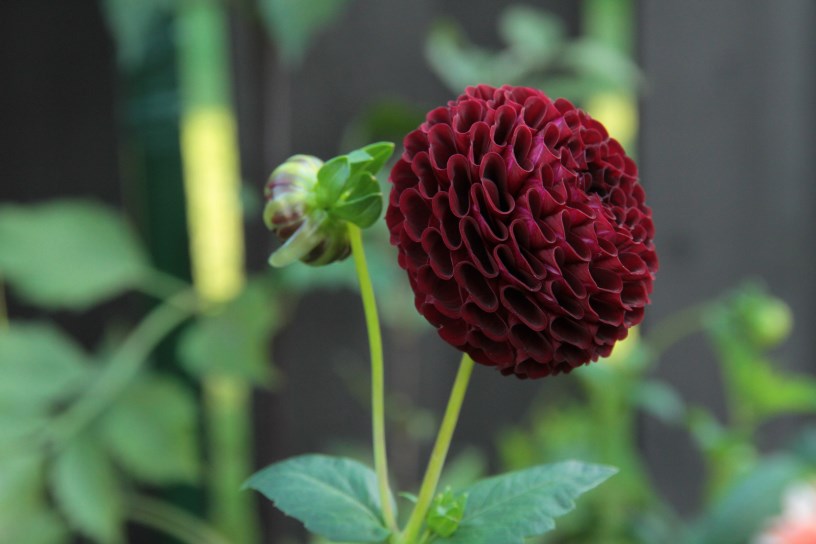
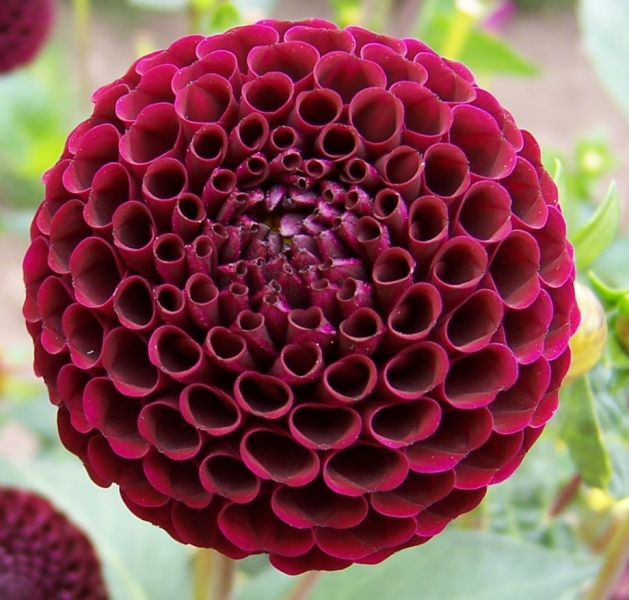
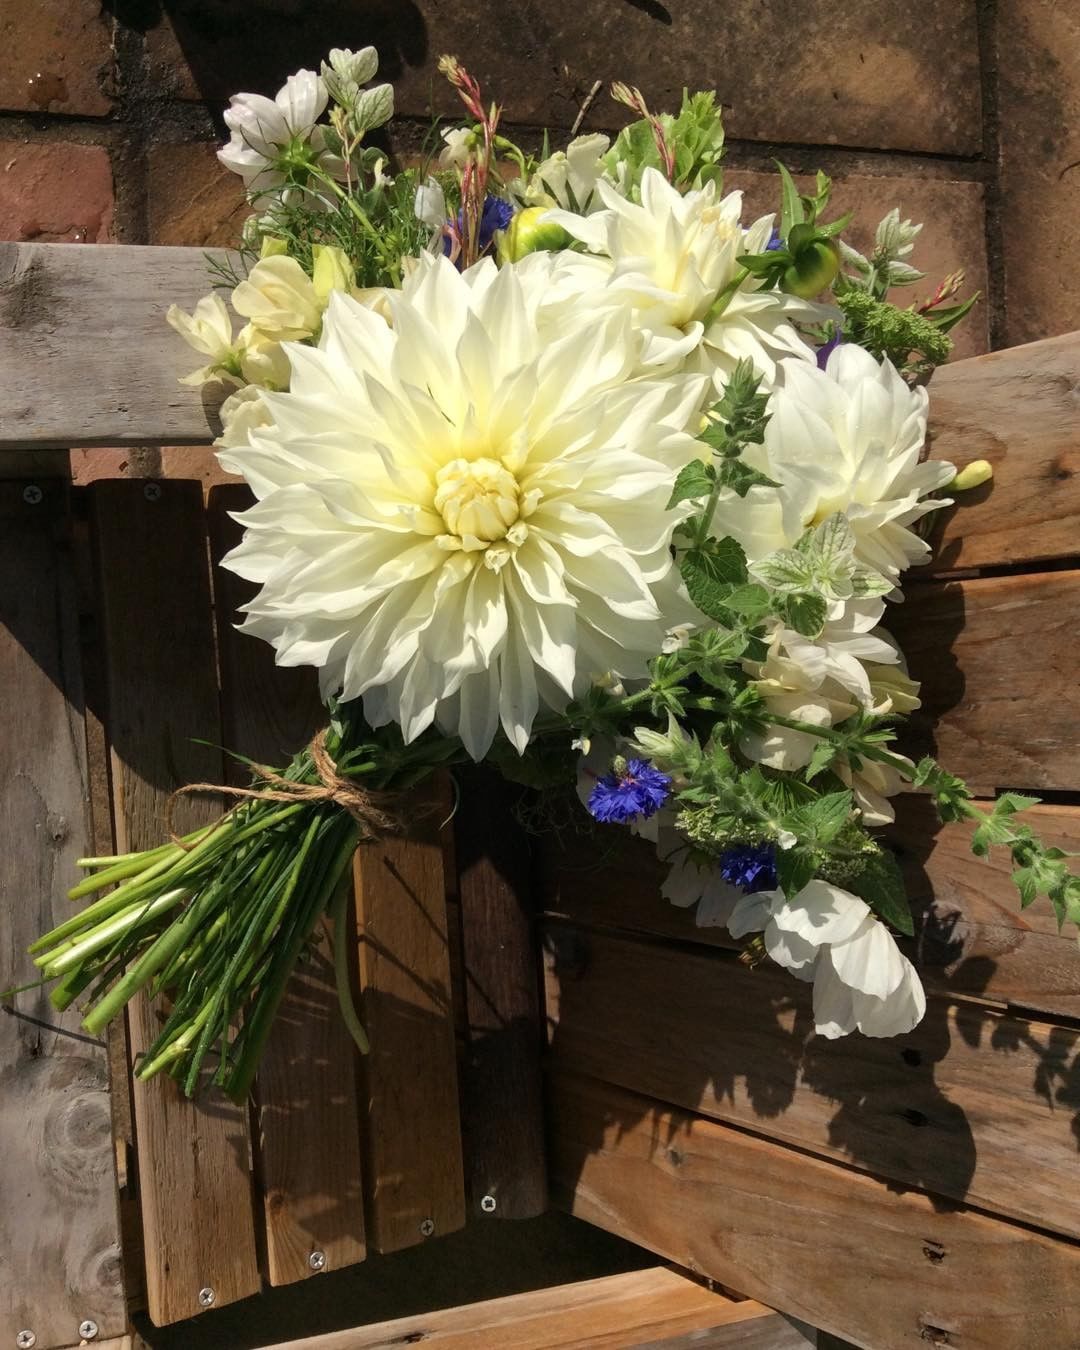
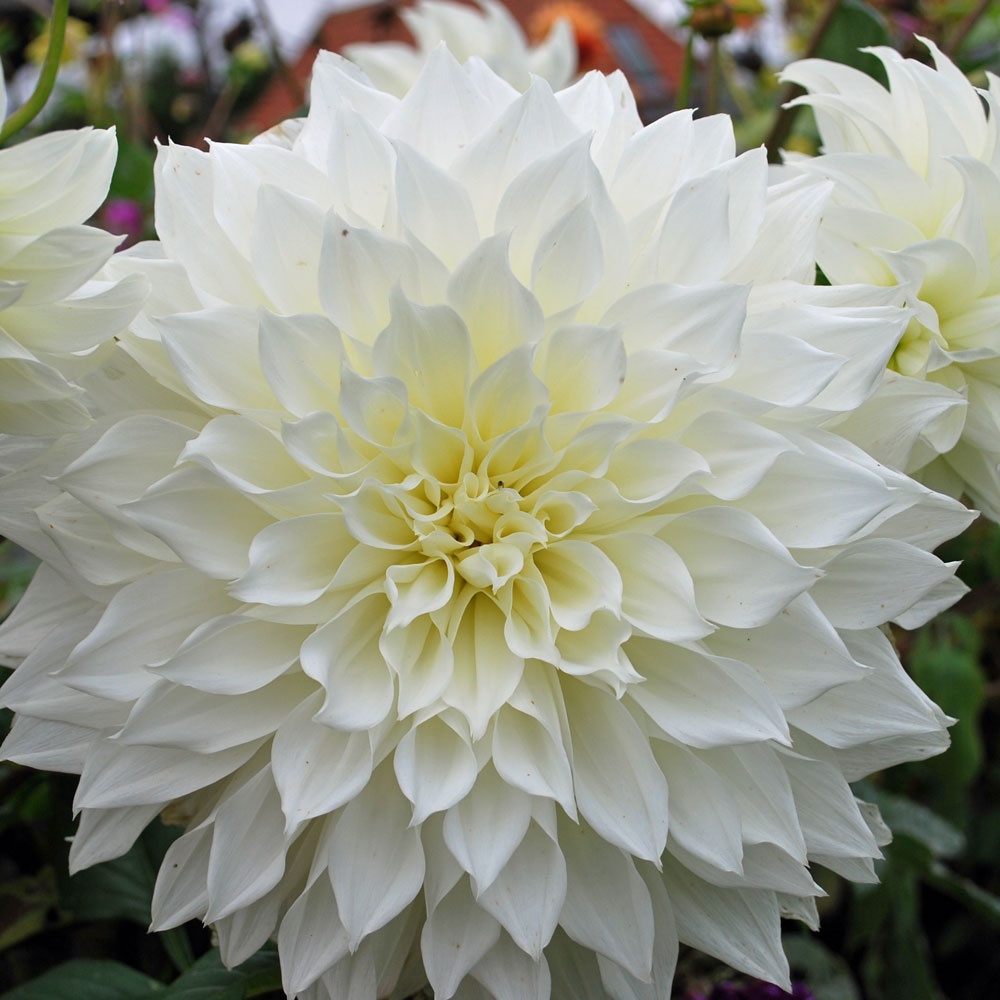
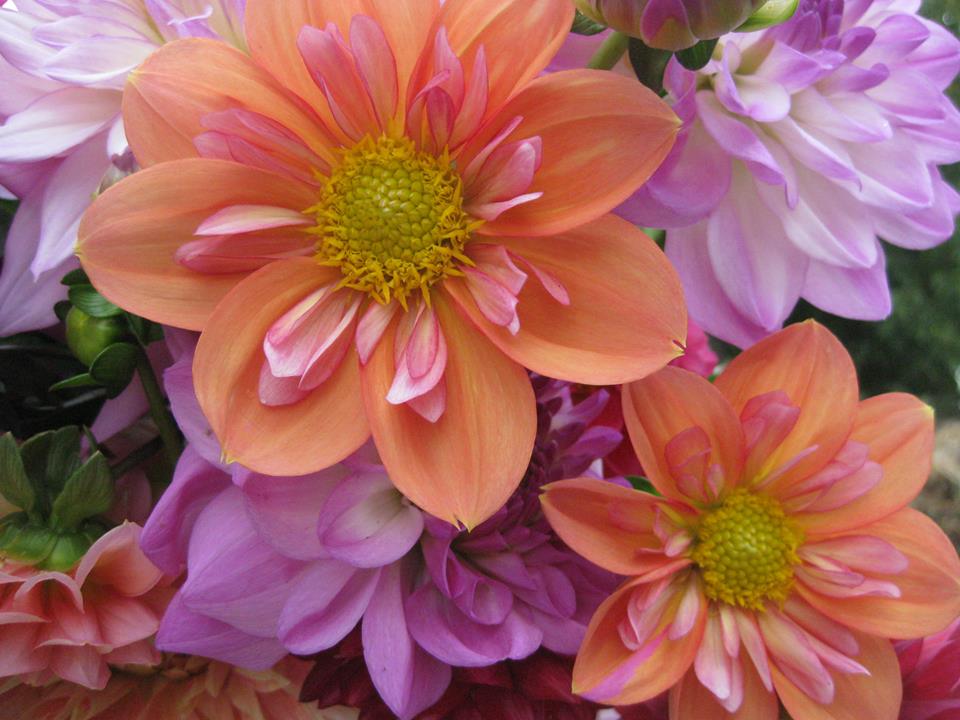
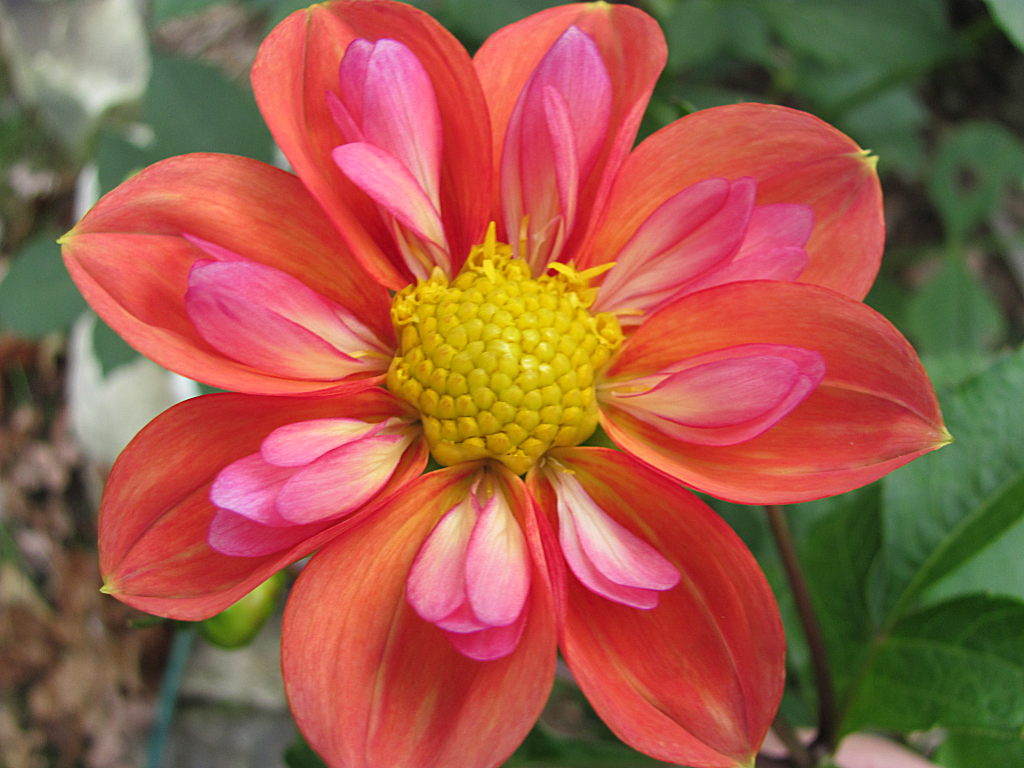
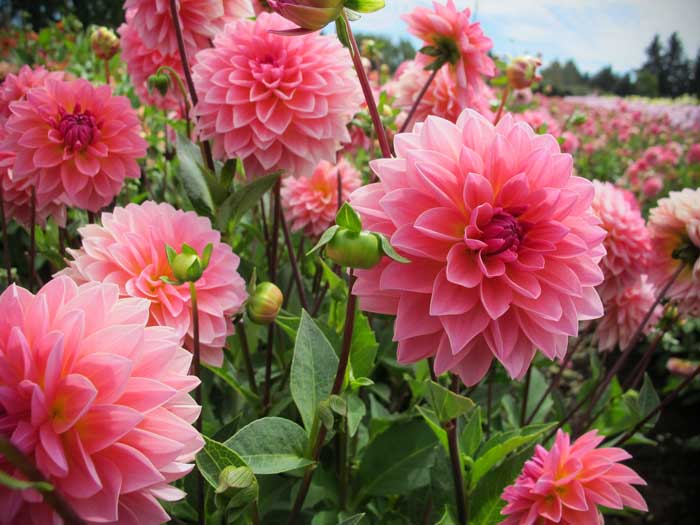
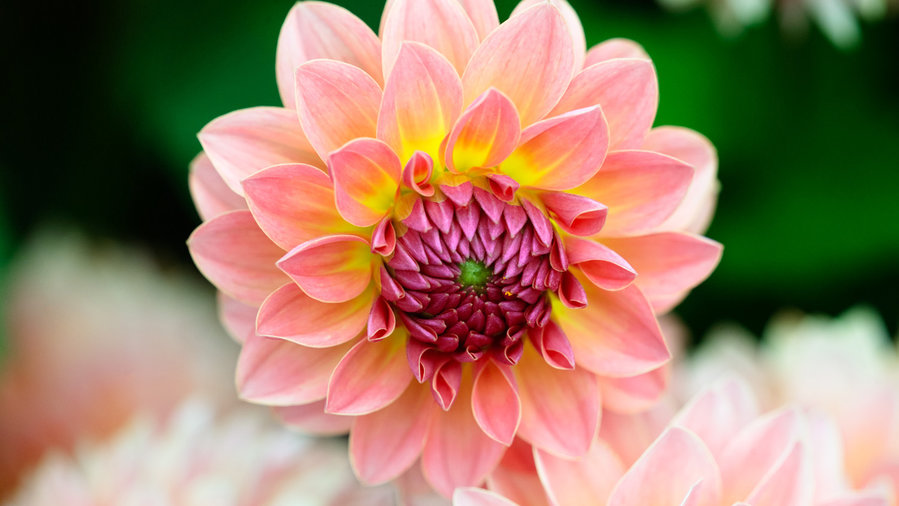
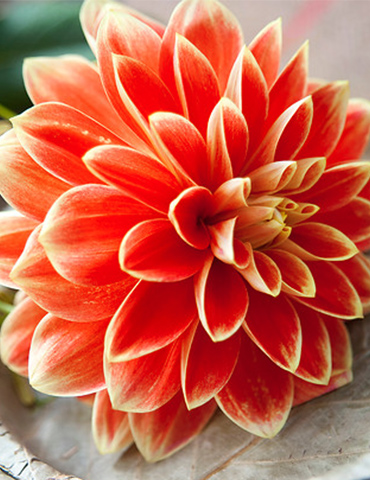
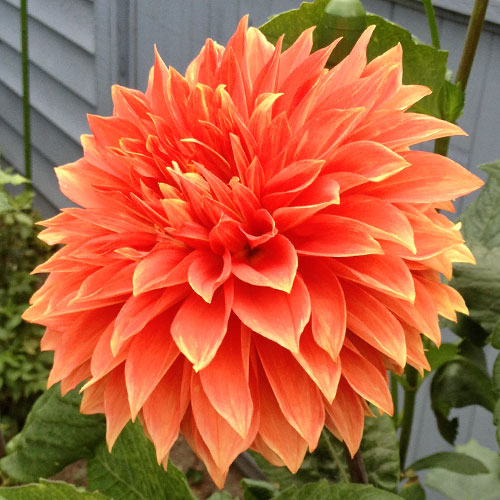
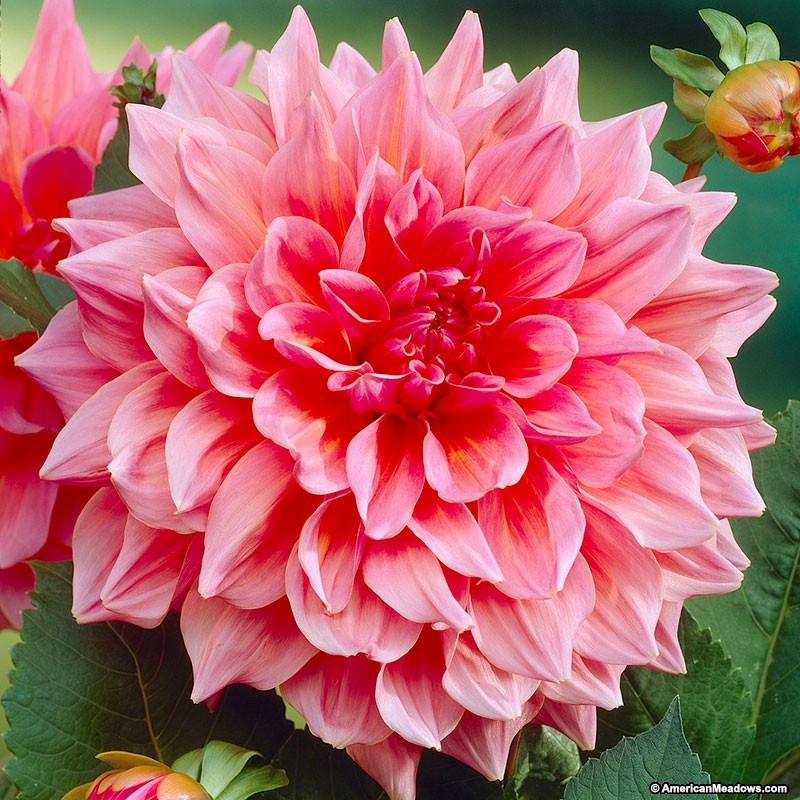
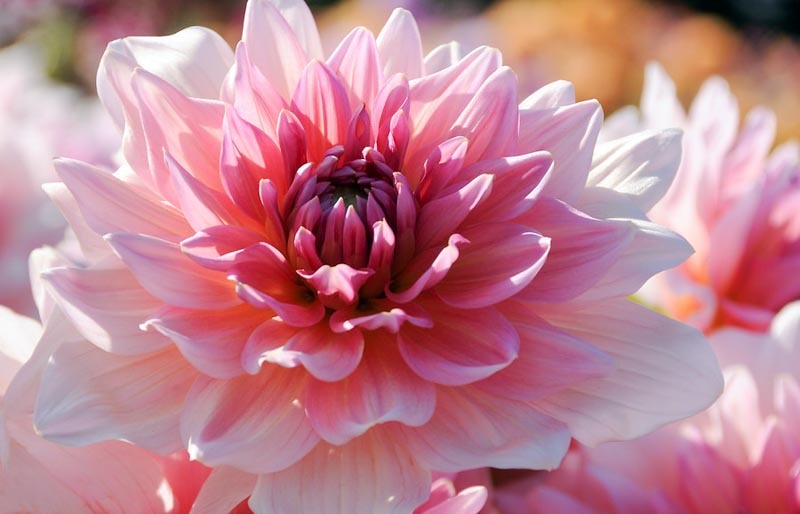
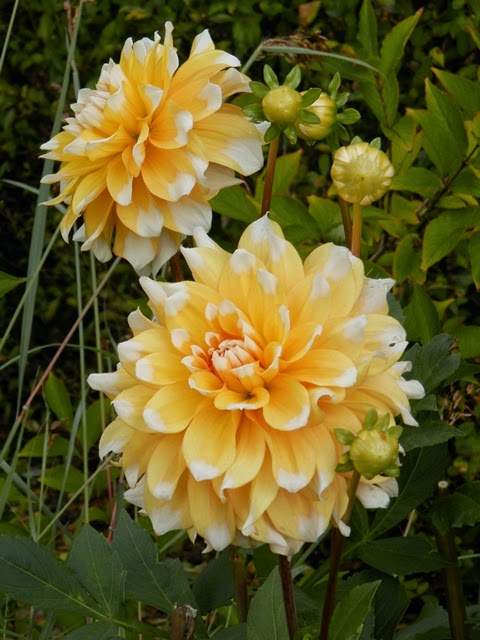
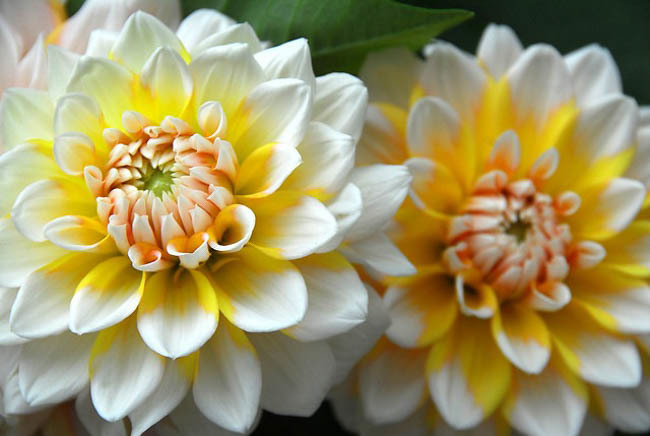
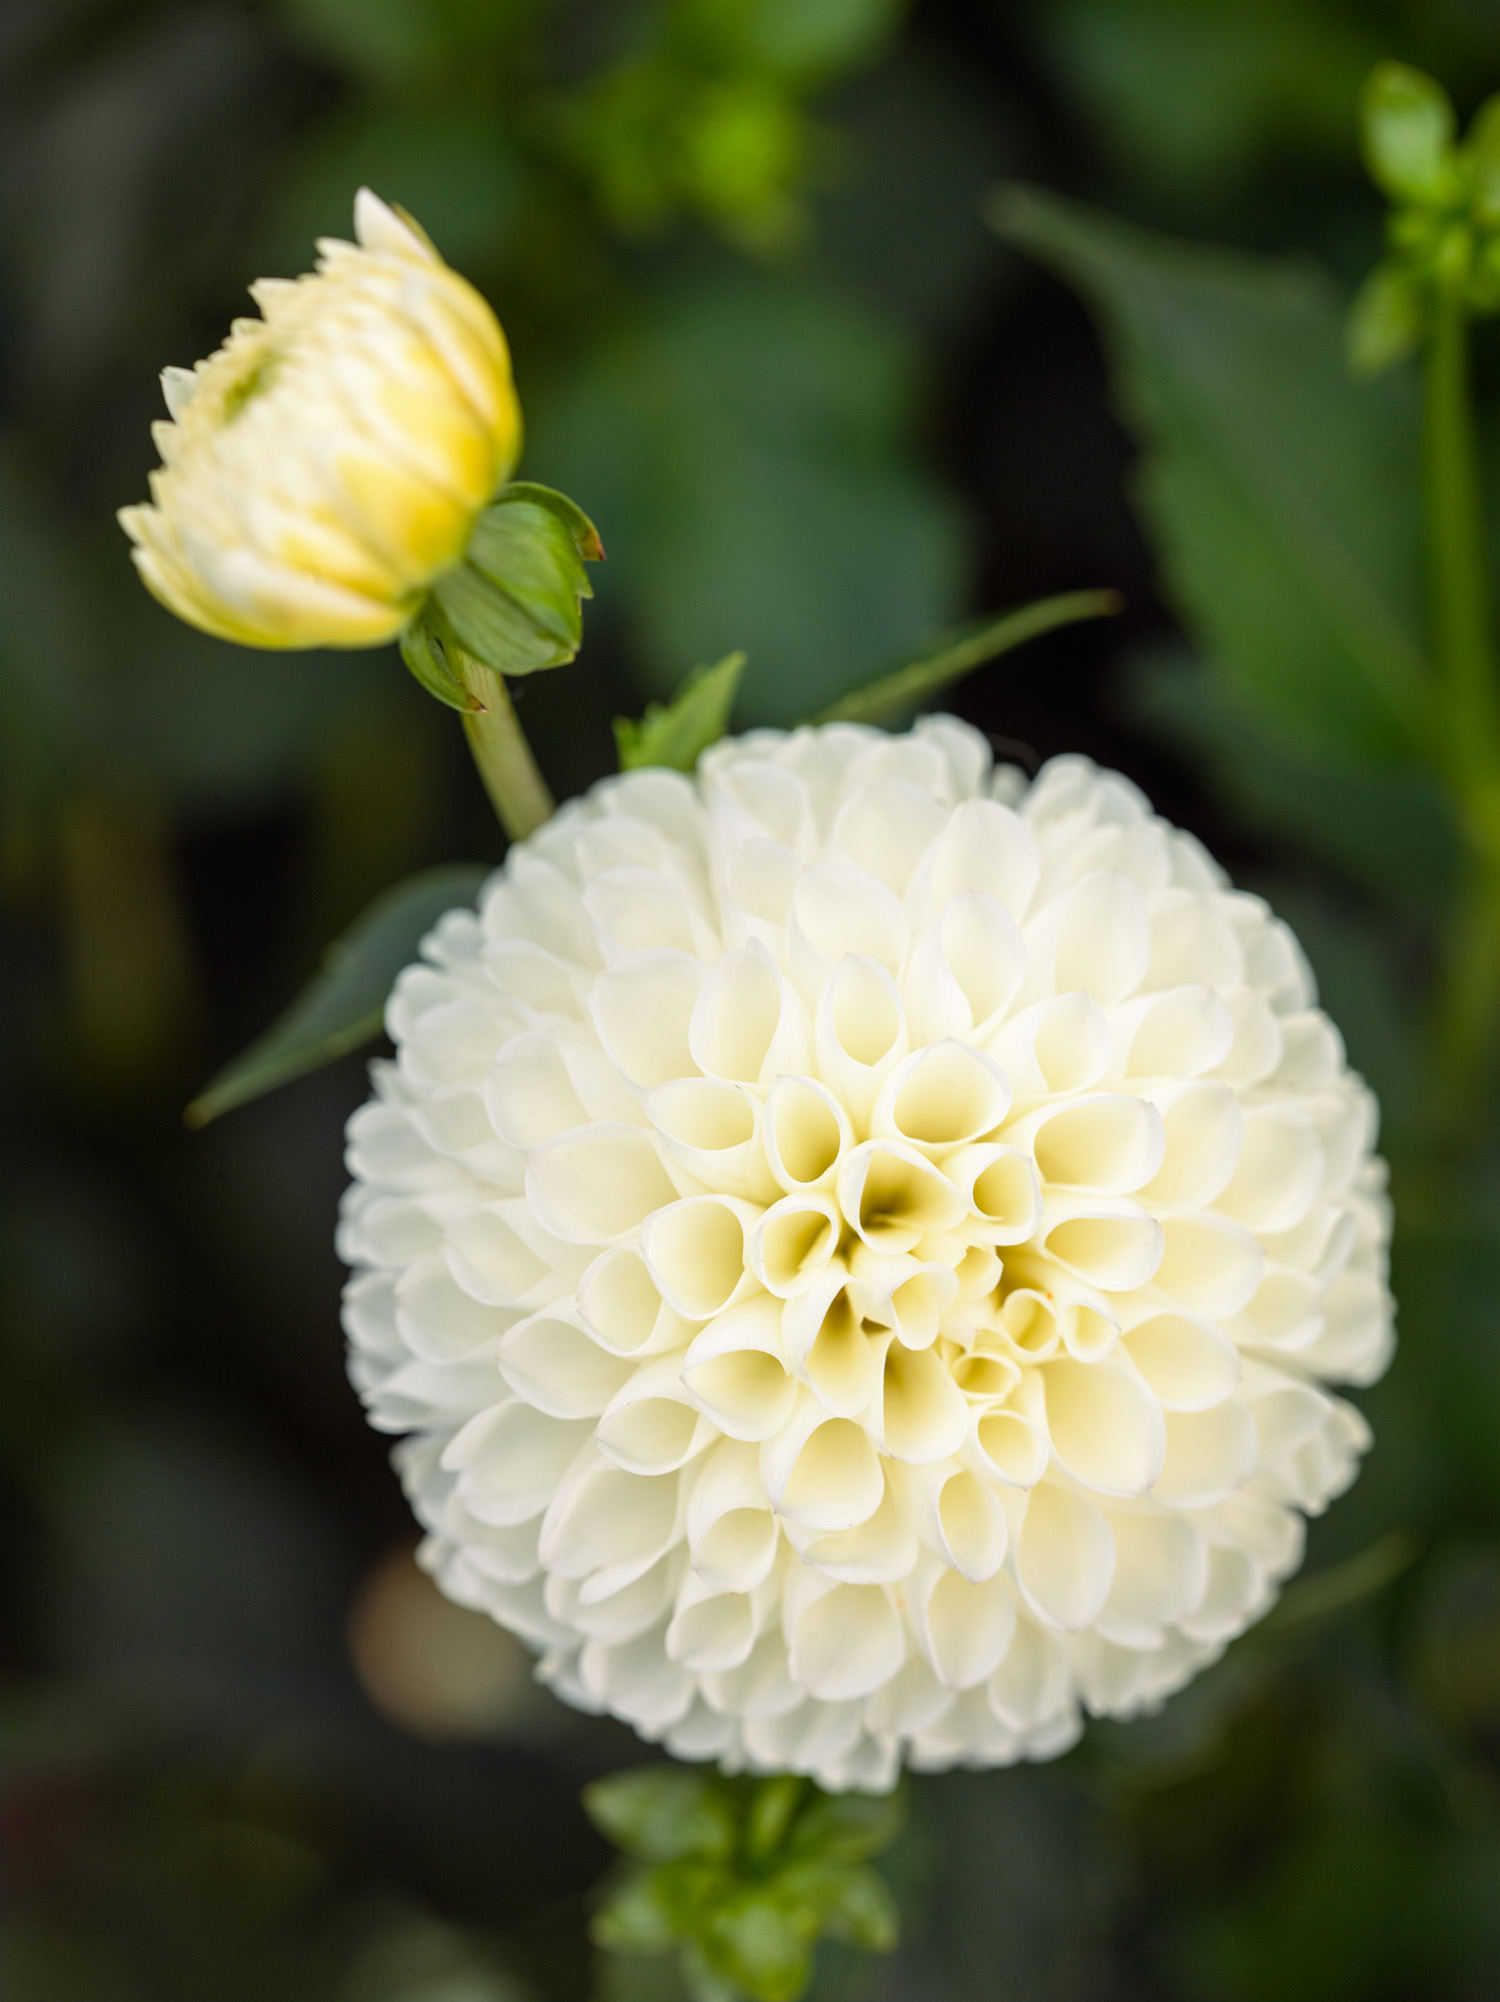
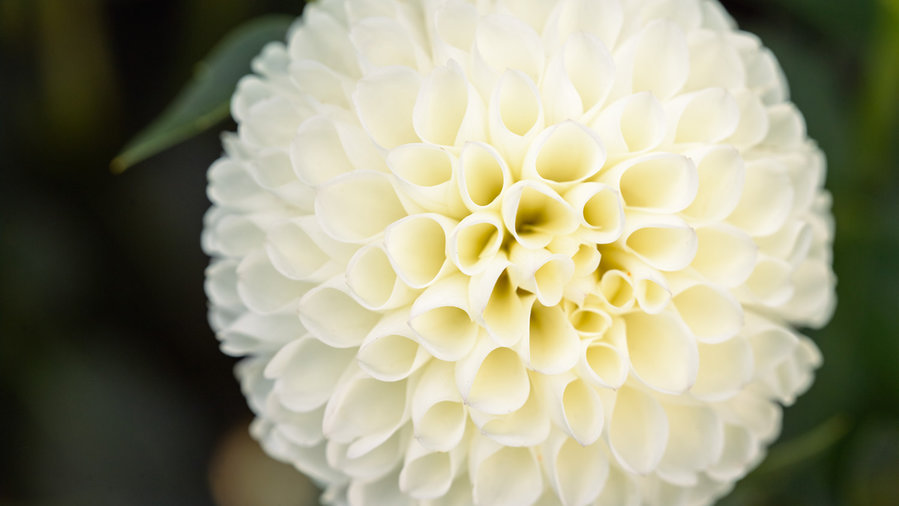
Look at these beauties! During the middle of April, we will be starting all of these varieties from tubers from Dutch breed DeVroomen and from US Washington state producer Swan Island. If you would like to grow gorgeous dahlias in your garden, the best bet is to start them indoors for a head start. If you are not equipped to do that or want to try a few new ones without the hassle, you can always get them from us. For the first time this year, we will be selling them before they bloom, in 1 gallon pots. This will make them more affordable and will give you a plant that is compact and easy to handle. In the past we offered dahlias only in 3 gallon pots, 3 feet tall and blooming. Not only were these hard to load in the car and plant in your garden, but they were much more expensive. We hope that pictures alone will do the trick, and that you will take our word that these are the highest quality dahlias to add to your collection. You can dig up the tubers in the fall, store properly in vermiculite or sawdust or dried maple leaves, and then divide and replant in the spring. Perhaps this is the year you join the dahlia craze bandwagon, or you simply continue to feed your obsession / addiction. Either way, we are here to help you find dahlia bounty. 

Tips for dahlia success:

1. Prune the tips of the plants. We will have done this once or twice before you purchase them, but until mid-June, keep pinching. This will keep the plants symmetrical and compact and they will send out more blooms. 

Pruning dahlias in early June. 

Pruning dahlias in early June. 

2. Fertilize the plants at planting time. We recommend a heaping handful of Compost Plus from VT Compost Company.

3. Foliar feed the plants once a week with a fish and seaweed emulsion spray. We recommend Neptune's Harvest. 

4. Once they start to bloom, cut the the stems at the base. Keep this up all summer for the longest bloom life. 

5. Before first frost, cut the plants to the ground and dig up the tubers. 

6. Allow them to dry and cure in a dark and airy place laying on newspaper for about a week or two.  Once cured, place in paper bags with dried leaves, sawdust, or vermiculite. Keep bags in a cool, dark, dry spot all winter. Make sure to label the bags with what variety is inside. It is also a good idea to add a second label inside the bag in case the ink fades or the paper rips. Cutting up a yogurt container into large strips is a great way to make a permanent plant labels. 

2018 Plant List Preview: Cut Flowers

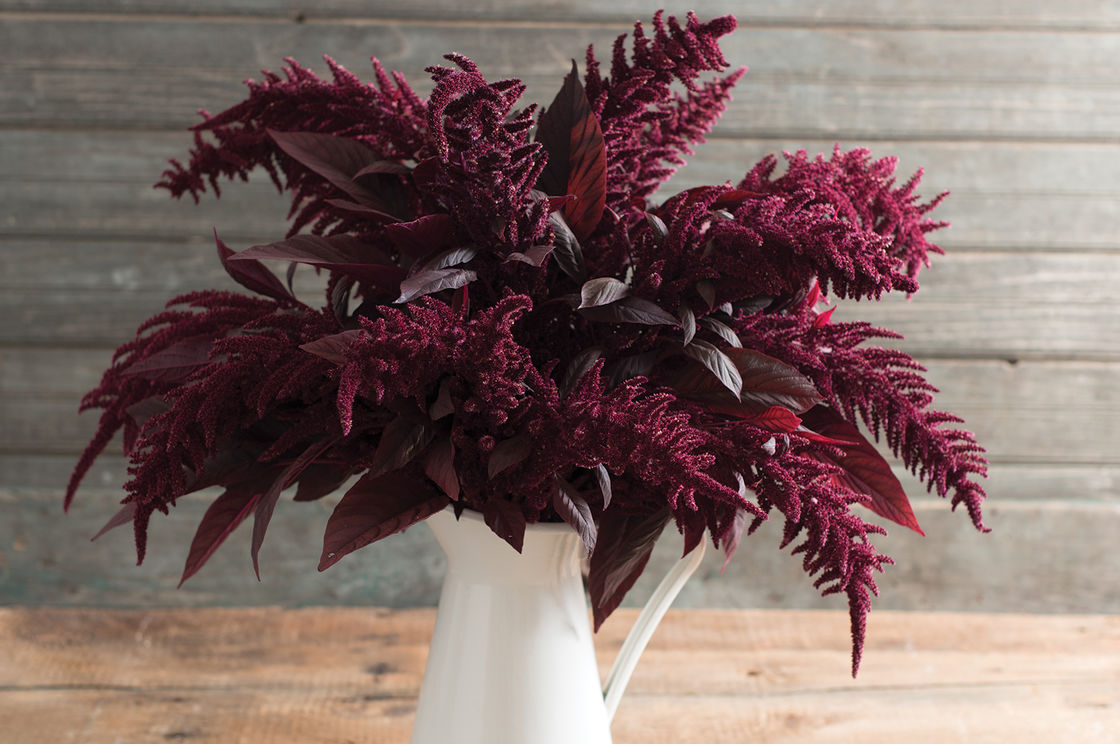
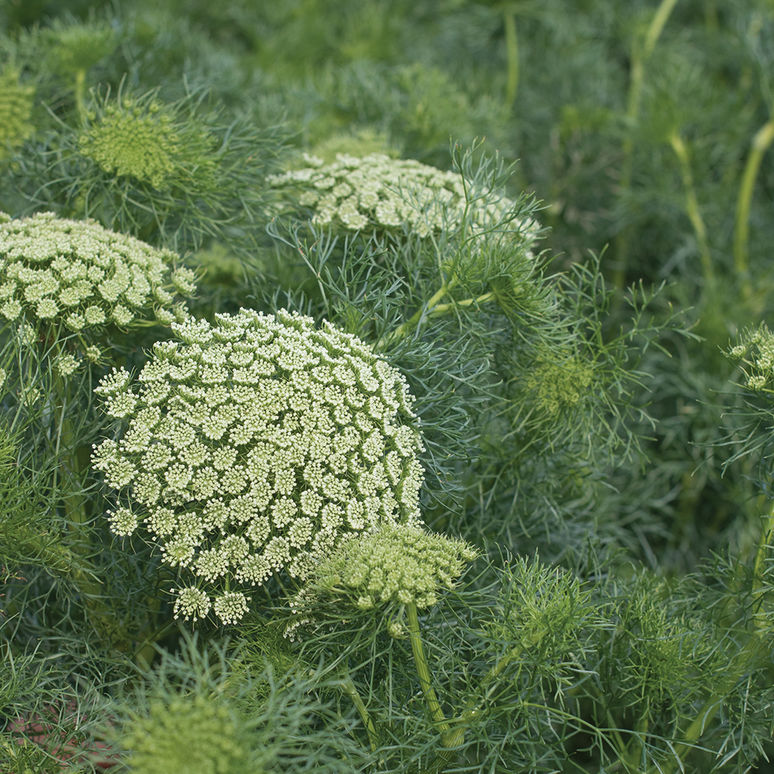
Last year was the year of the cut flower program at Red Wagon. Not only did we grow and sell more cut flower varieties than ever before, but we also hosted a 3 part floral design workshop series with flower farmer / florist Nina Foster and had a chance to meet flower growers from Vermont, New Hampshire and Massachusetts. The fun and beauty continue into 2018 with an expanded offering of varieties that work well for cutting and arranging and crafting. Here is the list. If you are a home gardener, you can make a wish list now for summer dreaming and planning. If you are a commercial grower, feel free to contact us about purchase plants in larger quantities for your commercial operation. The photos below represent only about 1/3 of the plants we grow that are suitable for cut flower use. Most of our perennials and many more annuals and some herbs are also suitable for floral use. And please note that vegetables and berries can make unique and eye catching additions to those sprawling, romantic bouquets that are so in style right now. If you need any suggestions or want to make a special request,  please don't hesitate to let us know. 

Photo gratefully used with permission from Ball Horticultural and Johnny's Selected Seeds. 


Year in Review 2017 - Good News Report.

2017, garden wise, started off so rainy and cold, but then took a nice turn with a mild and extended fall. Some of those summer crops were able to keep producing into November which made up for the late start.  It was a year when the garden provided respite and much needed beauty and escape from the news out there. Tending our little corner of the earth always feels like just the thing. 

We grew some flowers for beneficial insects in our herb greenhouse. So beautiful and practical. The good bugs live and eat here and venture out to eat the bad bugs. We make a cozy habitat for them and in return they make a quick lunch of thrips, aph…

We grew some flowers for beneficial insects in our herb greenhouse. So beautiful and practical. The good bugs live and eat here and venture out to eat the bad bugs. We make a cozy habitat for them and in return they make a quick lunch of thrips, aphids, and white flies. 

On a personal note, we sold our home and moved so our home garden was lost mid-way through summer. Our new house is cozy and just right. A perfect place to call home, right near the banks of Otter Creek. We can literally walk down the sidewalk, row boat in tow for a sunset tour on the river. 

2017-10-08 18.16.08.jpg


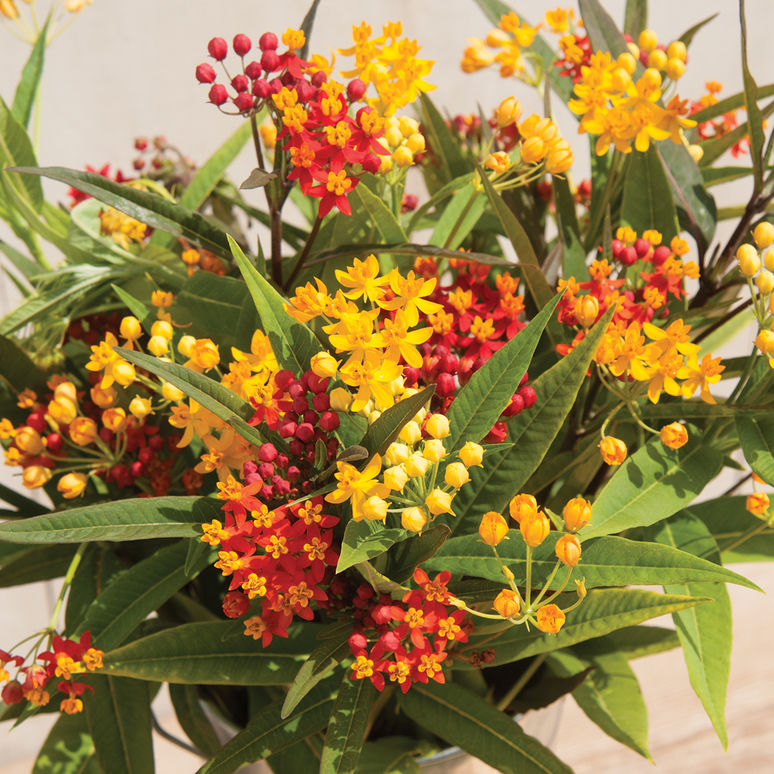
And while I had to say goodbye to one home garden, the Red Wagon trial garden did well and provided an abundant harvest of produce and flowers for late summer. We tried a few new cut flower varieties this year and included those in the Red Wagon garden - Scabiosas 'Fama Blue', 'Fama White', 'Salmon Rose', and 'Oxford Blue';  Lisianthus 'Roseanne Deep Brown' and 'Doublini Blue', and Asclepias currassavica 'Silky Formula Mix'. These were so productive in a relatively small amount of space. Look for more cut flower varieties from us in 2018....these have been a steadily growing category for us and in recent years they have really taken off. And they are so fun to grow! 

Scabiosa 'Salmon Rose'

Scabiosa 'Salmon Rose'

In the vegetable department, I was again impressed with how productive the broccolini, Happy Rich, can be. I was able to harvest new shoots and buds all spring, summer and fall 2 to 3 times a week. These are delicious raw or in stir fries or steamed. The stems are tender and sweet and never turn tough or bitter. I also grew an onion variety that is early and very productive - New York Early yellow onion. I used to grow this quite a bit in my vegetable farming days, but have not seen the seed in catalogs in recent years. Well, it is back, and it is a great onion to add to your garden plan next year. It is ready a good 2 to 3 weeks before other yellow onions and it stores well. The tomatoes we tried from Wild Boar Farm tomato breeder Bradley Gates were all beautiful. The extra delicious ones were Solar Flare, Berkeley Tie Dye and Brad's Black Heart. Those are all making a come back in 2018 along with a few other new tomatoes. Our full plant list will be out in January, so please check back for that later.  

Wishing you all a warm and happy new year. 

2017-08-18 18.36.44.jpg

We successfully moved our herb farm from rented land in Charlotte to the land near the greenhouses in Hinesburg. We are in the process of building tunnels that will protect the herbs spring and summer and fall. While the soil there is pretty solid clay, we have been able to amend it successfully with our beautiful compost made from plants, garden waste and spent potting soil. From solid clay to solid gold. 

We have prepped the soil ahead of time for next  year. Raised beds that will be permanently in place to provide our herbs with good drainage and looser soil in the root zone. 

We have prepped the soil ahead of time for next  year. Raised beds that will be permanently in place to provide our herbs with good drainage and looser soil in the root zone. 

And we built a new wash station for packing the herbs and other future projects. It is a nice and cozy space, right next to Family Cow Farmstand. 

2017-08-09 10.47.49-1.jpg
Lettuce, Raddichio and Escarole in November.

Lettuce, Raddichio and Escarole in November.

We are so looking forward to next spring. Already, our attentions are turned to new gardens, new varieties, and new people. This time of reflection and transition from one year to the next is filled with gratitude for me. Thank you customers, friends, and all the fine people who make up Team Red Wagon. 

Flower Grow / Design with Nina Foster, Part 3: Wild Foraged Wreaths

FullSizeRender (3).jpg

75.00

Saturday, November 4th, 2017

11 am to 3 pm

In this workshop, Nina Foster will take you on a journey through the world of the autumn, wild crafted wreath. Her beloved Trillium Finch wreaths are a totem to nature that come into the home each fall, bringing with them a touch of nature's everlasting bounty to anchor us through the dark months of winter. 

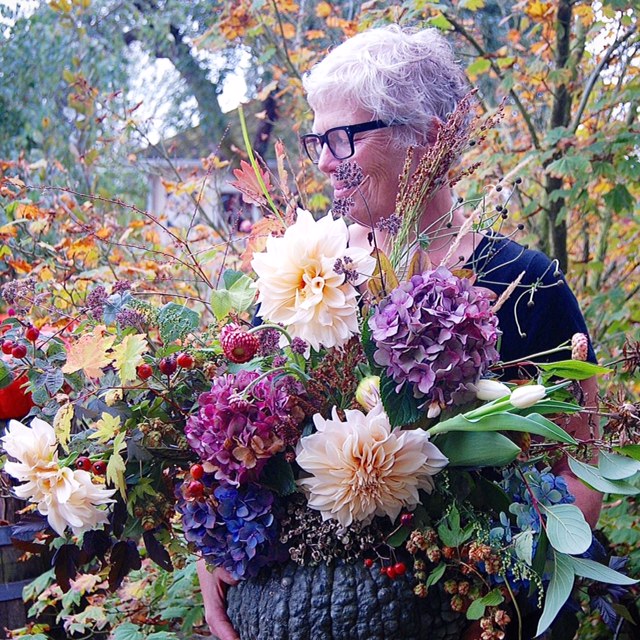
Learn to make one of these beautiful creations using materials from gardens, forests, fields, and personal adventures. Participants are encouraged to bring with them any special seed pods, branches, stones, crystals, feathers or other special objects they would like to incorporate into their designs. All materials will be supplied to make a wreath, but a special object with personal meaning makes each person's creation truly special. We love to team up with Nina - her special take on gardening and flowers are a perfect way to bridge gardening and nature and art. 

About our presenter....

Nina Foster has a life long love for all things flora and fauna. Raised in rural Vermont, she spent much of her time wandering through the picturesque fields, meadows and forests,  foraging, gathering and harvesting flowers, weeds, grasses and vine.
Nina followed her older sister to Washington State in her twenties. She landed in the stunningly beautiful Skagit Valley where she settled, married and started a family. Wanting to be home with her daughter, here, she began Trillium Finch, a small flower farm and design studio. She grew all of the unique blooms and foliages she loved for her design work and she spent her time selling at farmers markets, delivering to local businesses and collaborating on events. 
Over the years Nina has trained and worked with some of the floral industries finest, including designers, Amy MerrickSusan McLeary of Passion Flower, Jill Rizzo of Studio Choo and her dear friend, Erin Benzakein, of Floret. Nina is currently part of ‘Team Floret’ and travels to Washington State to assist at Floret work shops throughout the growing season. 
In 2011, Nina, her husband, John, their daughter, Lily, and constant companion, Star, the Australian Shepard, relocated back to her home state of Vermont. They reside in Hinesburg where Nina is thrilled to be preparing Trillium Finch’s first Vermont flower patch! You can follow Nina’s journey on Instagram @ninadfoster.

Workshop fee of $75 includes all materials, a light lunch, and a hand out. 

Space is limited, please register here. 

EASY Sage Recipes

sage.jpg

This cool rainy weather has me reaching for sage a little more. It adds warmth and depth to so many dishes. 
Here is a super quick and easy soup you can make any night of the week: 
Simmer whole leaves of sage in broth in a pot, on low on the back of the stove. In another pot, sauté onions, garlic, carrots until tender and starting to caramelize. Remove (and discard) the sage from the broth and add the infused broth to the vegetables. Add any of these options: shredded cooked chicken, cooked beans, small pasta or rice (cooked), diced tempeh or tofu. Just before serving, add a handful or two of fresh spinach, chopped parsley, and a few grates of lemon zest. Very easy weeknight soup. 

I also love to use sage with roasted meats, chicken and vegetables. I stuff whole handfuls of sage inside the cavity of a chicken before roasting it. Add a lemon, a few cloves of garlic, salt and pepper, and it will add tons of flavor to your chicken. I also like to finely chop 5 or so leaves of sage along with 2 cloves of garlic, a teaspoon or two of lemon zest, and and a 1/2 teaspoon of coarse salt. I just smash and chop it all into a paste right on the cutting board, but you could also put it in a food processor or use a mortar and pestle. Then I toss washed and chopped root vegetables with this mixture, drizzle everything with olive oil, toss again, and roast in a preheated 400F oven for about 40 -45 minutes, until soft and caramelized. Or I will take the lemon / sage mixture and rub it all over a pork roast or beef roast before it heads into a hot oven.

These are all simple things to make in big batches so that you can use leftovers for lunches or hurried week night dinners. 


If you aren't able to harvest sage out of your own garden, you can find ours at  Market, Healthy Living Market and Cafe, Shelburne Supermarket, Lantman's MarketNatural Provisions Market & Deli, and Hunger Mountain Co-op. Warm up and enjoy! We will sell bulk herbs (1/2 a pound or more)directly to customers if you arrange it ahead of time. We have thyme, rosemary, sage, savory, marjoram, oregano, and mint. This is a great way to dry and put away herbs for the winter. I keep paper bags of herbs loosely closed all winter long.

What is to love about the 2017 garden season ?

What are you most happy with in your garden this year? I just moved houses and had to say good bye to one home garden, and hello to another, so my vegetable gardening was primarily limited to the display garden at  the greenhouses. But there was much to learn and observe there. A few new varieties, and a few old favorites. It is always a balance to choose new things but also to crave the comfort of the old and dependable varieties.  Here's a run down of what I want to note for next year's choices. 

First, the tomatoes. We planted 8 new tomato varieties in the display garden this year. All were from California tomato breeder Bradley Gates at Wild Boar Farm. I found all of them to be quite productive and ranging in flavor from very good to excellent. Here's a run down of my experience with them (and I would love to hear about yours if you grew them):

Solar Flare- my favorite for flavor. Shape was a little strange and there was a fair amount of zippering, but the flavor was well balanced and the texture was juicy - perfect for salads. A little too juicy and oddly shaped for sandwiches. 

For looks, I really liked Michael Polan. It is similar to a green zebra in flavor, but a minty green color when sliced open, and a cutely tapered shape. This is a saladette sized tomato, perfect sliced in half and tossed into a mixed salad where it keeps its shape and gives you a little surprise when you bite into it.

Precocious award goes to Pork Chop. It was ready long before the others, and in this cold season, I was surprised to get a fairly large tomato so quickly. It is yellow, a slightly flattened round shape, and very meaty. Very few seeds in this one. 

I loved the two cherrys we grew - Barry's Crazy Cherry was, and still is, covered in yellow, tapered fruit. Really covered, actually fully draped, in clusters of yellow fruit. Napa Rosé was a small pink cherry tomato. Also a good producer but only not anything extra ordinary in terms of flavor. 

And my absolute favorite of all of them was Berkeley Pink Tie Dyed. This was a very early tomato as well with a large, dark pink tomatoes with a faint green striping. They were unusual looking but well shaped, and they have a really good balance of meaty flesh that holds together and sweet juicy-ness. They were ready early and have kept on producing all season. 

Pink-Berkely-Tie-Dye-Wild-Boar-Series-Tomato-Seeds.jpg


The Black and Brown Boar and Brad's Black Heart were also both excellent in terms of flavor, but they produced fewer fruit. Both are Oxheart type tomatoes - bulbous with a slightly pointed shape at the blossom end. My favorite tomato bite of the year was probably the very last slice of Brad's Black Heart I ate last week. Something about the September heat really brought out this tomato's flavor. It was so sweet and juicy and lively in a salad. But both of these tomatoes have fairly thick and tough skins. Not a quality I love. I do wonder if in a warmer season they might have thinner skins. I certainly felt like I needed a thicker skin this summer. 

Some other successes to note:

Happy Rich Broccolini gave us a solid stand of broccoli shoots all spring, summer, and is still going strong into the fall. It is best to cut it back once or twice a week to keep it from flowering. And really would benefit from daily harvest, but who has time for that? I prepared the shoots in quick stir fries with scallions or garlic and sesame oil. Or roughly chopped them and threw them into salads raw. They stay very tender when picked regularly and are nothing like raw broccoli, which frankly, can feel like you are chewing on forest floor. 

The Old Timey Blue collards were very pretty to look at and are delicious braised in broth. I found that they were a little too tough to simply sautee or stir fry. They needed the moisture from steaming or braising to soften up their texture. But their flavor makes up for it. It is earthy and satisfying and not too cabbage like. I just made some braised in chicken broth with thyme and new potatoes (I chopped the potatoes into half inch dice, simmered them in broth with thyme stems for about 8 minutes, added the finely sliced and de-stemmed collard leaves, and simmered an additional 10-12 minutes). It is a great dish to keep in the fridge for a quick meal, with a poached egg, or a piece of cheese; wholesome and grounding. 

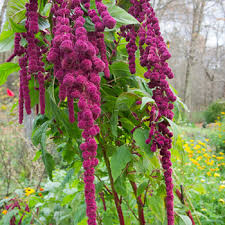
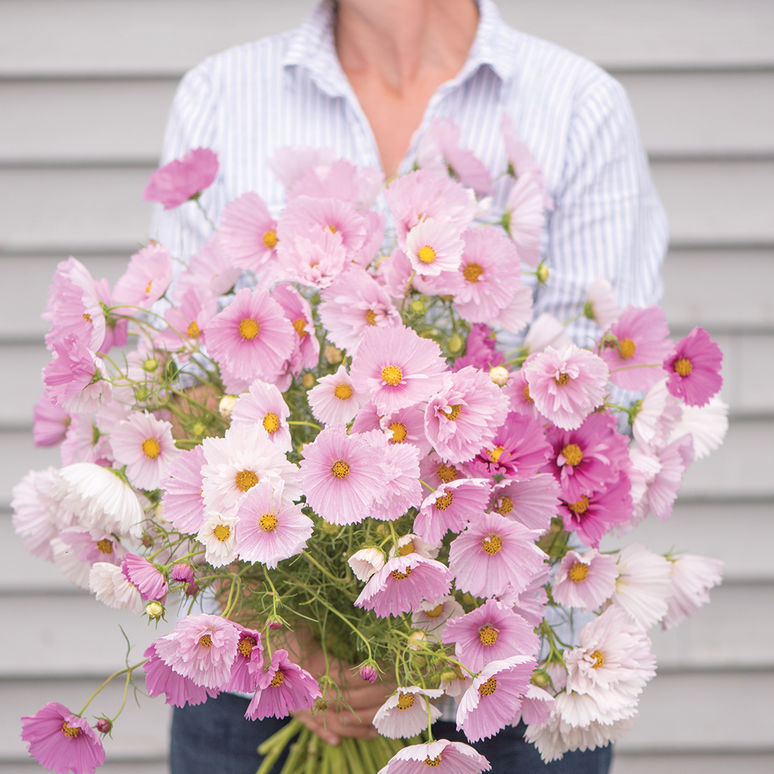
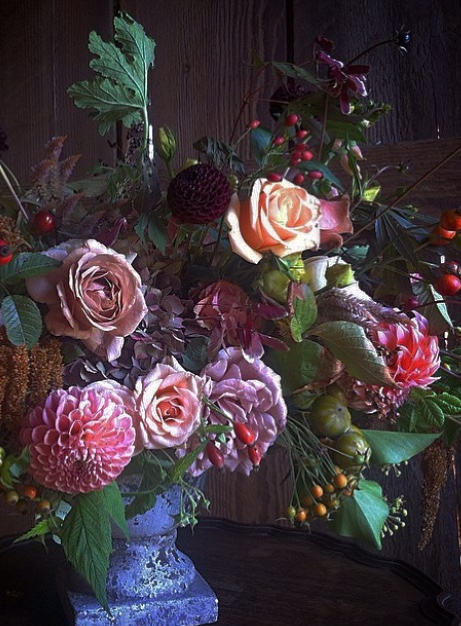
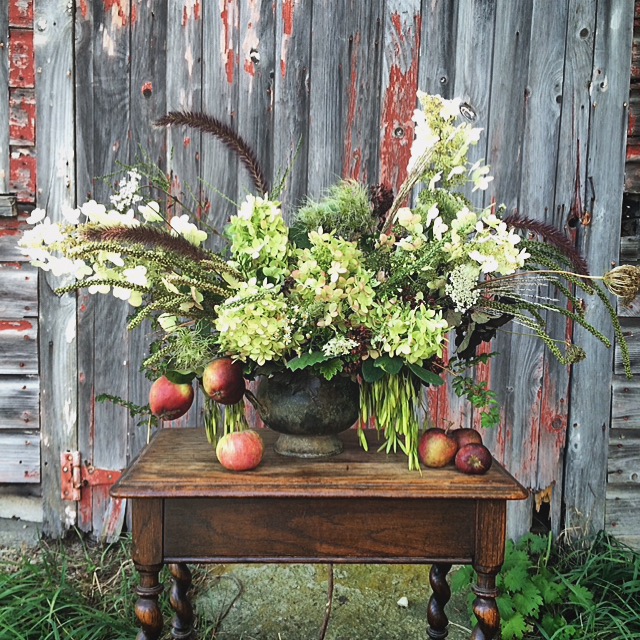
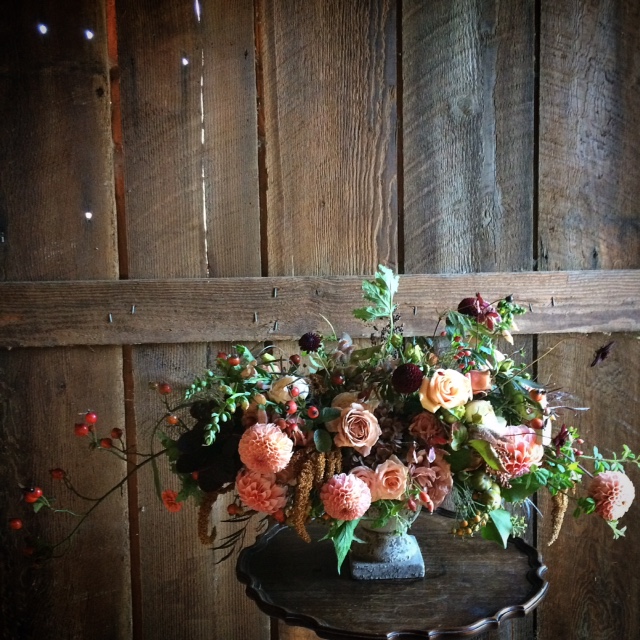
The star of the summer though has been the cut flowers. We grew so many new varieties. Some of my favorites were the lisianthus, the carnations, the scabiosas, and the dahlias. I also loved the new coral amaranth and the tall jester marigold. So many bouquets came out of a very small area all summer and they are still going strong. I am really recommending a small cutting garden to every customer I talk to next spring. Twelve or sixteen plants, planted on 8" centers take up only a few square feet of your garden's real estate but will give you a disproportionate amount of joy and bounty.  

I will leave you with this beautiful image taken by a customer, Joannah Ralston. It is her harvest of Lavender 'Phenomenal' flowers. This is another new-ish variety for us, bred by Pennsylvania grower, Loyd Tavern. It is a huge plant, just covered in blooms, and best of all, it can take all the cold and all the heat and all the rain and all the dry that a Vermont summer dishes out. That is true resilience. Thank you for sharing your gorgeous bounty with us, Joannah.

Lavender small from Joannah Ralston.jpg

Grow your Own Cut Flowers with Nina Foster. Part 2 - Floral Arrangement and Design

August 26th

9 am to 1 pm

Who wants to come play with buckets and buckets of cut flowers? We are so excited to invite you to part 2 of our Cut Flower Growing Workshop Series.  Come join Nina Foster and friends for a flower filled 4 hour workshop. We will go over harvesting and post harvest care of your cut flowers. Then, we will spend the bulk of our time making magical arrangements that will take your breath away and that you can take home with you. Nina will demonstrate pro techniques for making a loose, flowing and wild arrangement, and will support each participant in making their own lush bouquet. Come and meet like-minded flower friends! This workshop will sell out quickly, and space is limited. We cannot wait to see you! $120 workshop fee includes all materials, flowers, and a light lunch. Please register here by purchasing your workshop slot.